

Hi there!
Today’s card features items from WPlus9, which I had the opportunity to play with in the craft room of PaperHeartScissors. It’s wonderful when people you meet on social media happen to live only a few miles away!
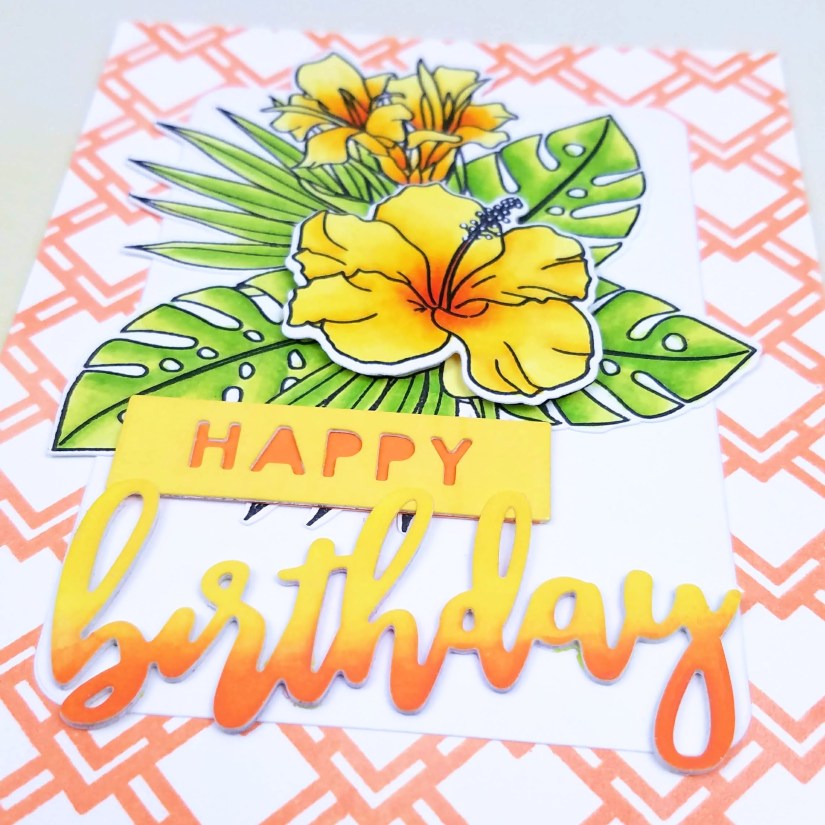
The spray of flowers and leaves is the Hibiscus Bouquet stamp. The single hibiscus in the center of the spray and the background trellis are from the Tropic Fever stamp set. The sentiment is from the Happy Birthday Die set.
 I started by stamping the bouquet and hibiscus flower in Copic-friendly Hero Arts Intense Black ink onto a piece of Neenah Solar White #80 Classic Crest cardstock. I used Copic Y11, Y13, Y15, and YR68 for the flowers, and YG21, YG23, and YG25 for the leaves. I started with the lightest color and then layered on the darker colors, going back each time to blend with the lighter color. I also added some white detail to the stamen of the flower using a white Sakura Gelly Roll pen. I die cut the flower and used a Brother ScanNCut2 to cut out the bouquet.
I stamped the background pattern in Catherine Pooler Tiki Torch ink onto an A2-sized piece of the same cardstock. The color was beautifully intense, but I wanted a slightly lighter background so I used a foam blending tool to blend on a light layer of Hero Arts Unicorn ink. This white ink was perfect for toning down the vibrancy without dulling the color too much.
Then it was on to the sentiment. I die cut the sentiment pieces three times from scrap cardstock. Using foam blending tools, I blended Catherine Pooler Tiki Torch and Limoncello inks to create an ombre effect onto one of the “birthday” die cuts and then stacked and adhered all three die cuts together. I blended Limoncello onto one of the “happy” die cuts and then stacked and adhered those die cuts together, adding a solid piece of cardstock that I’d inked with Tiki Torch to the very bottom.
As I began to assemble the card, I found that the flowers got lost in the background and so my crafty friend suggested adding a panel of white behind them. So, I die cut a piece of cardstock using one of the rounded rectangle dies from Hero Arts and adhered that to the background. Then I adhered the bouquet of flowers flush to the background, and popped up the single hibiscus using foam tape. I adhered the sentiments using liquid adhesive and then finally, I adhered the entire card front to an A2-sized card base.
Thanks for coming by!

So pretty! I love the colors you used. Man, that must be awesome having a crafty friend around!! We just moved to Kodiak, Alaska a little over a month ago and I have yet to find anyone who paper crafts. So sad!
LikeLike