Hello there!
Today I’m continuing along with The Daily Marker’s 30-day coloring challenge and I’m using the Fleur 1 and the Bird With Flowers stamp sets from Pinkfresh Studios. Continue reading “Thank You”
Hello there!
Today I’m continuing along with The Daily Marker’s 30-day coloring challenge and I’m using the Fleur 1 and the Bird With Flowers stamp sets from Pinkfresh Studios. Continue reading “Thank You”
Hi there! I hope you’re having a great day!
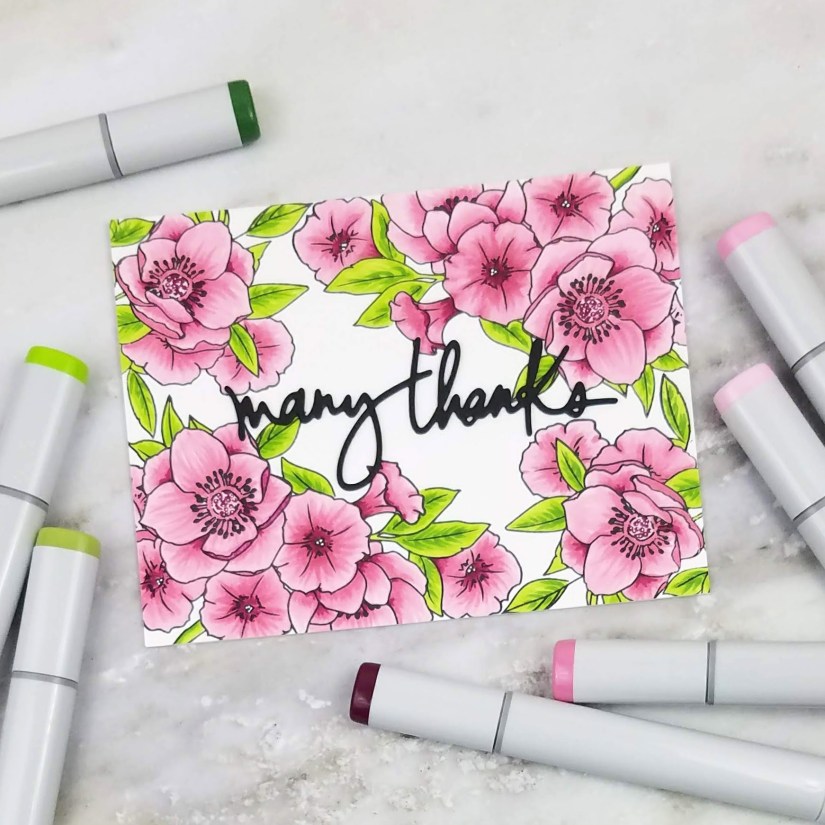
Today is Day 3 of The Daily Marker’s 30-day coloring challenge and I’m practicing my coloring with the beautiful Kind Soul stamp set from Wplus9. Continue reading “Many Thanks”
Happy Friday! Even though I’m taking today off work, it sure felt like a long work week. I hope you had a good one and that you have some time to do something nice for yourself this weekend!
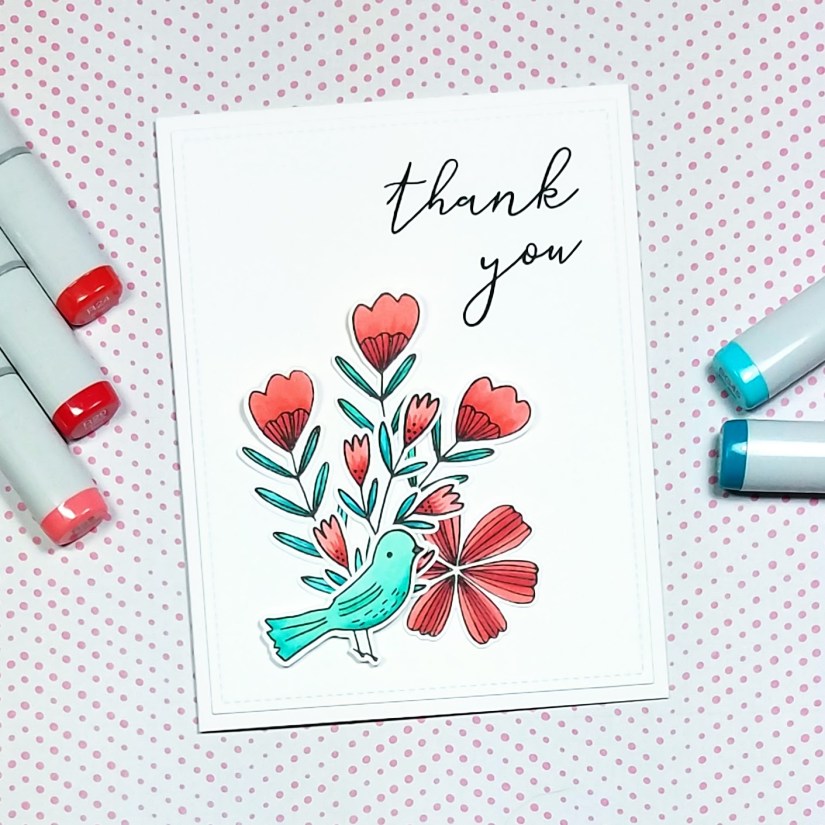
Today I’m sharing my first submission to a challenge. When I saw the colors for the Color Throwdown Challenge #487, I knew I wanted to play along. I just love these shades together!
I started by stamping flower images from Pinkfresh Studio’s Fleur 1 stamp set onto Neenah Solar White #80 Classic Crest cardstock using Copic-friendly Hero Arts Intense Black ink. Then I stamped the bird from their Bird With Flowers stamp set (the Thank You sentiment also came from this set).
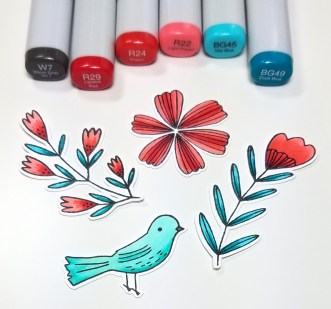
I colored the images using R22, R24, and R29 for the flowers, and BG45 and BG49 for the leaves and bird. I also used just a touch of W7 for the bird’s beak, though I could have easily used black or any other dark brown or gray. I did not take much care in blending since these are such small images.
Then I cut everything out using my new Brother ScanNCut2. I checked the cut lines and as far as I can tell, the Fleur 1 die set cuts these three flower images very similarly to the ScanNCut2. The Bird With Flowers set doesn’t have coordinating dies and since I’m a terrible fussy cutter, I’m glad I decided to splurge on the ScanNCut2. It have a feeling it’s going to come to my rescue on a regular basis.
I created a card front by die cutting another piece of Neenah cardstock with the largest die from the Lawn Fawn Outside In Stitched Rectangle Stackables. This added the pretty stitching along the borders.
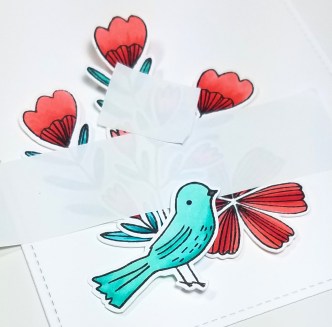
The bunch of flowers was a little hard to manage so I used Post-It Tape to temporarily hold the individual flowers in place while I arranged them. This has become one of my favorite tricks. It’s like having an extra pair of hands! Once I had the flowers in place, I flipped the bunch upside down (still held together by the tape) and applied liquid adhesive to glue them all together.
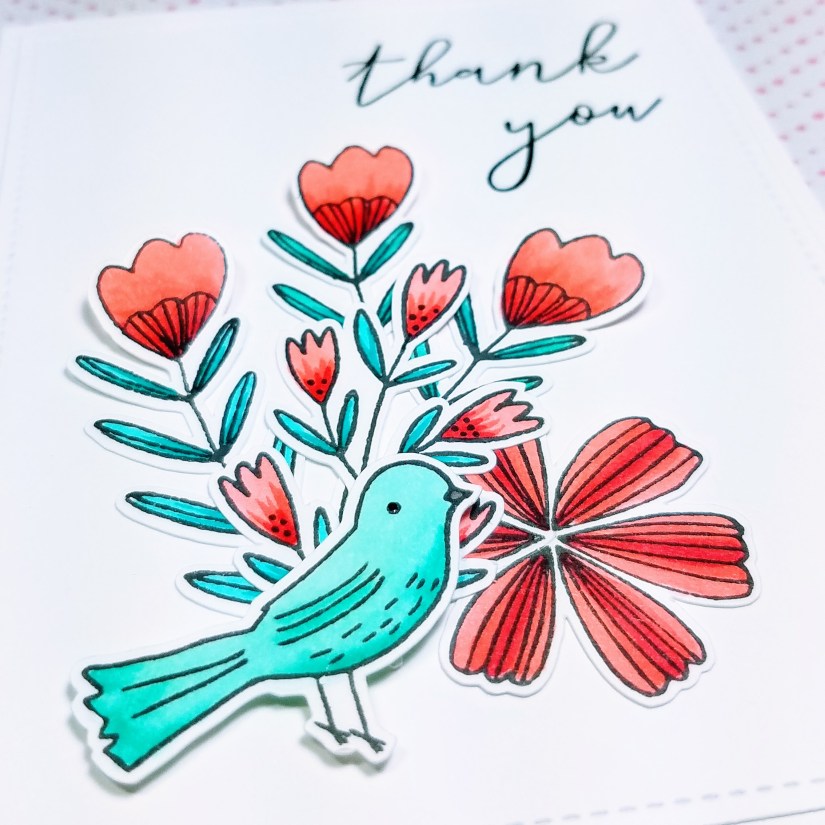
At this point, I pulled out my Misti stamping tool, experimented with the placement of the flowers and sentiment, and then stamped the Thank You sentiment in Versafine Onyx Black ink.
Then came time to assemble the card. I added liquid adhesive to the back of the bunch of flowers and adhered them to the card front. I avoided adding glue to the tulip shaped flowers since I wanted those to stand up a bit from the card. Once the glue took hold, I gently removed the Post-It Tape. Then I added foam tape to the back of the little bird and adhered her on top of the flowers. At the last minute I touched a black Sakura Gelly Roll Glaze pen to the eye of the bird to give it the tiniest bit of shine and dimension.
Finally, I adhered the card-front to an A2-sized side-folding card base and that finished off today’s card.
Thanks for visiting!
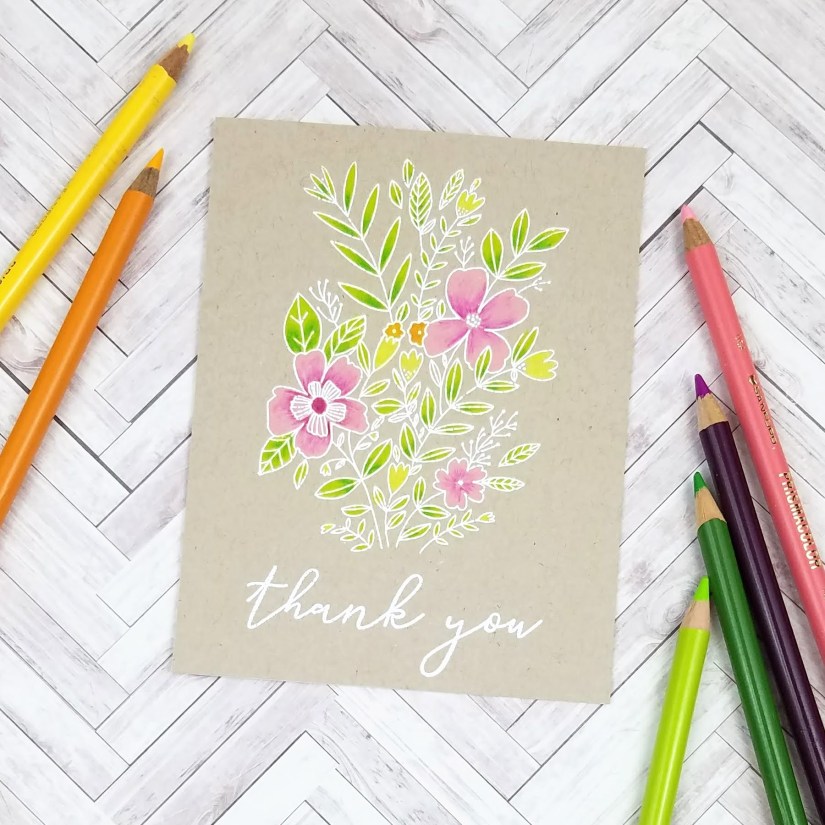
I just love the look of watercolor, don’t you? I love the soft and loose feeling of it, but I have a really hard time achieving that look. I’m a complete amateur when it comes to watercolor. So, I like big stamps which are easy to loosely paint, like this bunch of flowers from the Fleur 1 stamp set by Pinkfresh Studio.
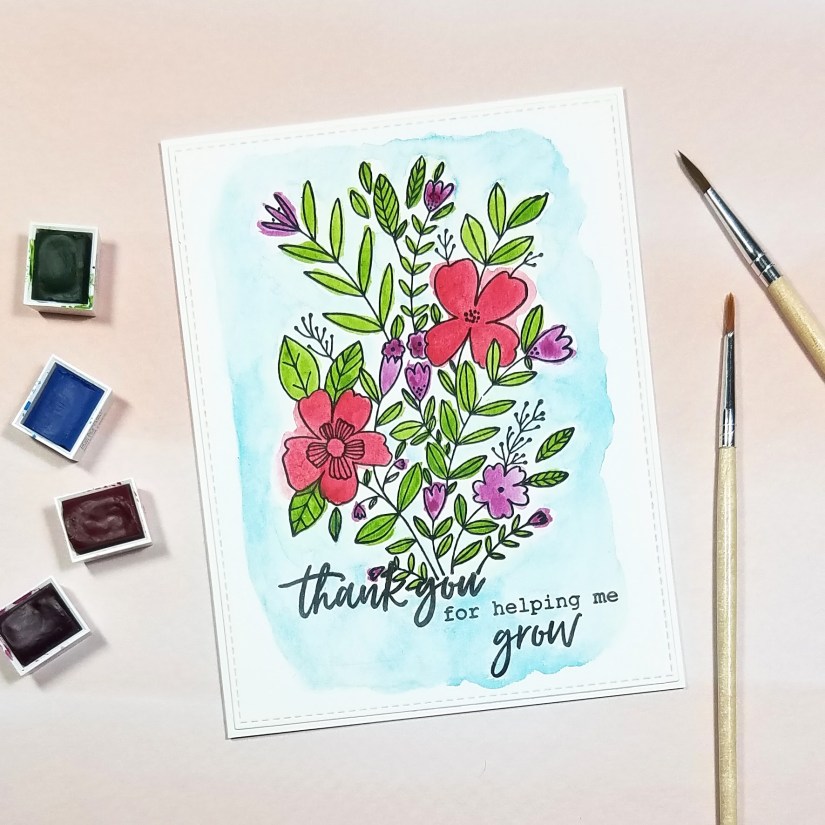
I started by stamping the floral image with Versafine Black Onyx ink onto Canson XL watercolor paper. Versafine is watercolor-friendly, so I knew the ink wouldn’t bleed when I added water. I also added a sentiment from Hero Arts.
Then I taped down the panel to a board with painter’s tape, to prevent it from warping as I painted. Using a few colors from a small set of Windsor & Newton Cotman pan watercolors, I very  loosely painted the flowers and leaves, intentionally going outside of the lines. If you’re like me, ignoring the lines is not easy! I used Alizarin Red and Purple Lake for the flowers, and Sap Green for the leaves, applying the wet watercolor directly to the dry watercolor paper. Once those were dry, I wet down the area around and among the florals and dropped in a bit of watered-down Cerulean Blue.
Once everything was dry, I removed the painter’s tape and cut down the panel using a Stitched Rectangle die from My Favorite Things. Finally, I glued the card front onto an A-2 sized card base.
The closeup photo shows just how messy it is, but I’m happy with it.
Thanks for visiting!

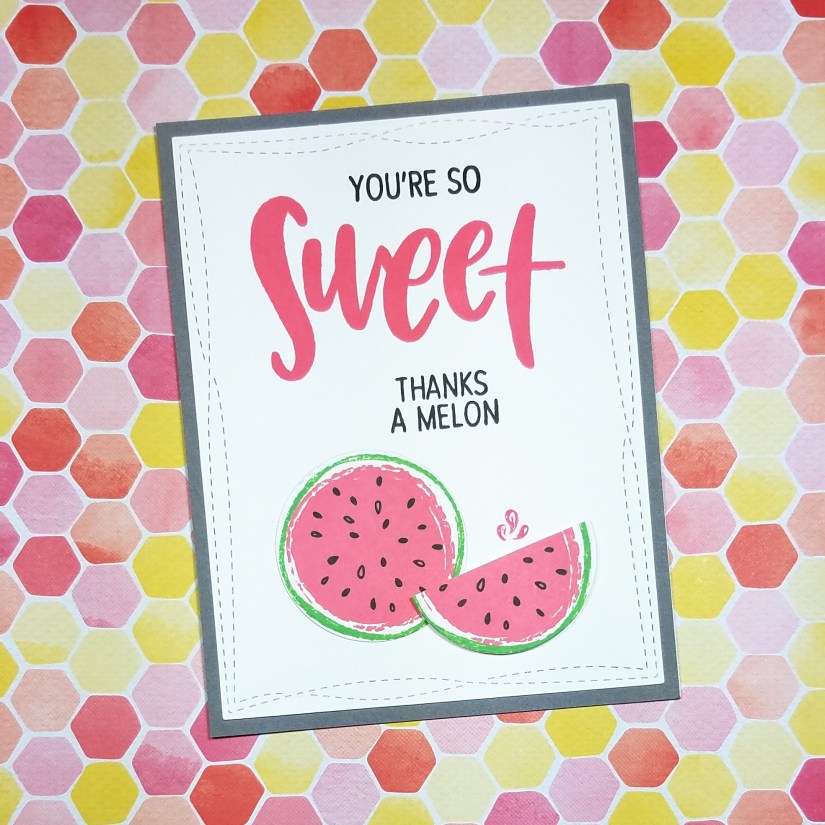
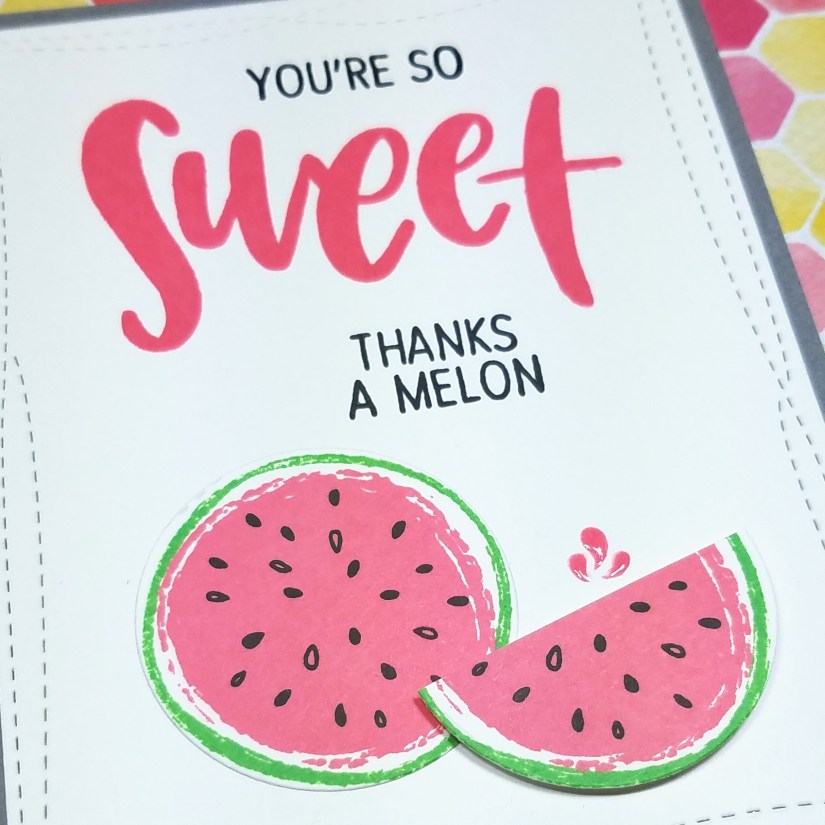
I love this big Sweet stamp from Concord & 9th’s Orange You Sweet set and it gave me a reason to pull out one of my favorite Hero Arts ink colors.
I started by putting together the two watermelon pieces which consists of separate stamps that create the outline, circle, and seeds. I used Hero Arts Fresh Lawn for the rind, Hero Arts Pale Tomato (my favorite!) for the flesh, and Versafine Onyx Black for the seeds. I die cut the two pieces as well as a few extra plain white circles out of heavier and inexpensive 110# cardstock. I cut one of the watermelon pieces in half and layered it with the extra pieces of white cardstock, cut in half, to give it some dimension.
For the card front, I cut down a piece of Neenah Solar White 80# cardstock with a Wonky Stitched Rectangle die from My Favorite Things. Then I stamped the sentiments using the same Pale Tomato and Onyx Black inks.
I adhered the watermelon pieces in place, and then stamped the juice drops and added some Ranger Glossy Accents to give them a truly juicy look.
To finish, I adhered the card front to an A2-sized piece of gray cardstock and then glued it to an A2-sized white card base.
I know it’s only spring, but I’m already looking forward to watermelon season!