
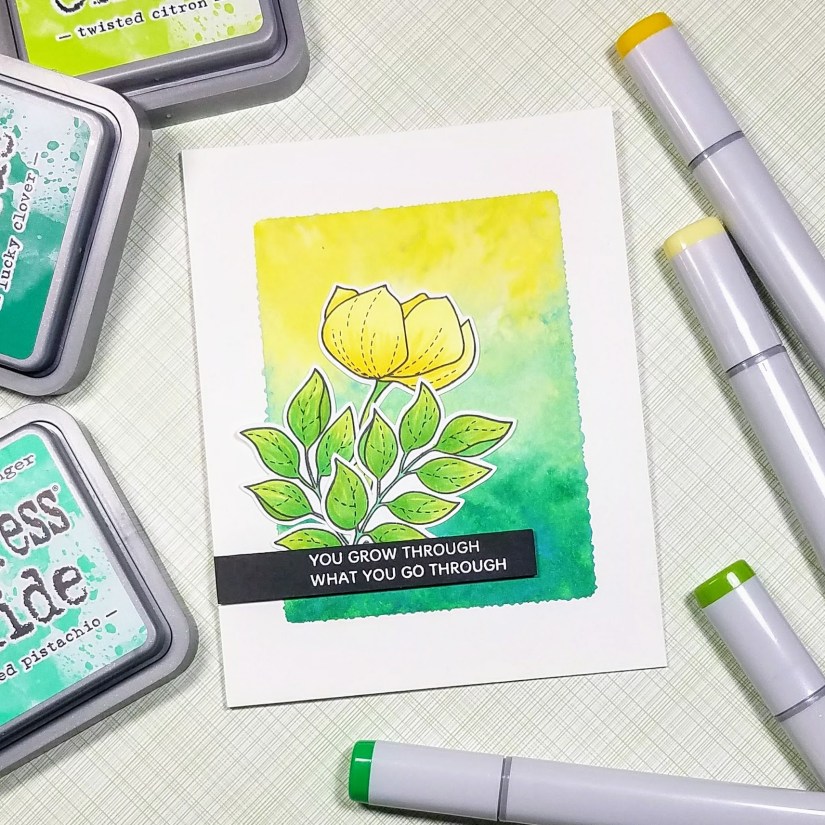
Happy Friday! I’m really looking forward to the weekend, how about you?
Today’s card uses stamps from two Simon Says Stamps sets: Even More Spring Flowers and You Got This. Continue reading “You Grow Through What You Go Through”
Happy Friday! I’m really looking forward to the weekend, how about you?
Today’s card uses stamps from two Simon Says Stamps sets: Even More Spring Flowers and You Got This. Continue reading “You Grow Through What You Go Through”

Hello there!
I’m finally getting around to using the Center Cut Flowers background stamp from Simon Says Stamp. I had a couple of false starts with different papers and markers, but I finally settled on using Tombow Dual Brush markers. Continue reading “Love You Always”

Hi there! I hope you’re having a wonderful weekend!
Today’s card uses the Kind Flowers stamp set from Simon Says stamp and Mission Mijello Gold watercolors.
I started by heat embossing the large group of flowers onto Canson XL watercolor paper using VersaMark ink and Ranger Liquid Platinum embossing powder. Then I used a round 4 brush to paint the flowers and leaves (Red Violet and Bright Clear Violet for the flowers and Sap Green for the leaves). I also added splatter using the same green.
I heat embossed the Kind sentiment using the same embossing powder and painted the letters with Bright Clear Violet. I let it dry and then die cut it and set it aside.
The “You are one of a” sentiment is heat embossed with the same powder onto Recollections Kraft cardstock.
When the card front was dry, I used the largest die from the My Favorite Thinks Wonky Stitched Rectangles die set. I adhered the two sentiment pieces using foam tape, and then adhered the card front to an A2-sized piece of kraft cardstock. Finally, I adhered the card front to an A2-sized card base.
Thank you for visiting!

Hi there!
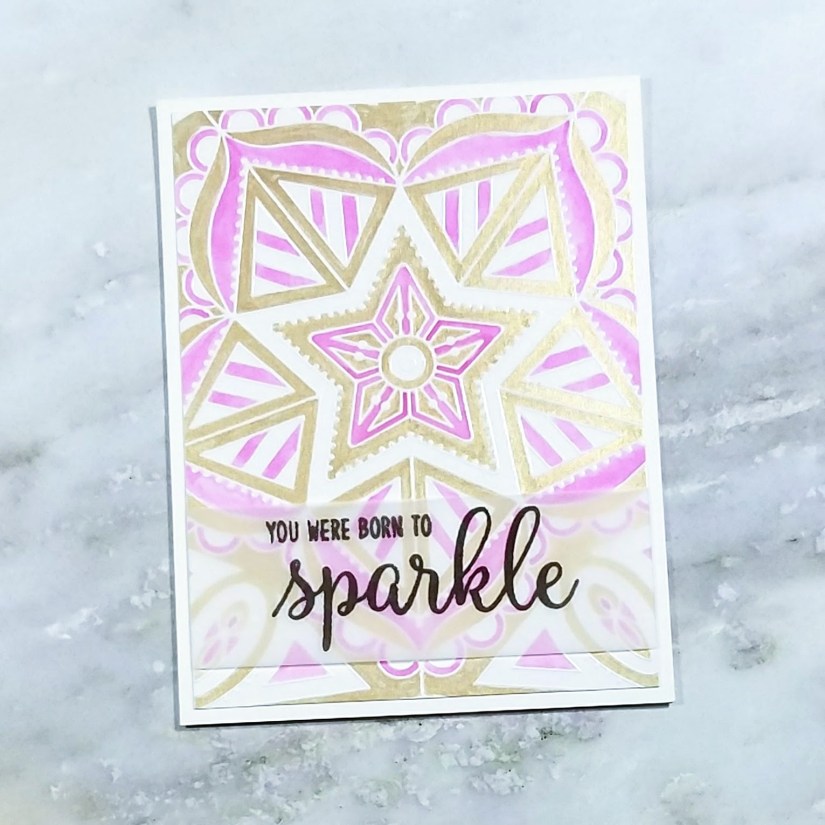
Today’s card features the new Center Cut Star background stamp from Simon Says Stamp and the Born to Sparkle stamp set from Sunny Studio. I just love the star shape of this background!
I started using Versamark ink and Hero Arts white embossing powder to heat emboss the background onto a piece of Strathmore Bristol Smoothe paper.
For the watercoloring, I used Champagne Gold from the Gansai Tamby Starry Colors set, and a pink Arteza Real Brush Pen marker. I used a small Pentel Aquash waterbrush, but a regular small paint brush would have worked just as well.
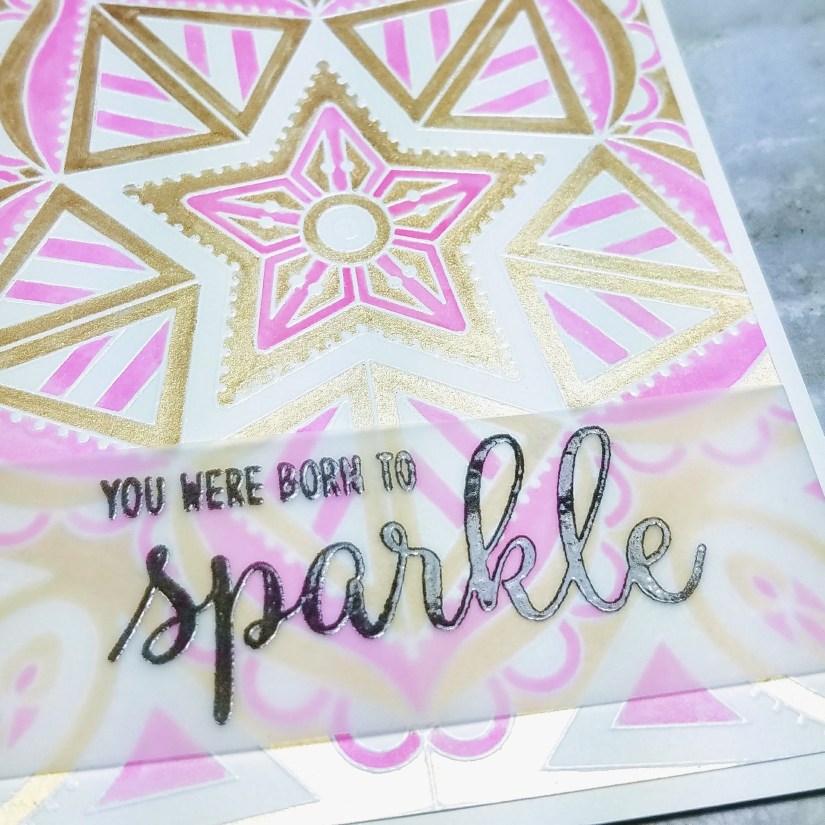
While the paint was drying, I stamped the sentiment in VersaMark Black Onyx ink onto a strip of vellum, sprinkled it with Hero Arts Super Fine clear embossing powder, and hit it with my heat gun.
I trimmed the card front down to 4″ x 5.25″ and then wrapped the vellum piece around it, adhering the ends of the vellum to the back side of the card front using a Tombow Mono Dots Adhesive tape runner.
Then I used liquid adhesive to adhere the card front to an A2-sized card base and that finished up today’s card.
Thanks for swinging by!
UPDATE: I submitted this card to the CASology Challenge, Week #295, and received an honorable mention.
Hi there! I don’t know about you, but I’m ready for the weekend to get here. It’s been quite a week!
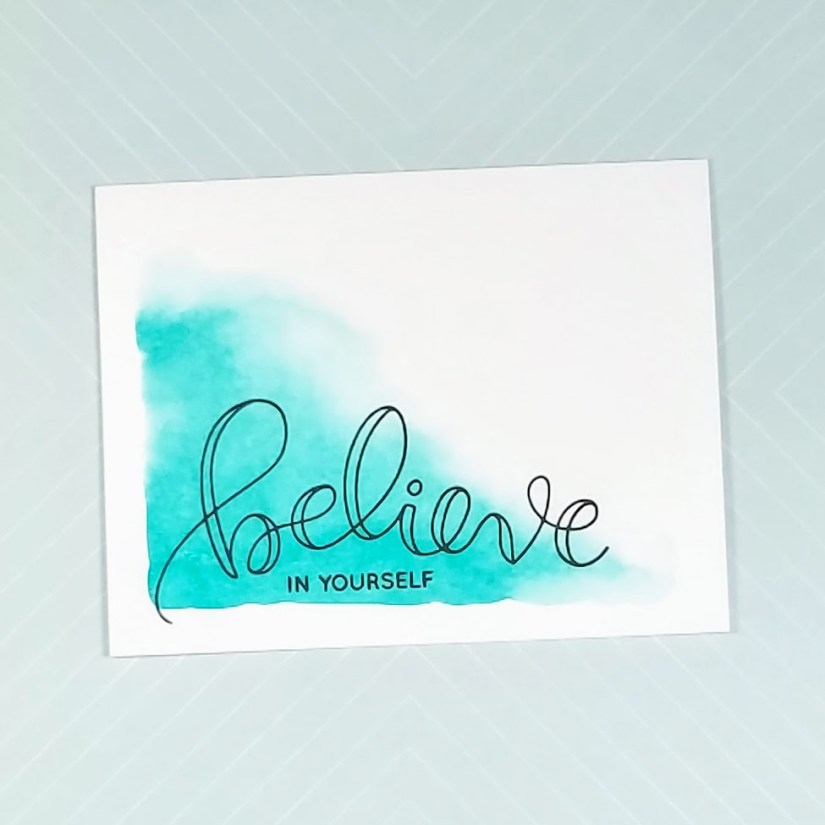
Today I’m sharing a one layer card using the Simon Says Stamp Believe stamp set. I just love this scripty font!

I started by using painter’s tape to tape down an A2-sized piece of Canson XL watercolor paper to an inexpensive Jack Richeson hardboard panel (any board will do, even a plastic clipboard). Using a wet 8 round brush, I transferred some Peerless Watercolor’s Robin’s Egg Blue to an acrylic block which I used as my palette. I added some extra clean clear water to lighten the color a bit as Peerless Watercolors are quite vibrant.
Then, using a clean brush, I added clean clear water to the watercolor paper in the general area where I wanted to create the wash. Since I’m still new to watercolor, and not very practiced in all of its subtleties, I have no idea if this is the best way to achieve the look I want, which is a wash that fades into nothing. I’m learning as I go, one card at a time!
I then dropped color onto the bottom left of the watercolor paper and watched it spread. I tried to tilt the board to get the watercolor moving in the right direction,, towards the top right, and when it stalled in a harsh line, I added a bit of clean clear water in its path to pull the paint forward. When I had a decent looking wash, I used my heat gun to dry the card front.
I put the dry card front into my Misti stamping tool and stamped the sentiment in Versafine Black Onyx ink. I used the Misti because watercolor paper has a bit of texture and I wanted to make sure I could re-stamp in the same place if I didn’t get a crisp image the first time. I ended up having to stamp three times to get into all of the nooks and crannies of the paper.
I usually use liquid adhesive to adhere my card fronts to card bases, but since my panel was a bit warped I wanted to use an extra strong adhesive. I used Scor-Tape double-sided tape, which really has a strong grip, and that finished up the card.
Thanks for swinging by!

