

Hi there, I hope you’ve been having a good week!
I’m so excited to be part of day two of the Simon Says Stamp Happy And Joyful release blog hop, and I’m very glad you’re here! If you’ve arrived from Sandi MacIver’s blog, you’re right on track.
I have three cards to share today so I’ll get right to it!
Miss You
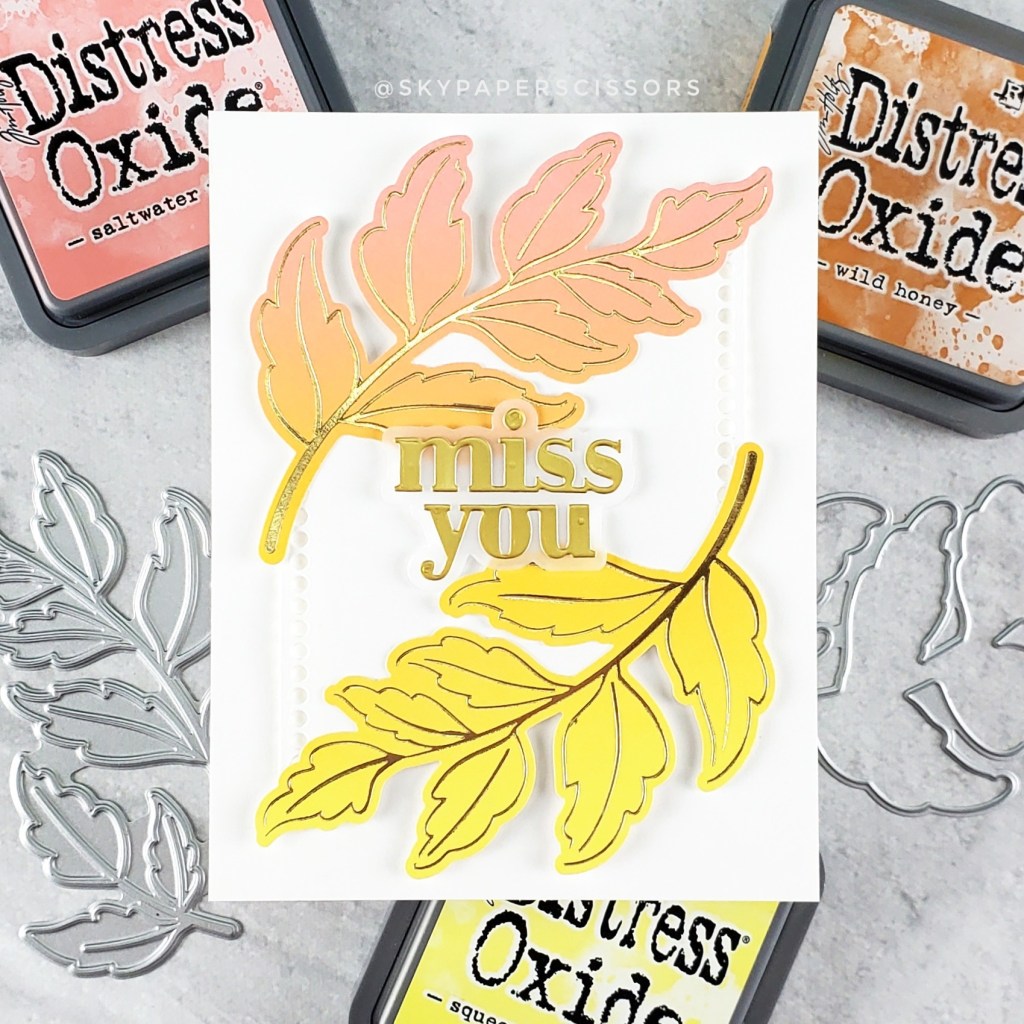
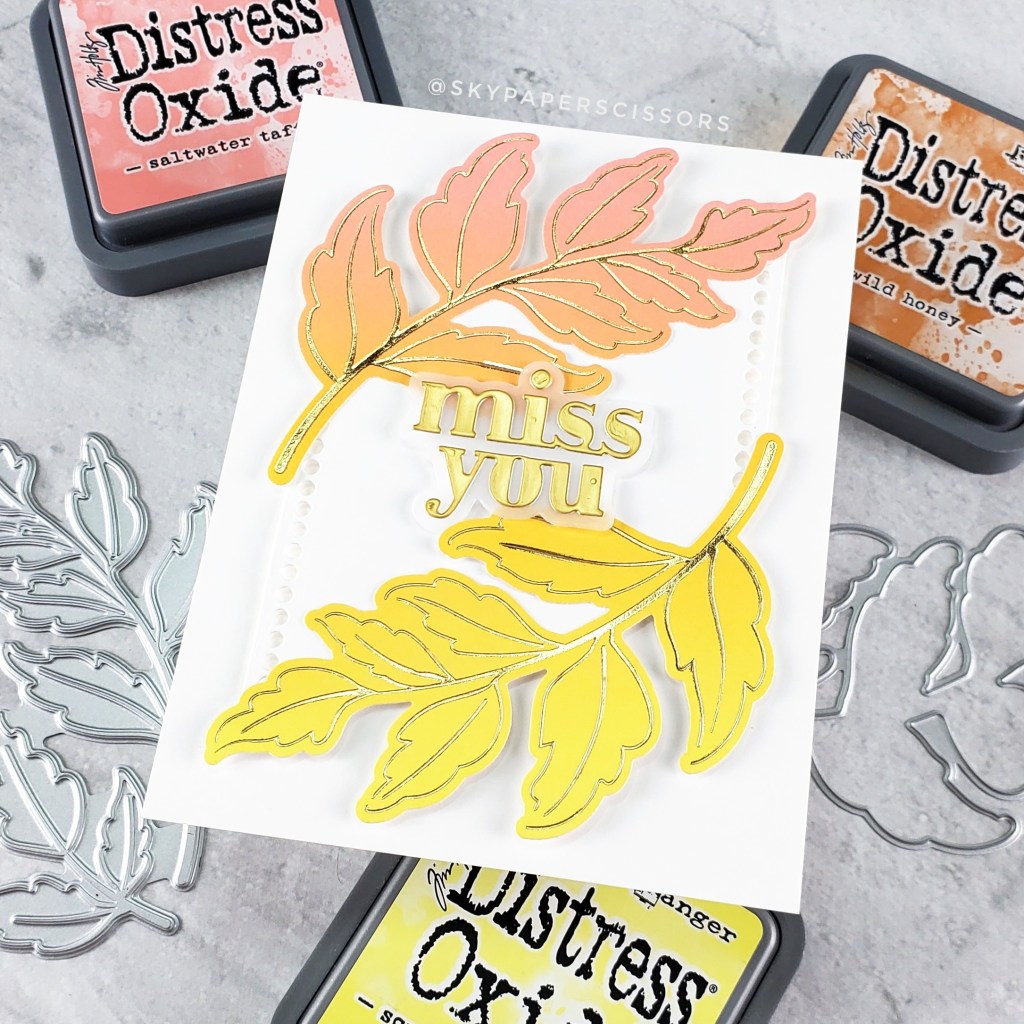
My first card features the new Sketched Leaf Branches Foil Hot Foil Plate and Die set. I love this set which includes one large and one small leafy branch. I used the large leafy branch for this card and paired it with the new A2 Marquee die set for a subtle background (this set is sure to become a staple in my stash!) and the Miss You die from a previous release.
To recreate this card:
- Use foam blending tools to blend Saltwater Taffy, Wild Honey, and Squeezed Lemonade Distress Oxide inks onto a 4.25″ x 5.5″ panel of white cardstock
- Use the Sketched Leaf Branches Foil Hot Foil Plate and gold foil to foil the leaves at one end of the ink-blended panel
- Use the coordinating die to cut out the foiled images and then repeat the foiling at the other end of the panel
- Use the middle die from the A2 Marquee die set to cut a piece of white cardstock
- Trim away each end of the die cut Marquee piece in an arc that matches the arch of the large leafy branch (this isn’t necessary but creates a bit of interest and focus on the leaves)
- Glue the branches to the top and bottom of the Marquee piece
- Cut the Miss You detail layer from Tonic Gold Pearl Mirror Card Satin Cardstock and glue it to the shadow layer, cut from vellum
- Use foam tape to adhere the sentiment to the center of the leafy Marquee piece
- Use foam tape to adhere the card front to a card base
Love You Miss You
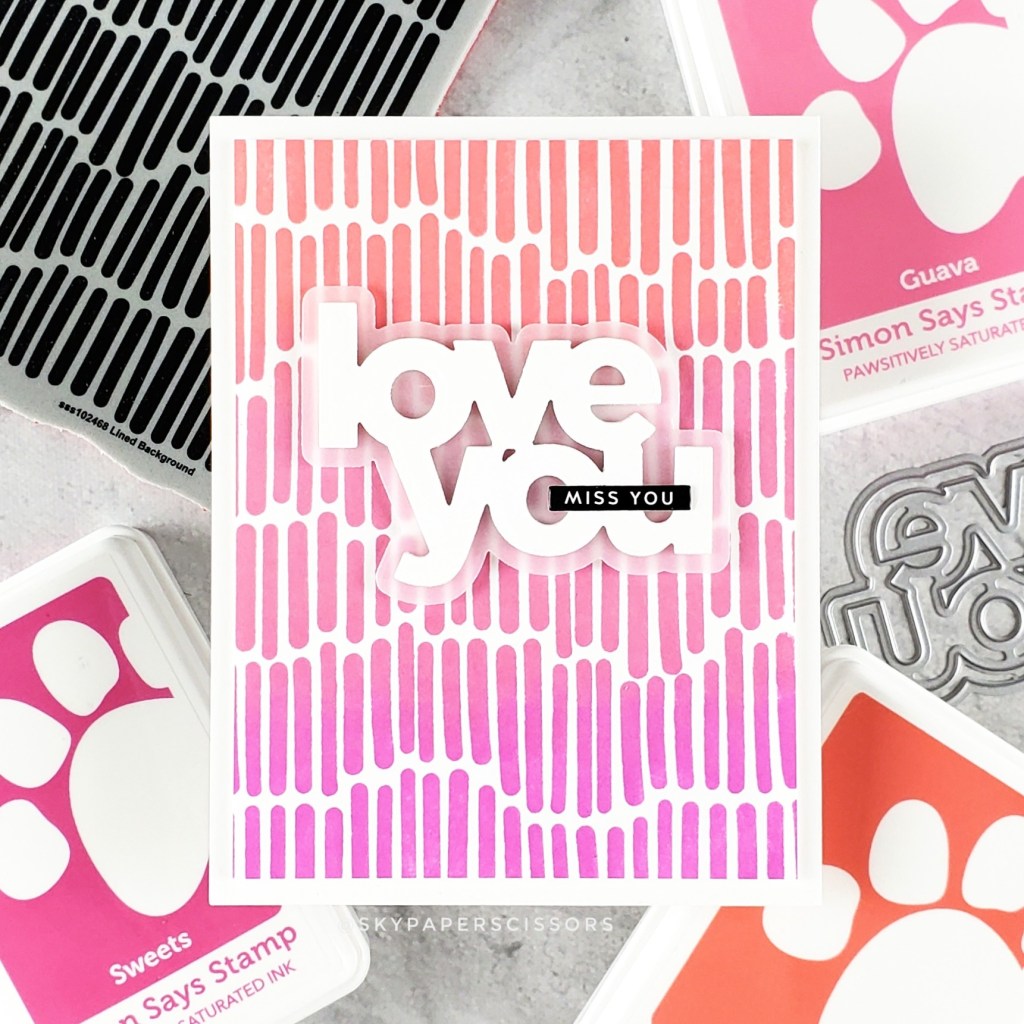
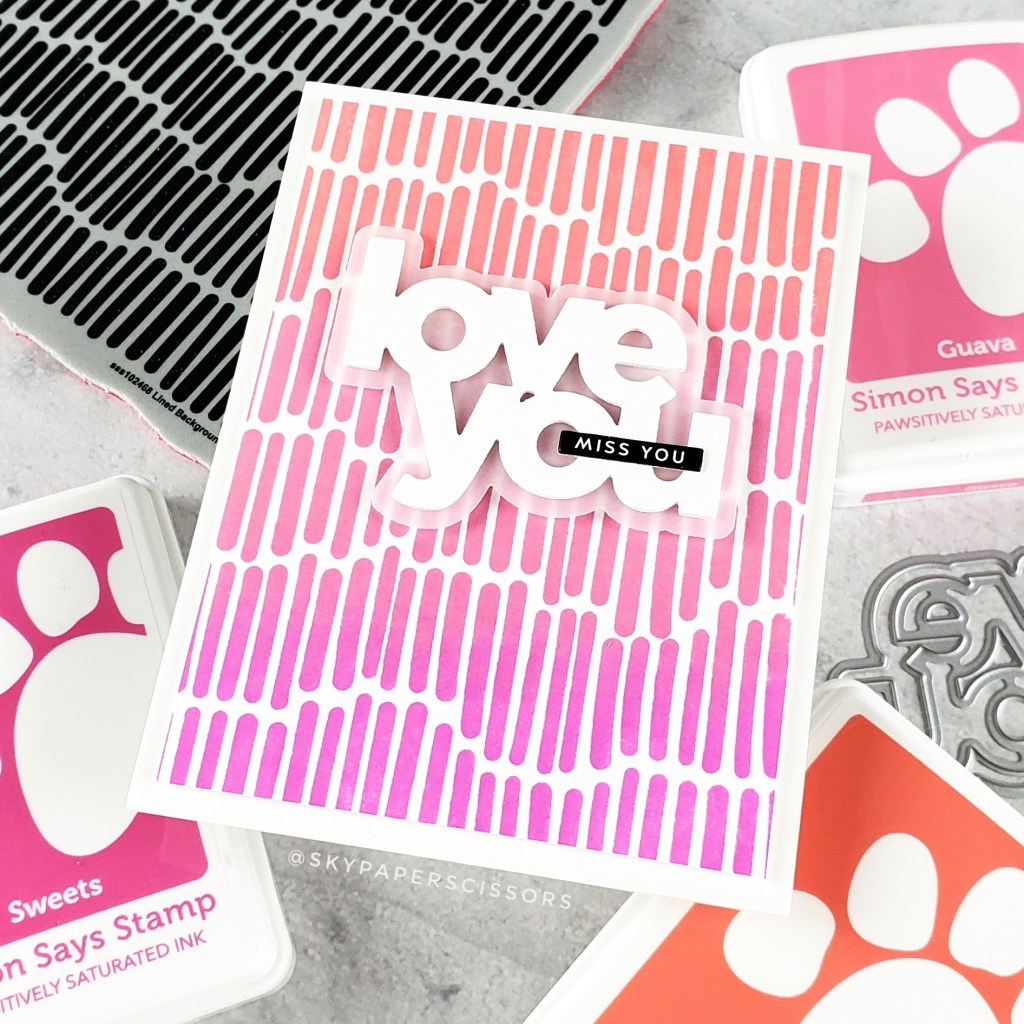
My next card features the new Lined Background cling stamp and sentiments made with the Love You die and Thinking Of You Sentiment Strips from previous releases.
To recreate this card:
- Position the Lined Background cling stamp in a Misti, or other stamping tool, over a 4.25″ x 5.5″ panel of white cardstock
- Ink up the bottom of the stamp in Sweets ink, then use a cloth to dab at and soften where the ink ends about a third of the way up the stamp; stamp down
- Ink up the middle of the stamp in Guava ink and then use a cloth to soften the top and bottom of the inked up area; stamp down
- Repeat, this time using Blush ink at the top of the stamp
- Trim 3/8″ off the length and width of the panel and set aside
- Die cut the detail layer of the Love You die from white cardstock, three times
- Stack and glue the layers together
- Die cut the shadow layer of the Love You die from vellum and glue the detail layer onto it
- Die cut the small Miss You sentiment from the Thinking Of You Sentiment Strips and glue to the Love You sentiment
- Use foam tape to adhere the sentiment to the stamped panel
- Use foam tape to adhere the card front to a card base

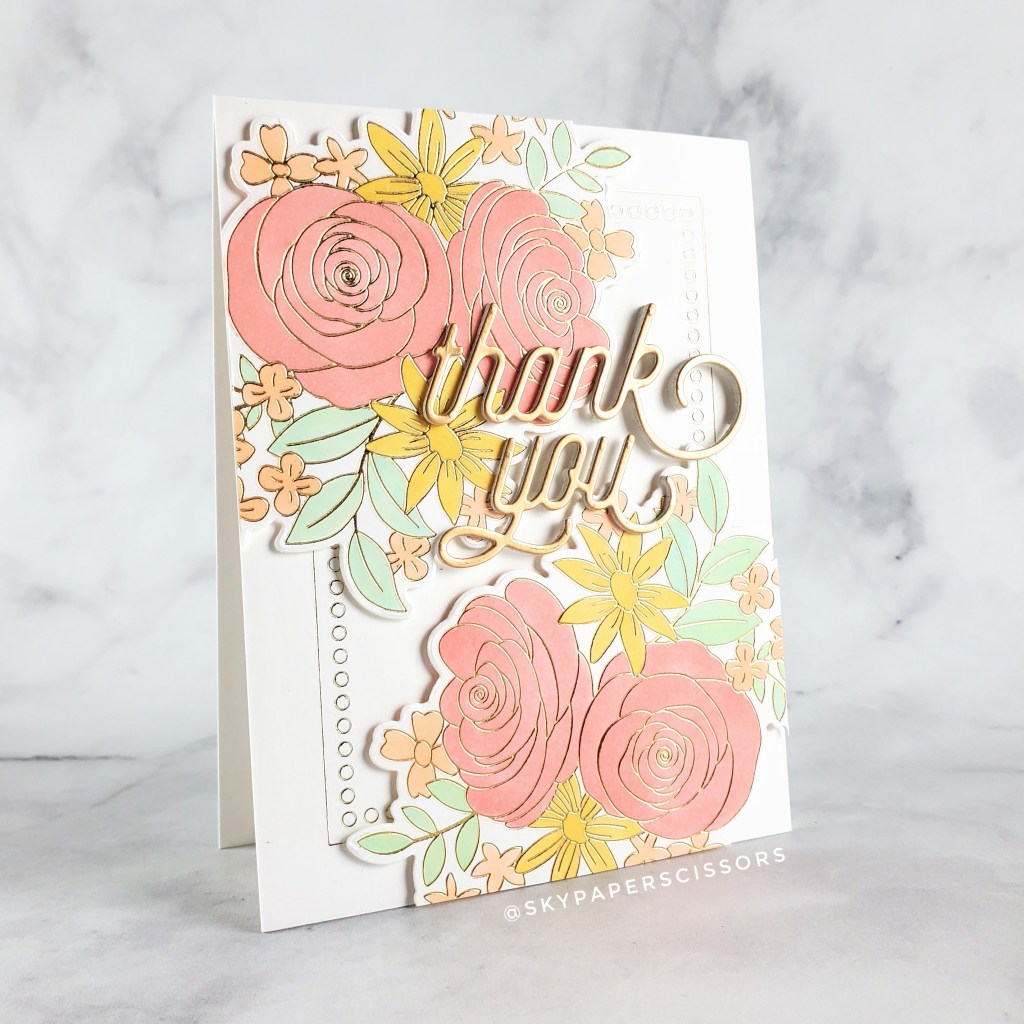
Thank You
My last card features the new Intricate Rose And Blooms Bouquet Hot Foil Plate and Die set, the new A2 Marquee die set, and the Swoopy Thank You die from a previous release.
To recreate this card:
- Use the foil plate and gold foil to foil the floral bouquet onto white cardstock; repeat so you have two bouquets
- Use Copic markers to color the bouquets; I used R20, E01, Y21, G20, and BG10 and did not do any special shadowing
- Use the coordinating die to cut out the bouquets; set aside
- Use the middle die from the A2 Marquee die set to foil a 4.25″ x 5.5″ panel of white cardstock
- Use foam tape to adhere the bouquets at opposite corners of the panel, then trim off any excess hanging off the edge of the panel
- Use the Swoopy Thank You die to cut Tonic Honey Gold cardstock; cut several more times from white cardstock and then stack and glue the layers together
- Glue the sentiment to the card front
- Glue the card front to a card base
Thank you so much for visiting! I’m the last stop in the hop today, so if you want to start from the top, head over to the Simon Says Stamp Blog! Please scroll down for giveaway information and the full blog hop list.
Giveaway
Simon Says Stamp is giving away a $25 coupon to every stop on the hop from the blog comments section. Winners will be chosen and posted on the Simon Says Stamp blog on Wednesday, the 27th of April. The winner can email Simon Says Stamp to claim their prize.

That background stamp in card three is the best. Love it. Need it. Thanks for all your beautiful card inspiration.
LikeLiked by 1 person
Your cardsa are beatiful! Thanks so much for the great inspiration! 🙂
LikeLiked by 1 person
Pretty, pretty cards! That sketched leaf one is fabulous, your background on the love card looks amazing but man oh man….those florals–YOWZA!!! So beautiful!
LikeLiked by 1 person
Fabulous cards! Love the colours of your leaf branches!
LikeLiked by 1 person
Wonderful cards. thanks for sharing
txmlhl(at)yahoo(dot)com
LikeLiked by 1 person
All three of your cards Re lovely!
LikeLiked by 1 person
Love the leaf branches. The cards are beautiful.
LikeLiked by 1 person
Love all of these cards but that leaf card with the rich colors and gold sentiment just really struck me!
LikeLiked by 1 person
Your lovely cards have a regal look.
LikeLiked by 1 person
Gorgeous cards!!! That hot foil plate & how you used it is stunning!!!!!! Thanks for your inspiration ❣
LikeLiked by 1 person
Love how you used this new product!
LikeLiked by 1 person
so beautiful, I like your design!
LikeLiked by 1 person
Great card shares. I like the ideas for color and layers. Great combinations.
LikeLiked by 1 person