

Hello and welcome! Today we’re celebrating the release of the Altenew Mighty Kind Stand Alone Dies Collection! If you arrived from Nathalie DeSousa’s blog, you’re right on track. If you want to hop along from the beginning, visit the Altenew Card Blog. Check the bottom of this post for giveaway information and the full blog hop list!
I have four cards to share today so I’ll dive right in!
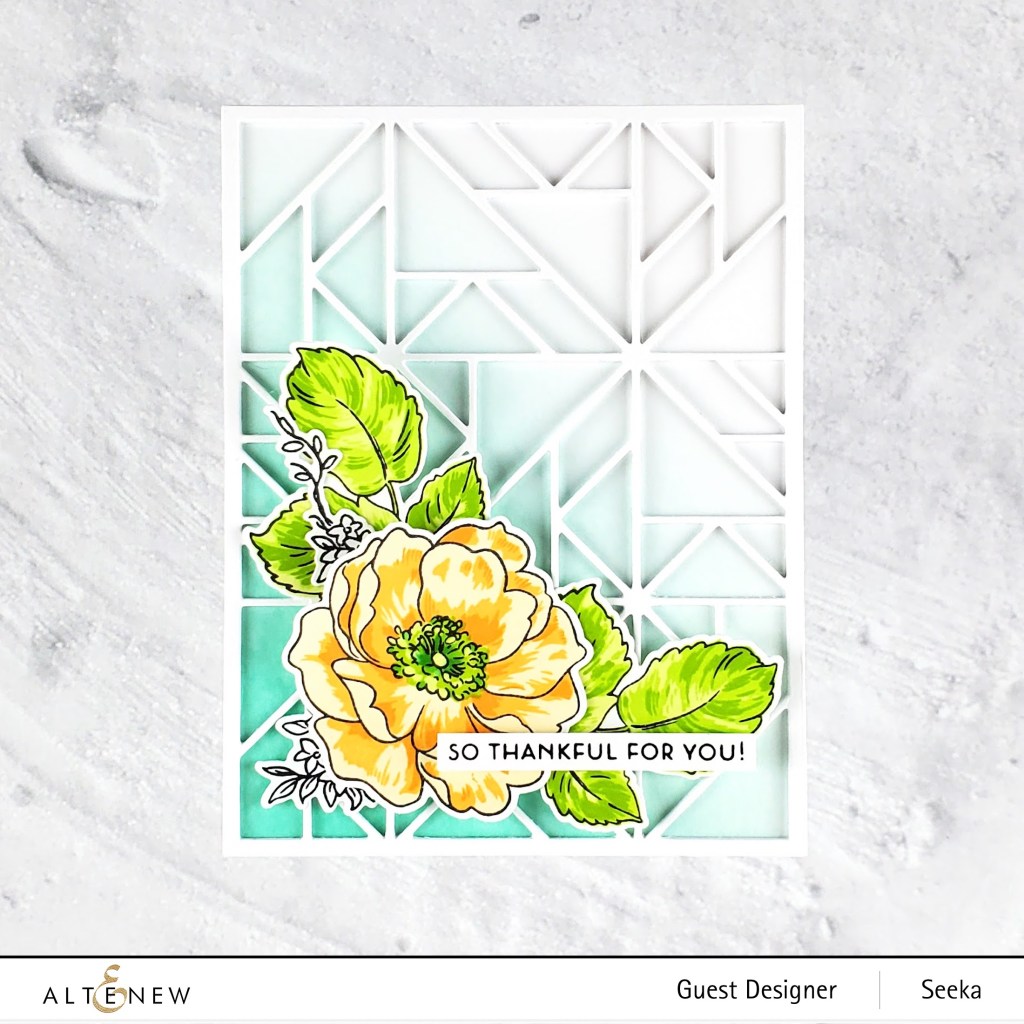
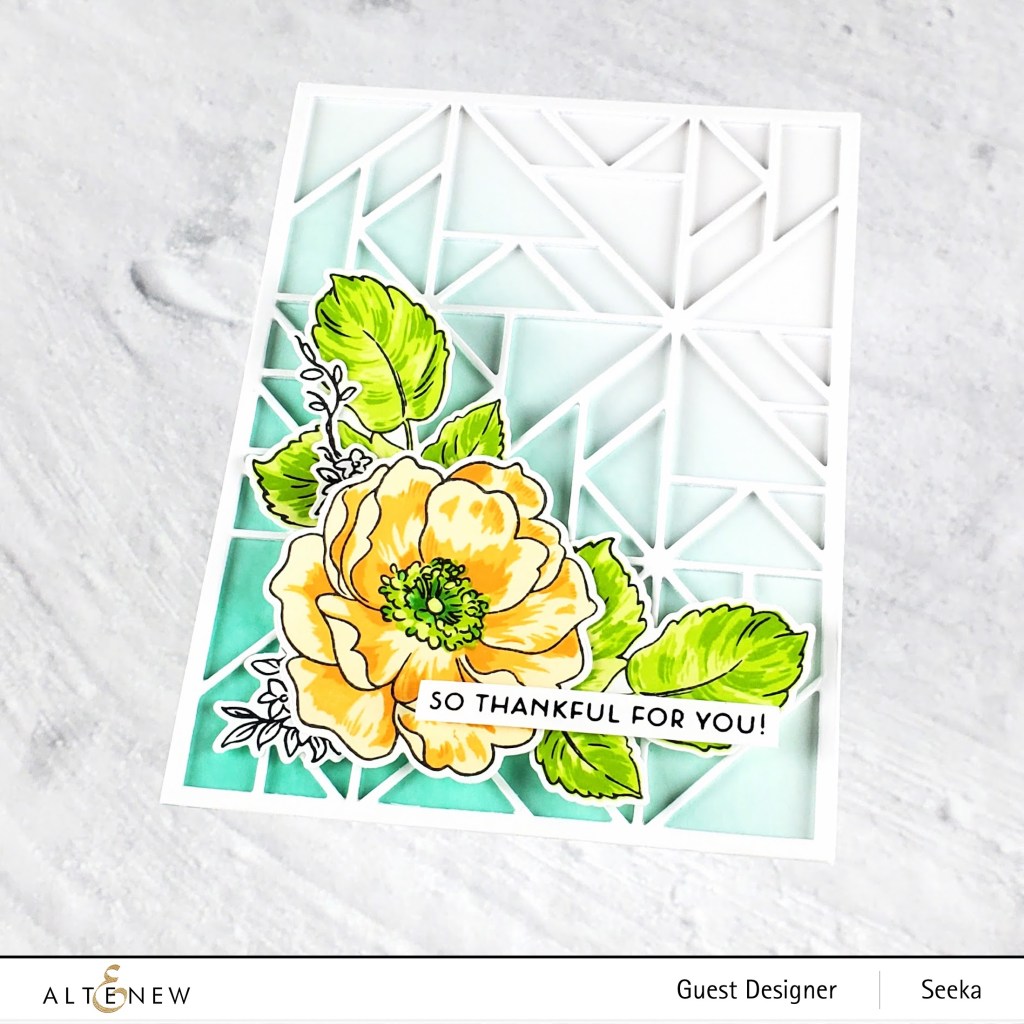
So Thankful For You!
My first card features the new Simple Shapes Cover Die as a backdrop for blooms made with the Build-A-Flower Wild Rose stamp and die set.
To recreate this card:
- Stamp the outline layer of the bloom, leaves, and black and white filler greenery in Permanent Black ink
- Stamp the layers of the bloom’s petals in Buttercream, Chamomile, and Snapdragon, and the center in Limeade (then use a green marker to add some shading to the center)
- Stamp the layers of the leaves in Limeade, Lime, and Fresh Leaf
- Use the coordinating dies to cut out the images; set aside
- Stamp a sentiment in black ink and cut into a strip (this sentiment is from the Needlework Motif stamp set)
- Use a blending tool to blend Volcano Lake at the bottom left corner of a 4.25″ x 5.5″ panel of white cardstock, concentrating the color at the bottom left and letting it fade to white at the top right
- Cut three panels of white cardstock using the Simple Shapes Cover Die; stack and adhere the layers together
- Assemble the card by adhering the layered cover die to the ink-blended panel, and then using glue, glue dots, and foam tape to adhere the leaves, bloom, and sentiment
- Adhere the card front to a card base
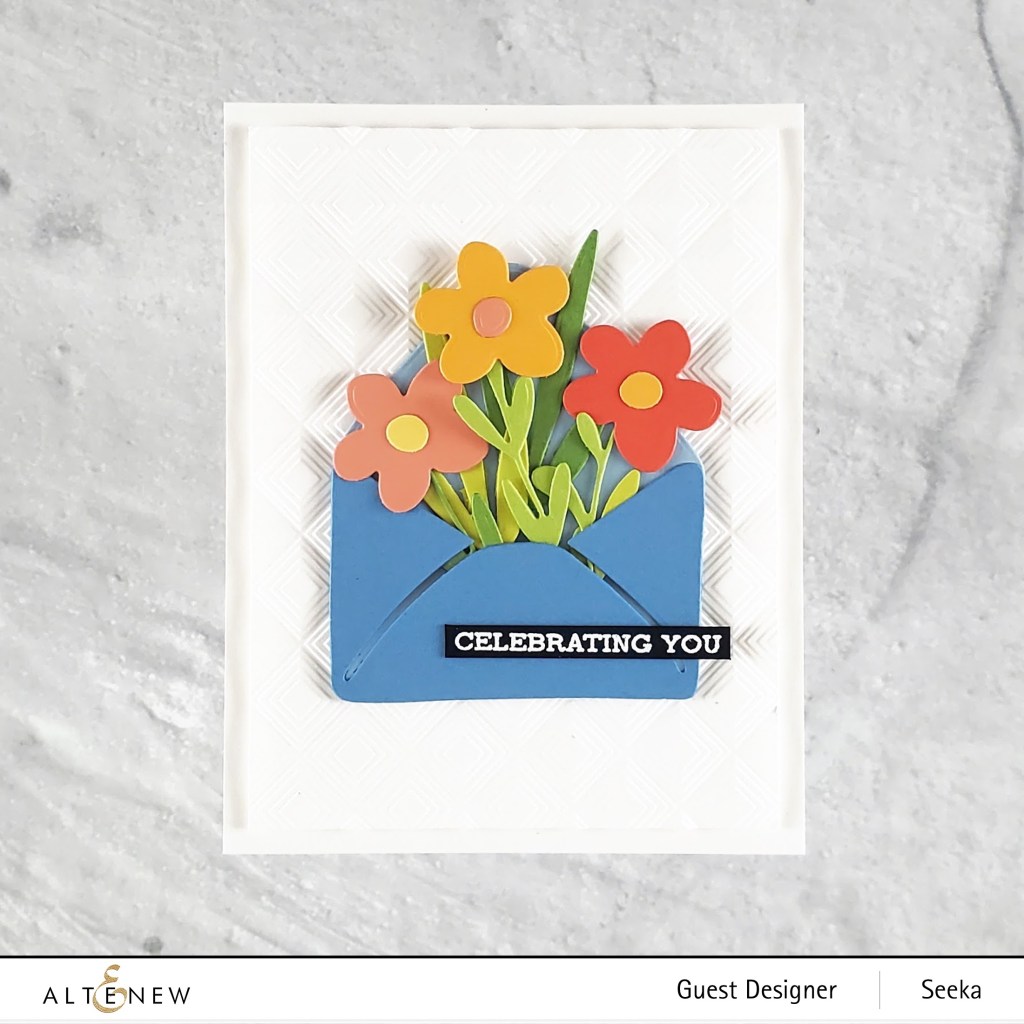
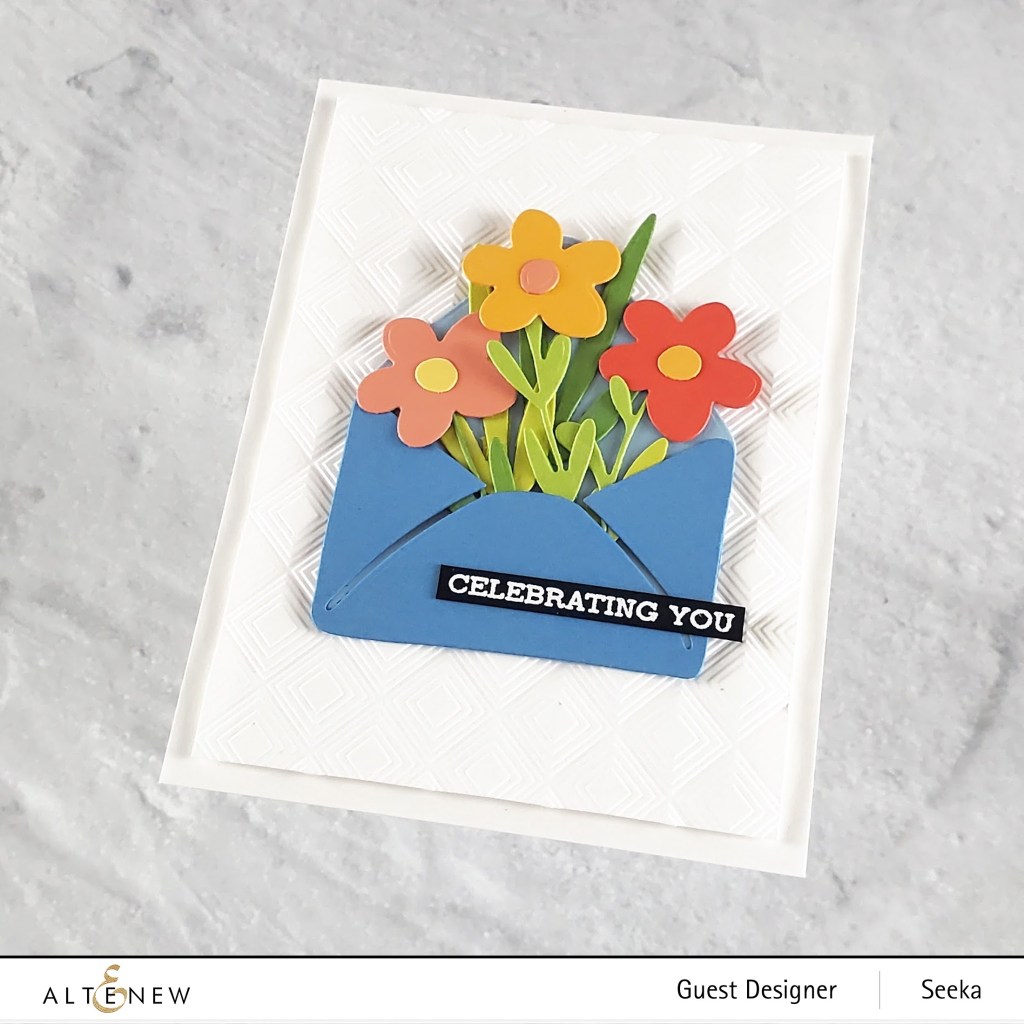
Celebrating You
My next card features the new Lovely Envelope die set against a textured white background made with the Mod Squares 3D embossing folder. This cute little envelope filled with blooms is so sweet!
To recreate this card:
- Use the Lovely Envelope die set to cut all the floral and envelope pieces; I used some autumn-y colors for the blooms, two different greens for the leafy stems, and two blues for the outside and lining of the envelope
- Heat emboss a sentiment (this one is from the Sentiment Strips 2 stamp set) using white embossing powder onto black cardstock
- Use the Mod Squares 3D embossing folder to emboss a 4.25″ x 5.5″ panel of white cardstock, then trim 3/8″ off both the length and the width of the panel
- Assemble and adhered the blooms to the envelope
- Use foam tape to adhere the bloom-filled envelope to the embossed background
- Adhere the sentiment strip to the card front
- Use foam tape to adhere the card front to a card base
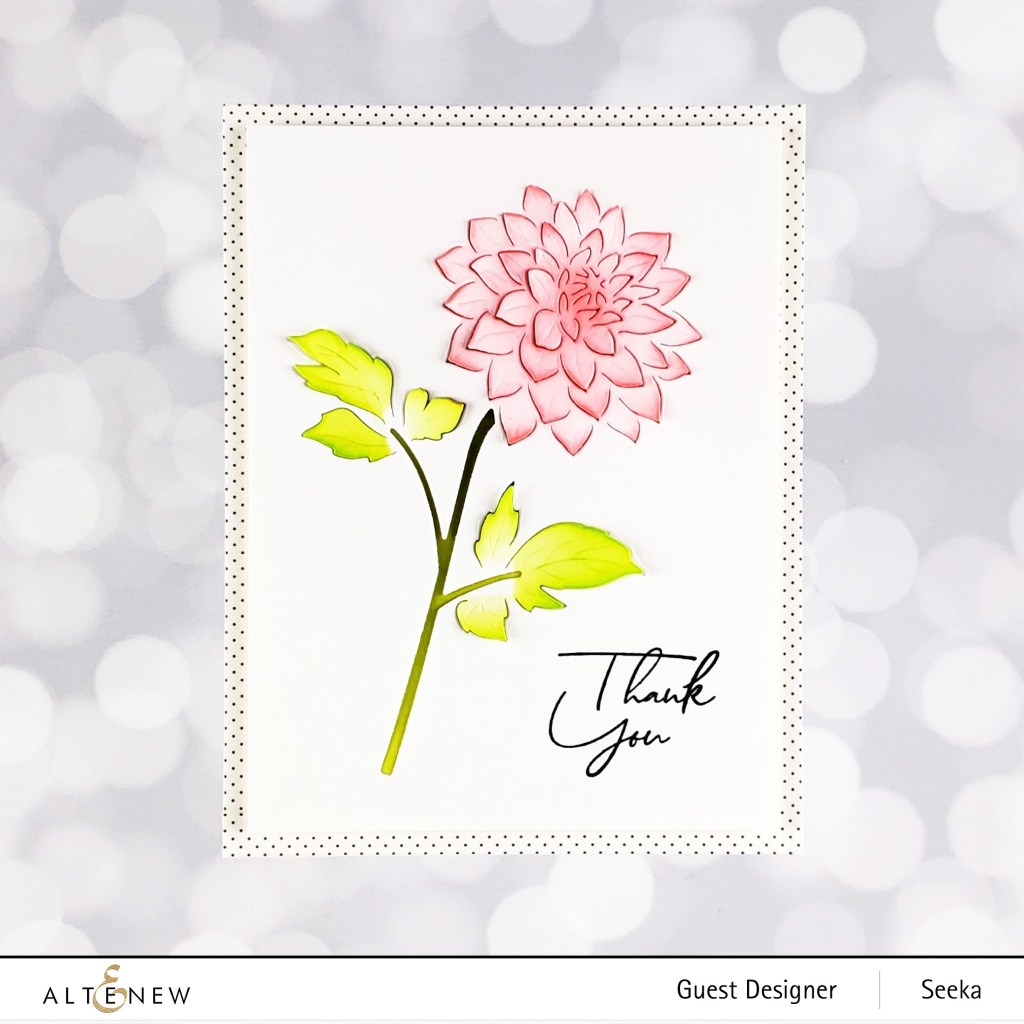
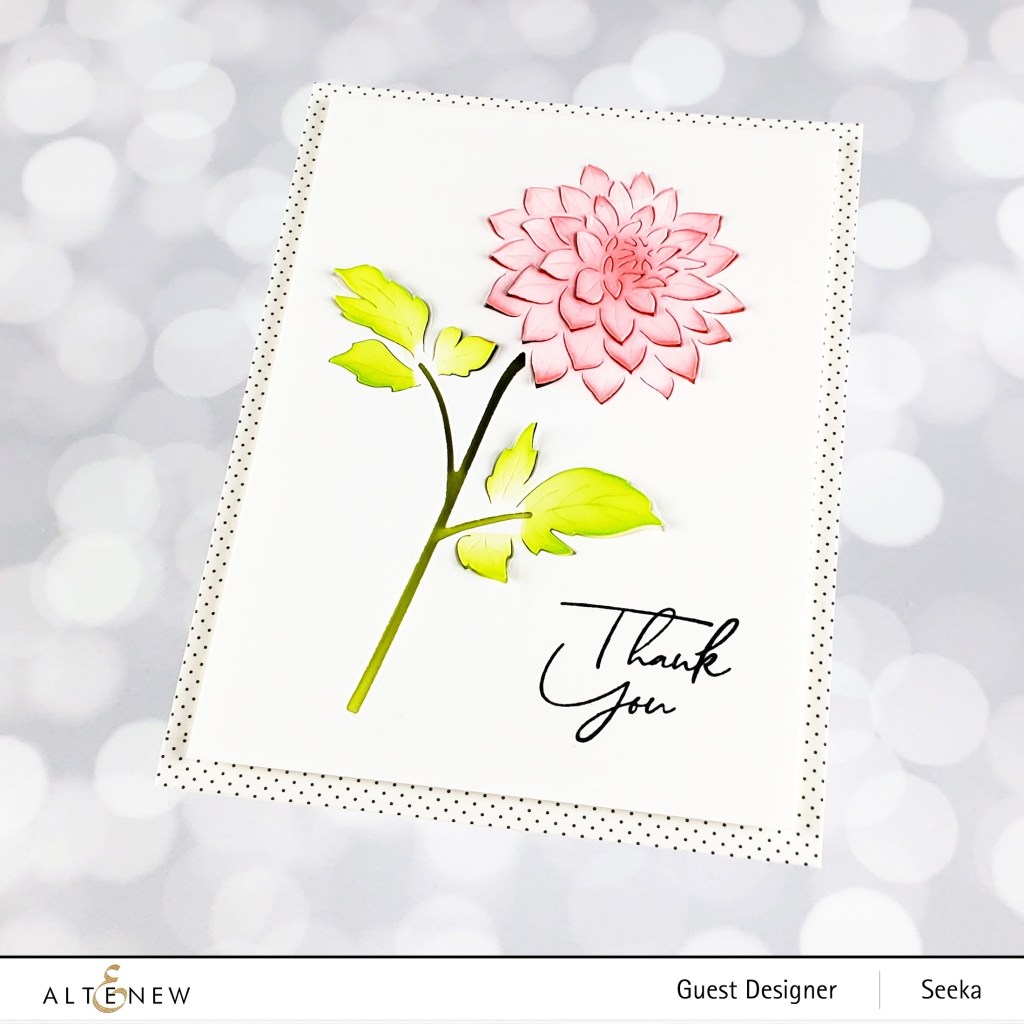
Thank You
My third card features the new Pop-Up Dahlia die with a bit of ink-blending.
To recreate this card:
- Use the Pop-Up Dahlia die to cut a 4.25″ x 5.5″ panel of white cardstock
- Using small blending tools, to blend Coral Bliss ink onto the petals and Bamboo and Parrot inks onto the leaves; use scrap paper to separate the petals and leaves from the rest of the background to protect the background as you blend color onto the petals and leaves
- Stamp the sentiment (from the Tall Foliage stamp set) in black pigment ink
- Onto a separate piece of white cardstock, blend the same to green colors where the stem cut out will allow the color to peek through
- Trim 3/8″ of both the length and width of both panels
- Use foam tape to adhere the panels together
- Use Delicate Polka Dots washi tape to line the edges of an A2-sized card base
- Use foam tape to adhere the card front to the card base
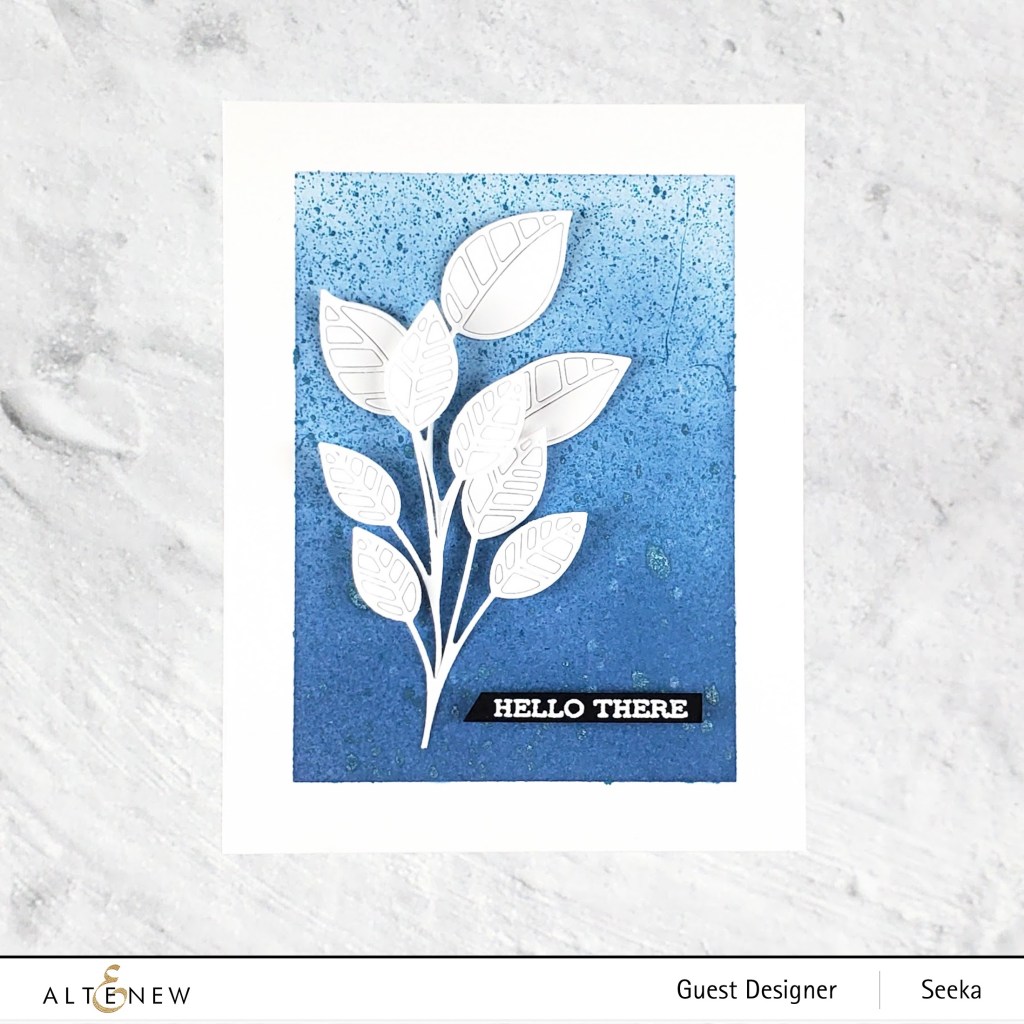
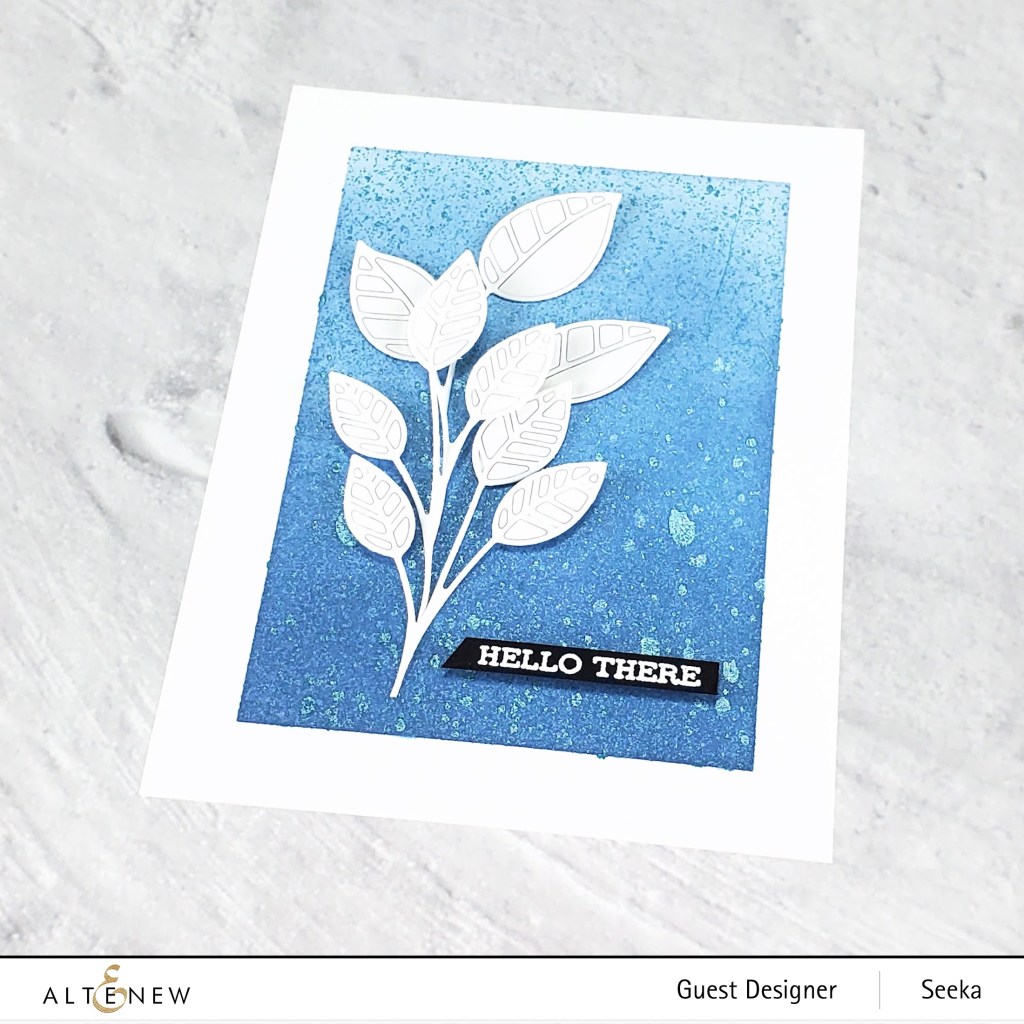
Hello There
My last card today features the new Flowing Foliage die set against an ink-blended and sprayed background.
To recreate this card:
- Use masking paper to mask off the borders of a 4.25″ x 5.5″ panel of white cardstock
- Blend Winter Lake ink over the exposed area using a large blending tool; concentrate the color towards the bottom of the panel and let it lighten towards the top
- Keeping the mask in place, spritz the panel with Dusk Metallic Shimmer Ink Spray, again concentrating the color towards the bottom; then repeat with Iridescent Shimmer Ink Spray
- While the panel is drying, use the dies to cut leafy branches from white cardstock; use a thin tape to hold the fallout pieces in place
- Heat emboss the sentiment (from the Sentiment Strips 2 stamp set) onto black cardstock; trim into a strip with the left end at cut at a diagonal
- When the sprayed panel is dry, remove the masking paper; then adhere the leaves using glue and foam tape for a variety of dimension, and overlapping the stems so that it appears to be a single leafy branch
- Use foam tape to adhere the sentiment
- Adhere the card front to a card base
Thank you so much for coming by! Read on below for giveaway information and for the full blog hop list. Your next stop is the lovely Terri Koszler!
Giveaway
$300 in total prizes! To celebrate this release, Altenew is giving away a $50 gift certificate to 2 lucky winners and a $25 gift certificate to 8 winners! Please leave a comment on the Altenew Card Blog and/or each designer’s blog post on the blog hop list below by 10/25/2021 for a chance to win. Altenew will draw 10 random winners from the comments left on each stop of this blog hop and announce the winners on the Altenew Winners Page on 10/27/2021.
Blog Hop List
- Altenew Blog
- Vicky Papaioannou
- Amanda Baldwin
- LauraJane
- Michelle Short
- Natasha Davies
- Jenny Colacicco
- Sandhya Iyer
- Norine Borys
- Nathalie DeSousa
- Seeka <– You are here
- Terri Koszler
- Dana Joy
- Therese Calvird
- Kelly Griglione
- Virginia Lu
- Daniel Diaz
- Laurie Willison
- Reiko Tsuchida
- Linda Parker
- Svitlana Shayevich
- Lilith Eeckels
- Nenette S. Madero
- Maryam Perez
- Joy Baldwin
- Zinia Redo
- Amy Hill
- Bridget Casey
- Colleen Balija
- Ishani
- Joylita Dsouza
- Rosie Neustaedter
- Sande Woodson

Beautiful cards! Everyone is so talented. What I really appreciate about you is how you give a step by step to the card designs. That is super helpful and much appreciated.
LikeLiked by 1 person
All the cards are beautiful. Thanks for the dtetails.
LikeLiked by 1 person
Gorgeous cards. This is a fantastic release with so many wonderful possibilities and you’ve showcased it beautifully.
LikeLiked by 1 person
These are all stunning!!! I love these new dies! I LOVE the envelope one!
LikeLiked by 1 person
Beautiful cards? Thank you for sharing your ideas.
LikeLiked by 1 person
Love these cards, and great instructions.
LikeLiked by 1 person
Lovely cards! The first one is my favorite – love the flowers and background.
LikeLiked by 1 person
I need that mod squares folder, now.
LikeLiked by 1 person
So beautiful!
LikeLiked by 1 person
What stunning cards! Love the amazing florals
LikeLiked by 1 person
Loving these dies and how you used them! Gorgeous cards and inspiration!
LikeLiked by 1 person
Beautiful cards! I love the colors on the envelope card!
LikeLiked by 1 person
Pretty cards! I just love that pop-up dahlia.
LikeLiked by 1 person
So pretty and I really appreciate the directions on how to create them.
LikeLike
Great cards. Love them all. Thanks for the inspiration.
LikeLiked by 1 person
What gorgeous cards !!! I love the wonderful elegant designs and beautiful colours you’ve selected!! Thanks so much for the great inspiration. Stay safe! 🙂
LikeLiked by 1 person
Gorgeous designs! Each card shines with your ingenuity! Thank you for the specific instructions.
LikeLiked by 1 person
Love these dies, especially the Mighty Alphabet! Amazing creations as always! Thanks for the inspiration!
LikeLiked by 1 person
I love, love, love every one of these beauties!!
LikeLiked by 1 person
What a gorgeous wild rose. ❤
LikeLiked by 1 person
Beautiful cards! Clever using washi tape instead of a background panel! My favorite is your last card (Hello there) the blue colors are gorgeous! Thanks for posting!
LikeLiked by 1 person
Another round of great release. I definitely need a larger craft room. Ha!
LikeLiked by 1 person
So like your backgrounds. Especially. Thank you
LikeLiked by 1 person
Gorgeous inspiration pieces, thanks for sharing!
LikeLiked by 1 person
I like the pretty card designs you created with these dies.
LikeLiked by 1 person
Great backgrounds and blends. Nice project shares.
LikeLiked by 1 person
Love your Celebrating You card, beautiful with just the texture behind the dies to let the bold colors stand out.
LikeLiked by 1 person
Delightful cards!
LikeLiked by 1 person