

Hello and happy Friday, I hope you’ve had a good week!
It’s Feature Friday and today’s featured items from the Concord & 9th September release are the O Holy Night stamp set and coordinating dies (also available as a bundle) and the Poinsettia Fill-In stamp set and coordinating dies (also available as a bundle). I have two cards to share so I hope you can spend a few minutes with me!
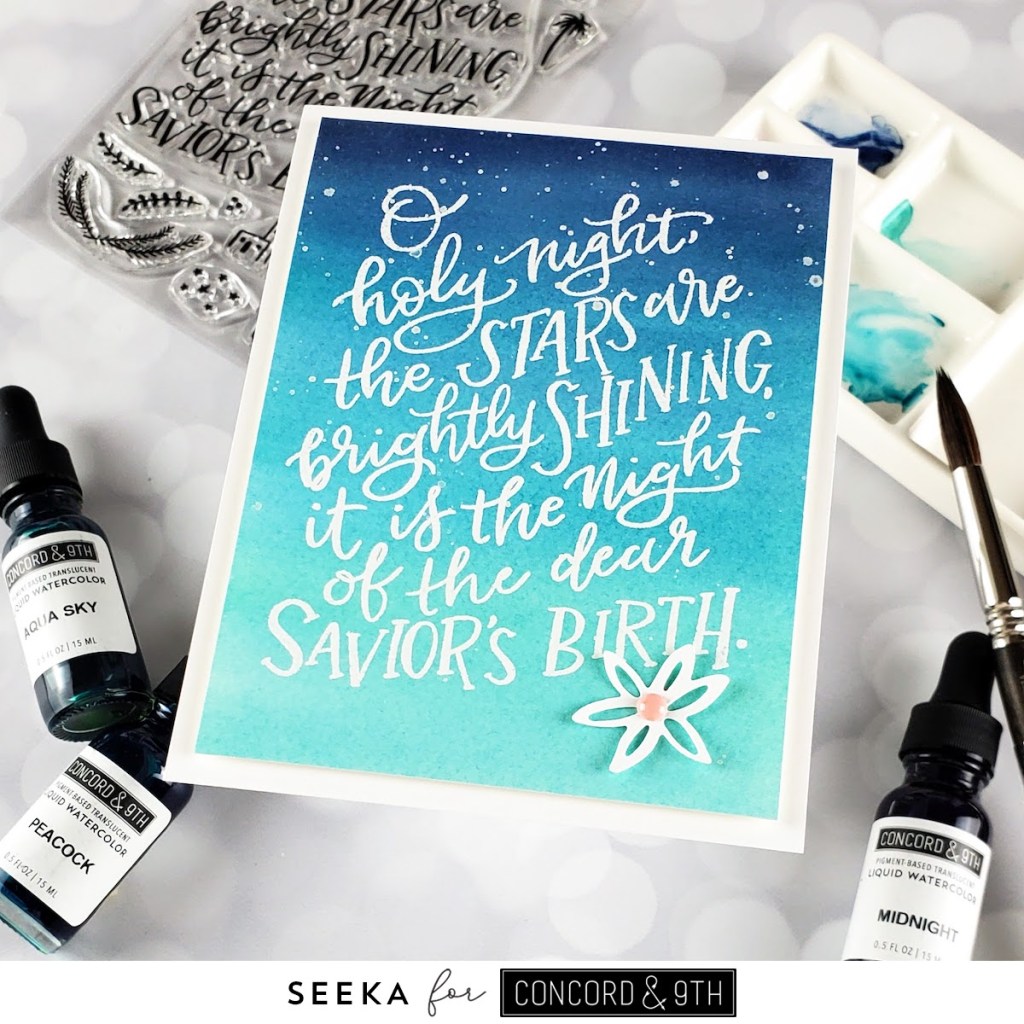
My first card features the O Holy Night stamp set heat embossed on a watercolor background.
I began by using painter’s tape to tape down a panel of watercolor paper to my work surface. Next, I dropped a very small drops of Midnight, Peacock, and Aqua Sky liquid watercolors into separate wells in my palette. Using a flat brush, I wet the entire panel with clean clear water. Next, I used a large round brush to add Midnight at the top of the panel and to pull it down towards an inch or two. Then I added Peacock and helped the colors blend a bit with the brush. Then I cleaned the brush and added Aqua Sky nearer the bottom of the panel and then again used the brush to help the colors blend together. I used a heat tool to dry the panel and then removed the painter’s tape.
Next I heat embossed the scripty sentiment using Wow! Embossing Pad and white Hero Arts embossing powder. Then I splattered a bit of watered down white gouache over the top of the panel to create a snowy look.
I trimmed the panel down to about 4″ x 5.25″ and then added a white floral die cut (made with the coordinating dies) at the bottom. I embellished the center of the flower with a Grapefruit enamel dot.
To finish, I used foam tape to adhere the card front to a card base.
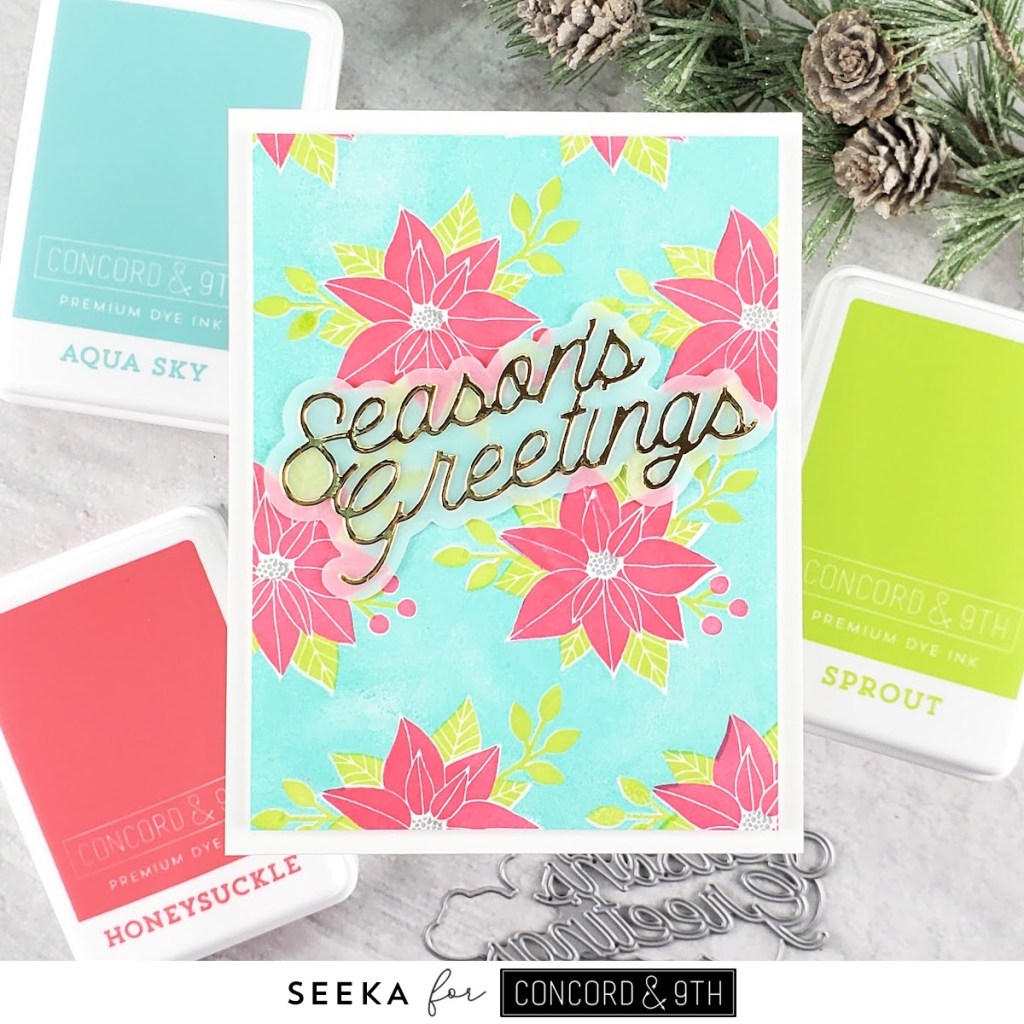
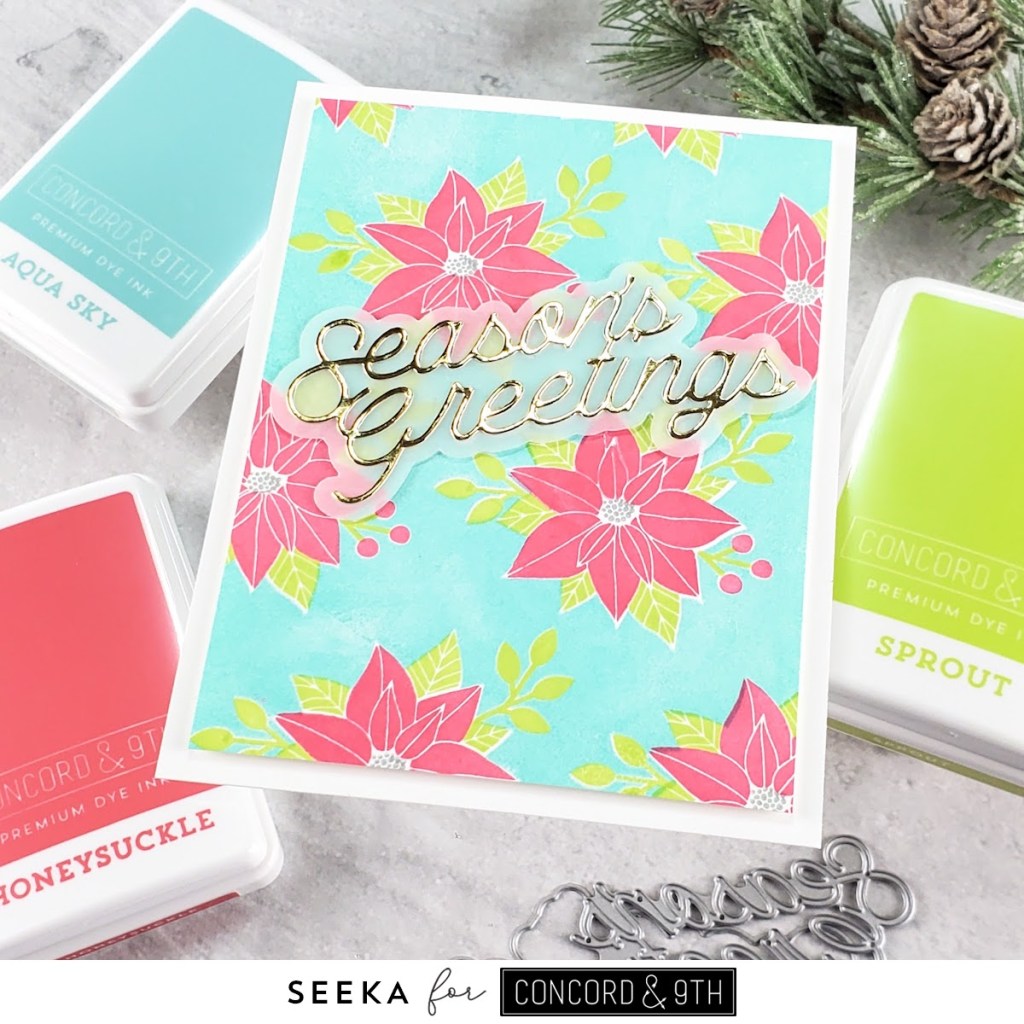
My second card features the Poinsettia Fill-In stamp set.
I began by using Aqua Sky to stamp the background stamp onto a 4.25″ x 5.5″ panel of white cardstock. Next, I stamped all the flowers and berries in Honeysuckle, the leaves in Sprout, and the center of the flowers in Dove. I trimmed 3/8″ off both the length and the width of the panel and then set it aside.
Next, I used the coordinating dies to cut the sentiment from gold foil cardstock and its shadow layer from vellum. I also cut the sentiment two more times from heavy white cardstock. I adhered the gold sentiment to the vellum and then stacked and adhered the two white sentiments together and then to the underside of the vellum. I like this technique for adding dimension behind an intricate vellum sentiment where foam tape would show through.
To finish, I adhered the sentiment to the card front and then used foam tape to adhere the card front to a card base.
Thank you so much for visiting!

This is just gorgeous, Seeka! TFS
LikeLiked by 1 person