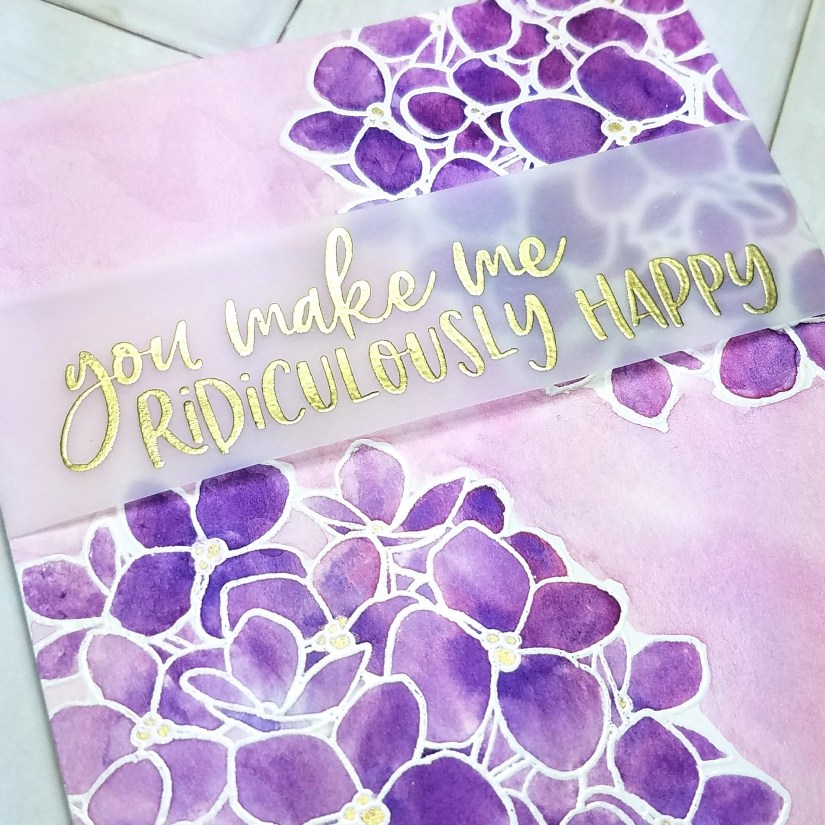
Happy Friday! I’m doing an extra little happy dance because not only is my stressful work week over in ten or so hours, but I also have a friend coming over tomorrow to craft with me. I have a few crafty friends, but only one who has joined me in card making. Where are all the card makers hiding?!
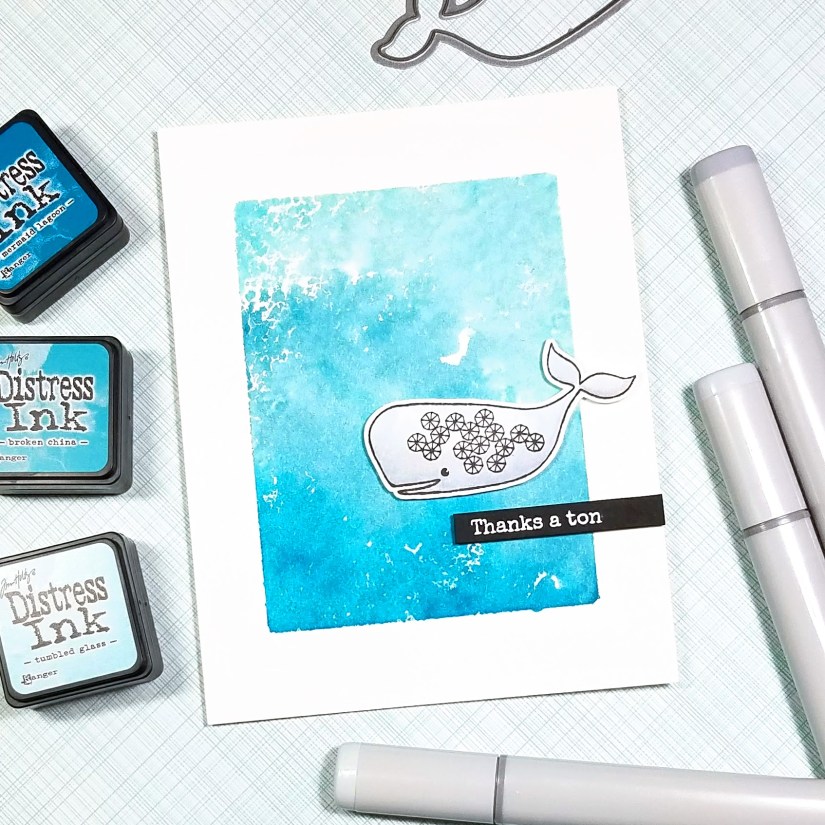
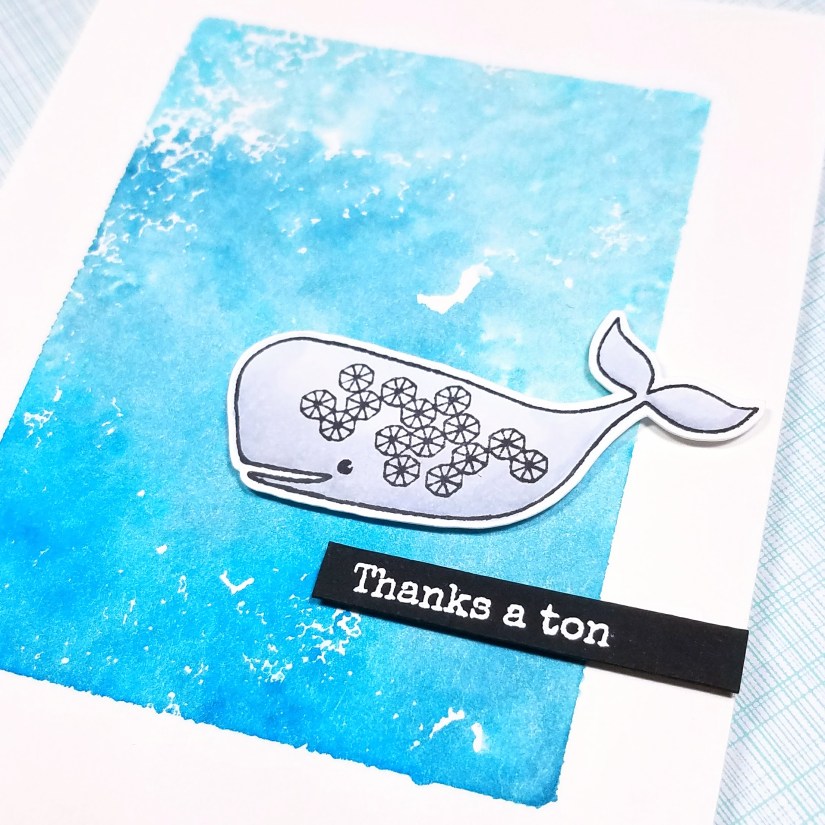
Today’s card features one of the sweet whales from Ellen Hutson’s Essentials By Ellen S’Whale set. I have been seeing a lot of photos of people on cruises lately and I was inspired to make something blue.
 I started with an A2-sized piece of Canson XL watercolor paper. I smooshed three colors Tumbled Glass, Broken China, and Mermaid Lagoon) of distress ink onto an acrylic block, overlapping, but not mixing, the colors very slightly. I then sprayed the block seven times with a fine mist using a Tim Holtz Distress Sprayer, though any sprayer with a fine mist will do. I sprayed from about a foot away so as not to disturb the ink too much.
 I then turned the block over, ink side down, and placed it onto the center of the watercolor paper. When I use this technique, I usually weigh down the block with something heavy which helps force the colors to blend and smoothes them out, but when I saw the beautiful droplets of blue, I realized that I wanted a more textured look for this card so I didn’t put anything on top of the block.
I waited nine minutes (usually I wait five) and then removed the block, lifting at an angle so that the last part of the block touching the paper was over the area with the darkest color. This was important because the inky water tends to pool at the last point of contact and if that point of contact had been over a light part of the blend, then I would have gotten a splotch of a dark color in that light area.
I dried the card front with a heat tool until it was just slightly damp and then I put it between two sheets of typing paper and placed it under a heavy book. I find that doing this helps the piece dry a bit flatter than if I had left it out.
While the card was drying, I stamped the whale in Copic-friendly Hero Arts Intense Black ink onto a piece of Neenah Solar White #80 cardstock. Using N0, C1, and C3, I did some very simple Copic coloring and blending. I die cut the whale and set her aside.
The sentiment is heat embossed onto a piece of black Recollections 110# cardstock. I stamped the sentiment in Versafine ink, sprinkled it with Hero Arts white embossing powder, and then hit it with a heat gun.
When the card front was dry, I adhered it to an A2-sized card base and then adhered the whale and sentiment strip using foam tape for dimension, and that finished up today’s card.
I hope you had a wonderful week and that your weekend gets off to a great start. Thanks a ton for dropping by!


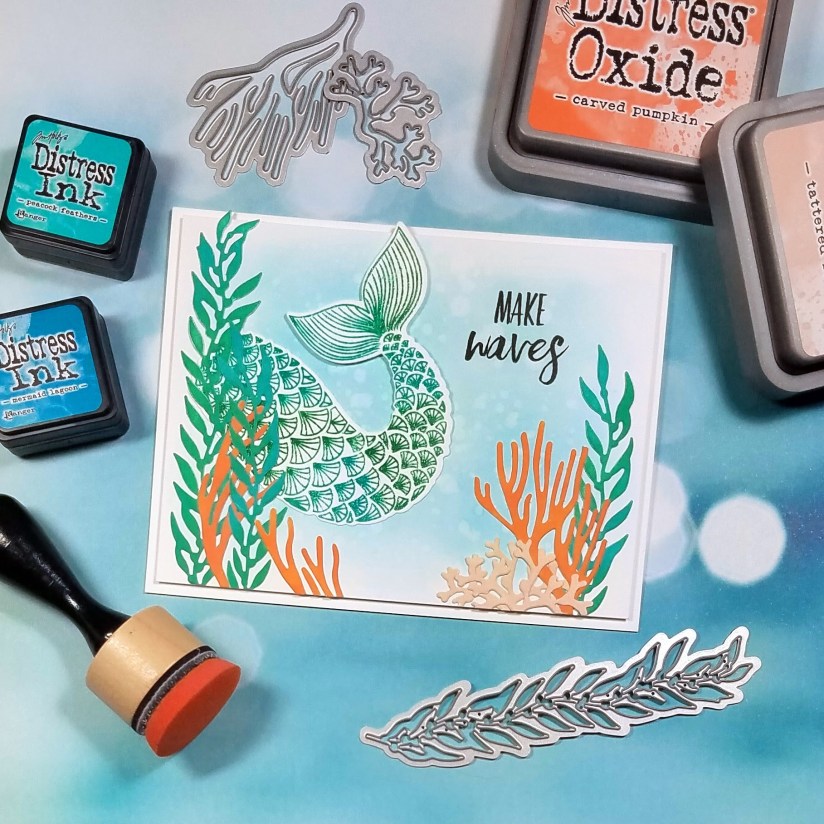
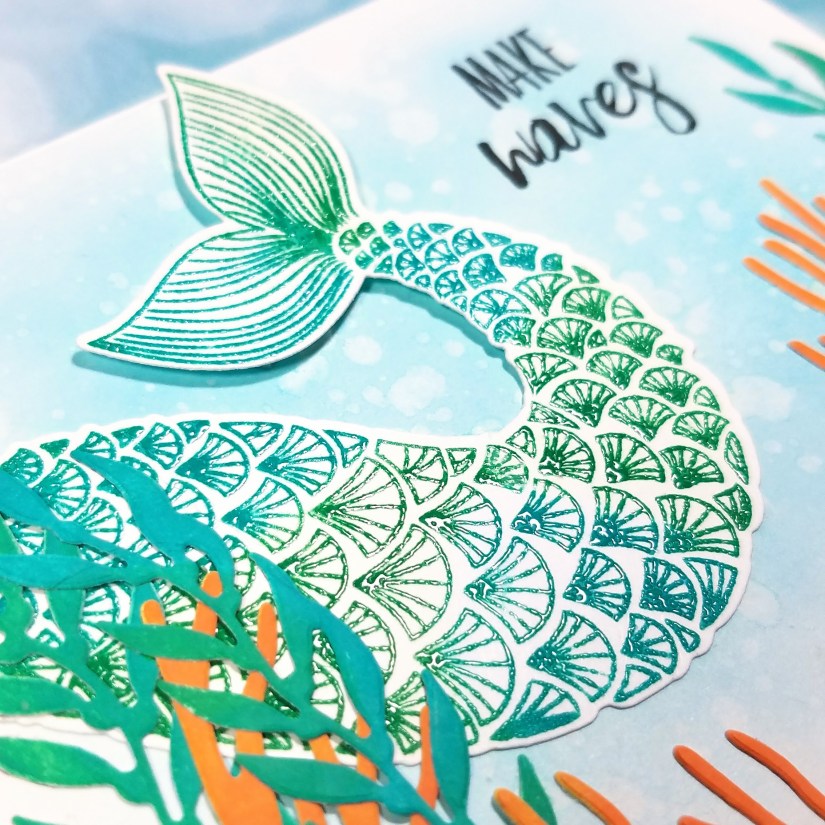
 I started by die cutting all of the seaweed and coral pieces out of Neenah Solar White 80# cardstock. I pieced the die cuts back into their negative spaces which helped hold them in place while I blended Ranger Distress Oxide inks on them. For the seaweed I blended Peacock Feathers with Lucky Clover. For the orange coral I blended Carved Pumpkin with Spiced Marmalade, and for the light coral I blended Antique Linen with Tattered Rose.
 Then it came time to assemble the card. I created a composition that I liked and adhered everything, except the tail, with Ranger Multi Medium Matte glue. Since some of the pieces were layered on top of each other, I used an acrylic block to hold everything down while the glue dried.