Happy Wednesday, we’re halfway to the weekend!
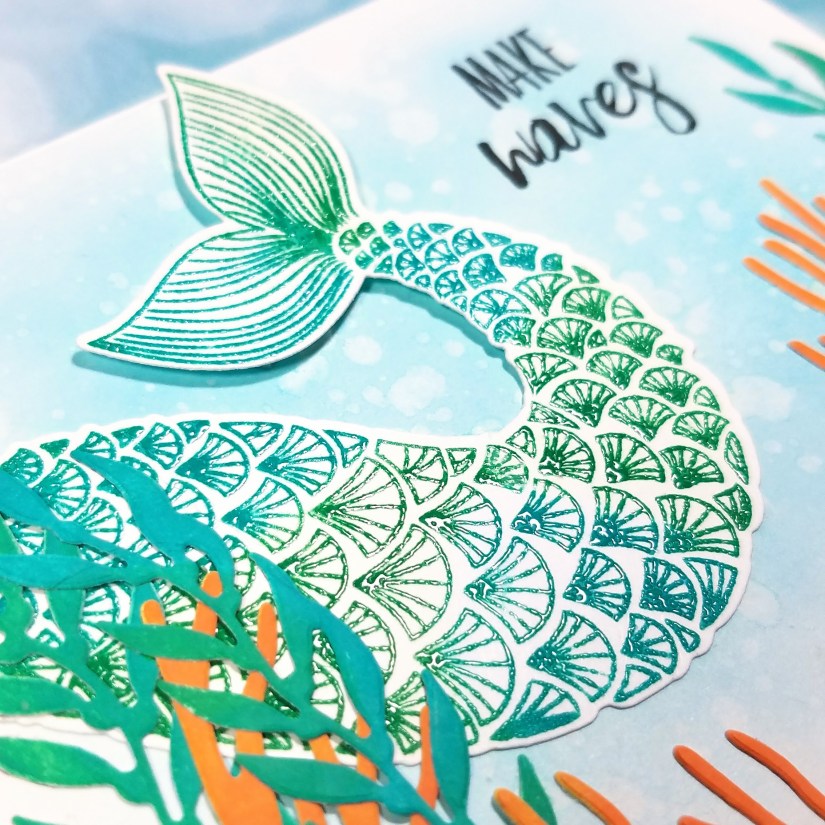
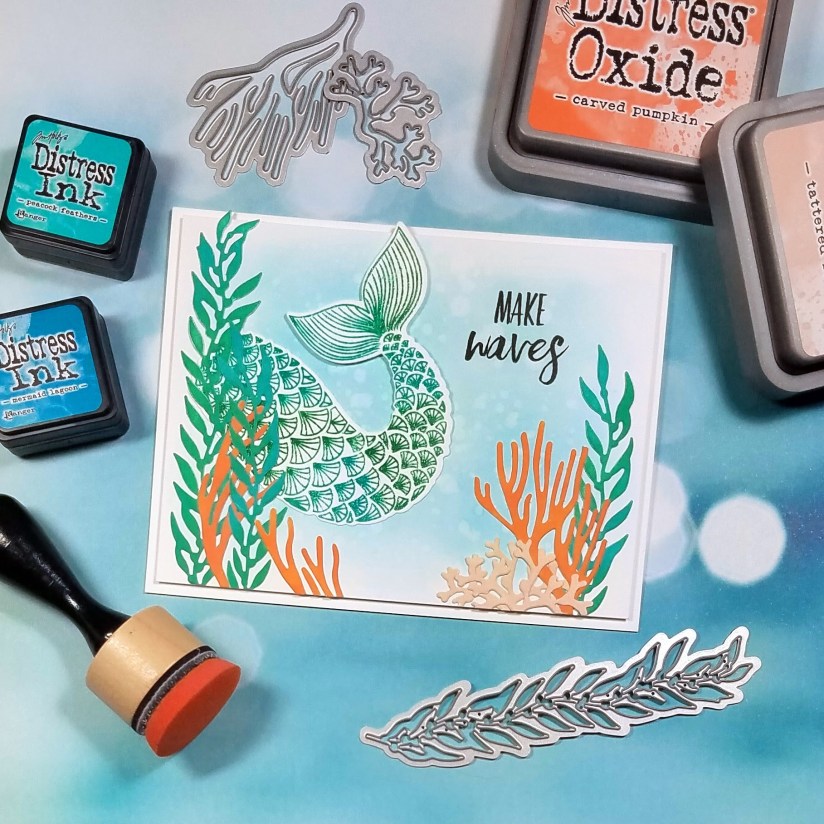
I finally had a chance to play with the beautiful Mermaid’s tail set from Ellen Hutson. I combined the tail and the sentiment from the set with die cuts from Hero Arts’ Coral Fancy die set.
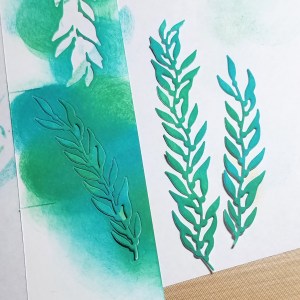 I started by die cutting all of the seaweed and coral pieces out of Neenah Solar White 80# cardstock. I pieced the die cuts back into their negative spaces which helped hold them in place while I blended Ranger Distress Oxide inks on them. For the seaweed I blended Peacock Feathers with Lucky Clover. For the orange coral I blended Carved Pumpkin with Spiced Marmalade, and for the light coral I blended Antique Linen with Tattered Rose.
For the mermaid’s tail, I inked up parts of the stamp with Peacock Feathers Distress Oxide, and others with Lucky Clover Distress Oxides so there would be some color variation. Because these inks stay wet longer than dye inks, I was able to sprinkle the image with clear Hero Arts embossing powder and heat emboss it to add a bit of shine before I die cut it.
For the background I used Strathmore Bristol Smooth paper. This paper is the key for me when blending regular Distress Inks. I have never been able to get a smooth and soft blend on Neenah Solar White. Bristol Smooth paper has a coating which keeps the ink from setting as quickly so there’s time to move it around. No more harsh lines!
I blended a very little bit of Peacock Features and Mermaid Lagoon Distress Ink (not Distress Oxide) onto the card front and then sprinkled drops of clean clear water over it. I let the water sit for about five seconds before dabbing it off with a paper towel and then trimmed the finished card front to just smaller than an A2-sized card.
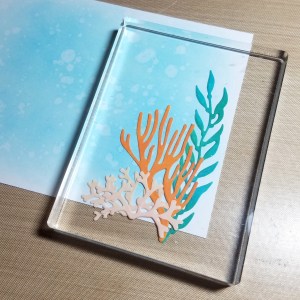 Then it came time to assemble the card. I created a composition that I liked and adhered everything, except the tail, with Ranger Multi Medium Matte glue. Since some of the pieces were layered on top of each other, I used an acrylic block to hold everything down while the glue dried.
For the tail, I used glue underneath the wider part of the tail, but towards the tip I added some foam tape for dimension. I let part of the seaweed and mermaid’s tail hang off the top of the card, and I trimmed off some excess seaweed and coral from the bottom of the card.
To finish, I stamped the sentiment in Versafine Onyx Black ink and then adhered the finished card front to an A2-sized card base with foam tape, for additional dimension.
Thanks for visiting!