

Hi there, I hope you’re having a lovely day!
I’m so excited to be part of day two of the Simon Says Stamp Hello Gorgeous release blog hop, and I’m so glad you’re here! If you’ve arrived from Jennifer Kotas’ blog, you’re right on track. To start today’s hop from the top, visit the Simon Says Stamp Blog.
I have a number of cards to share today so let’s dive right in!
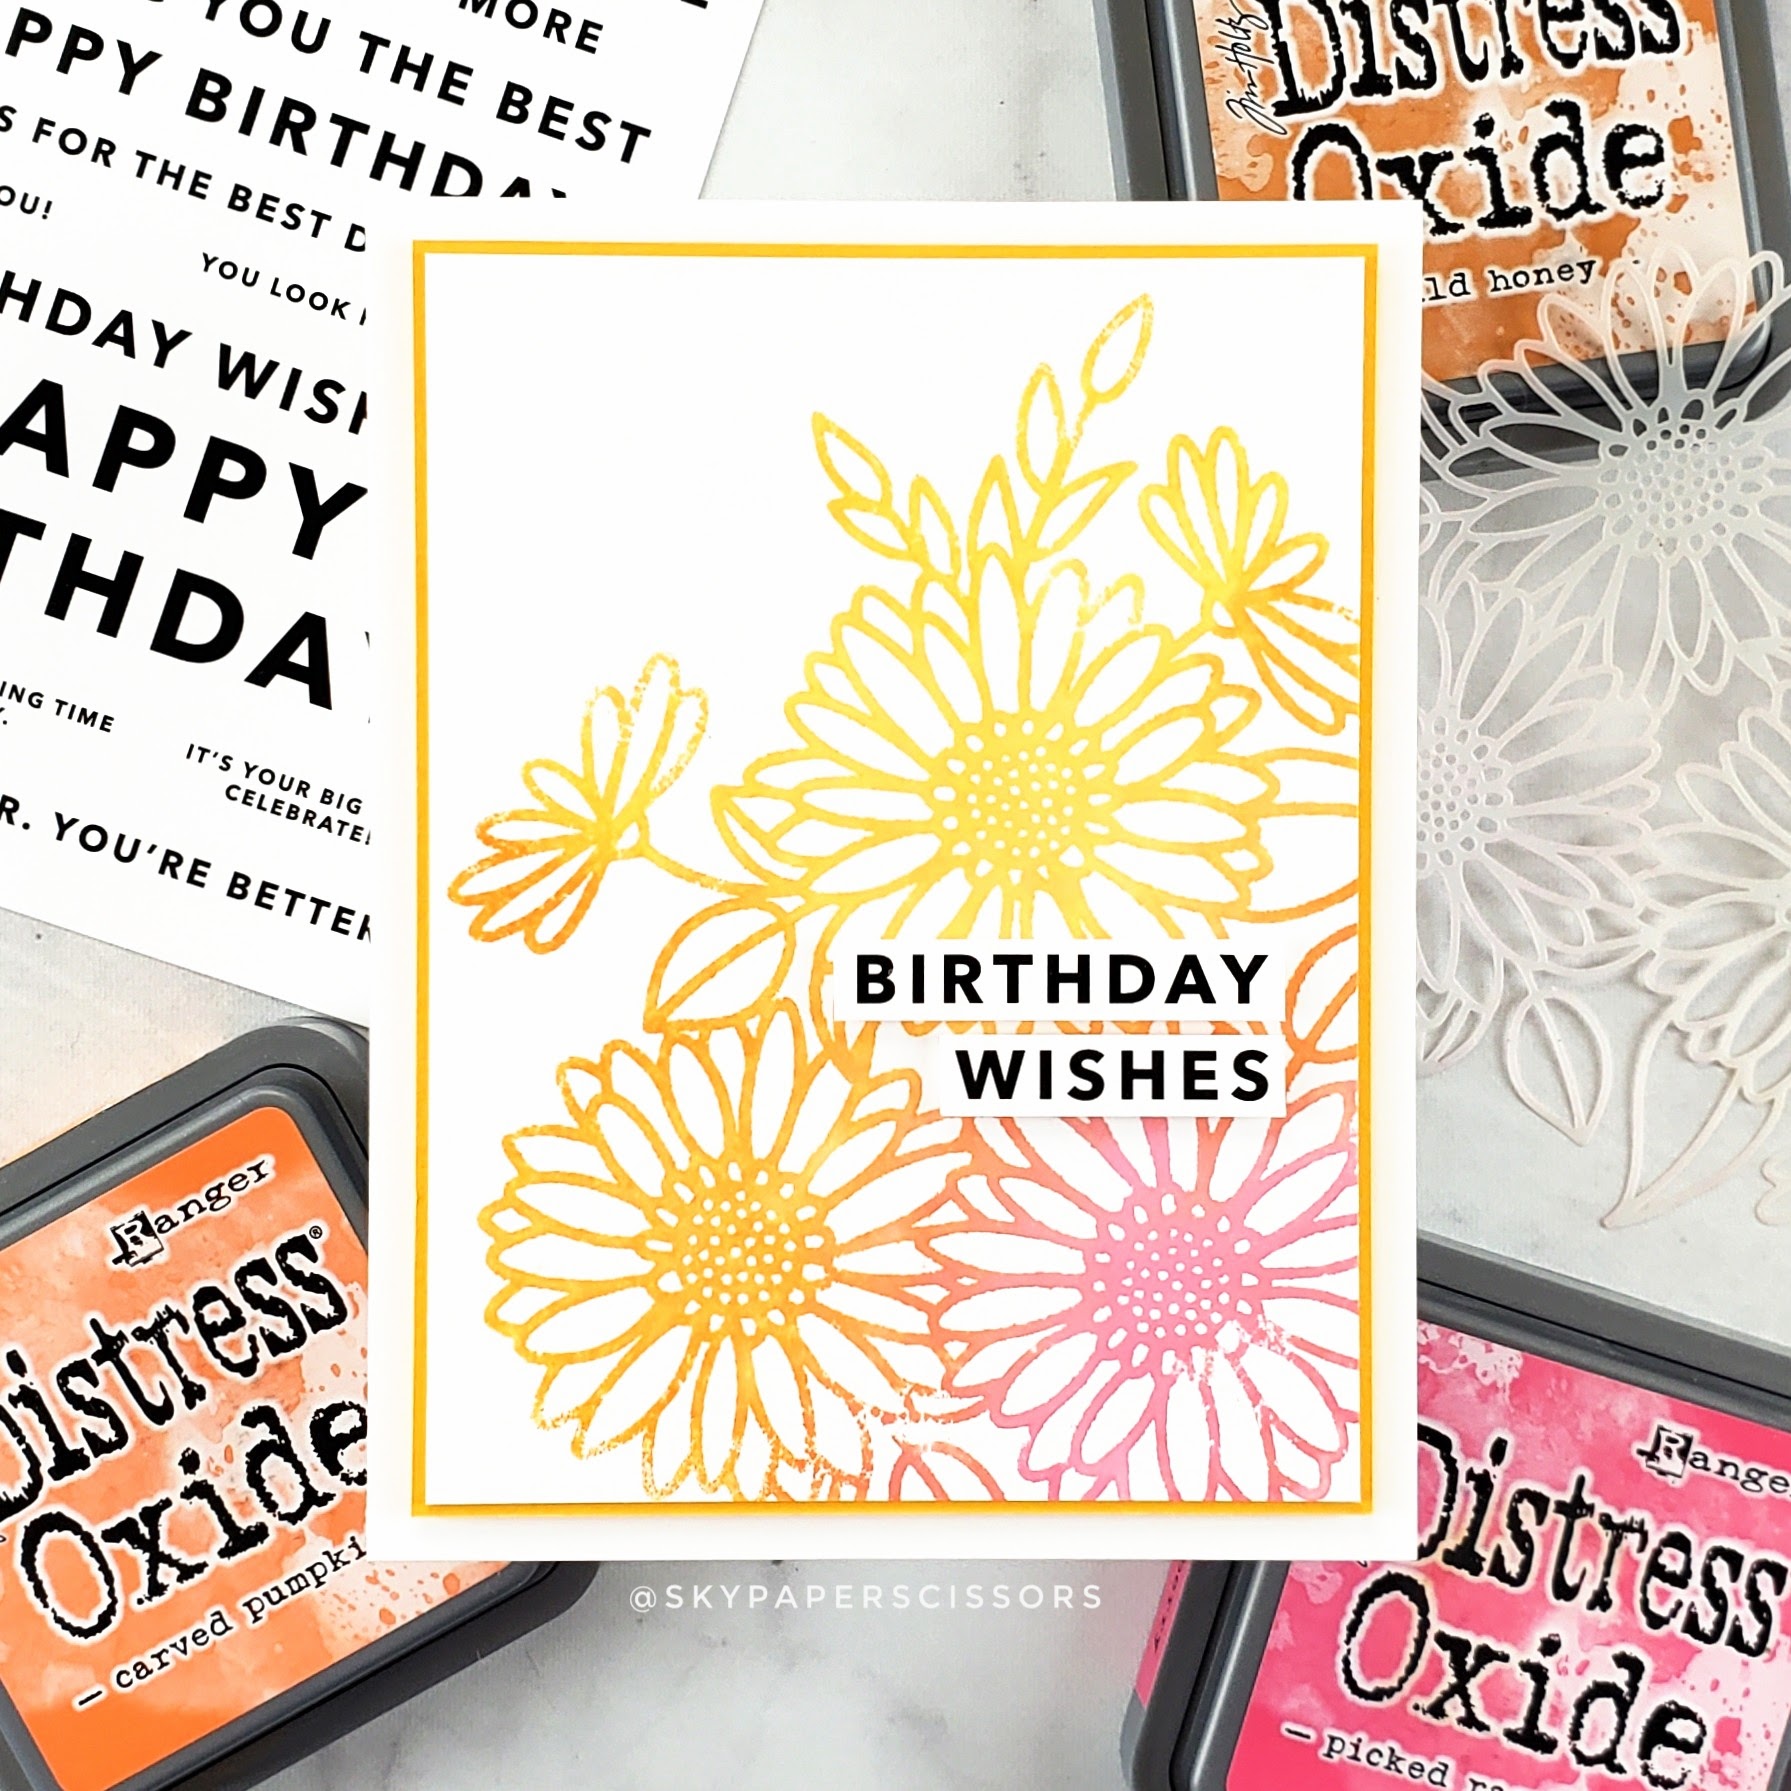
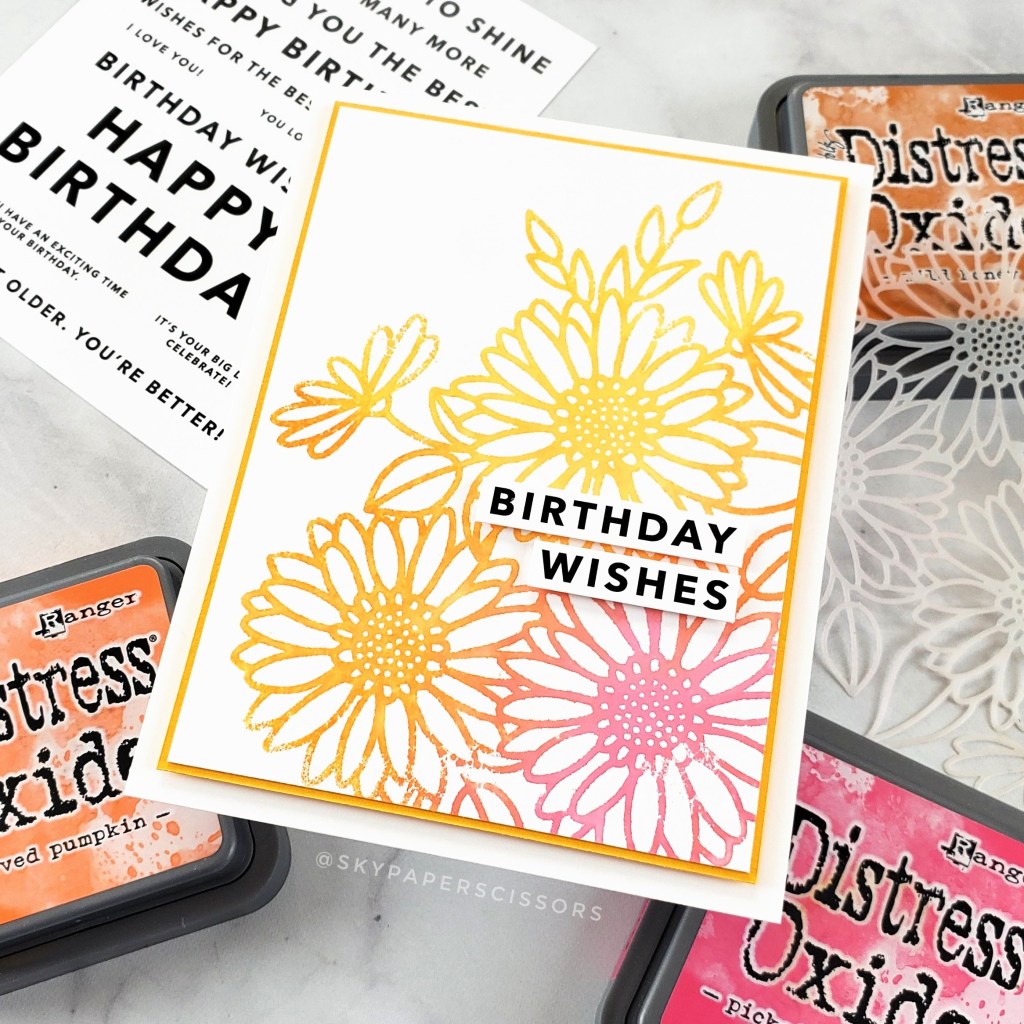
Birthday Wishes
My first card features the new Daisies and Leaves stencil and a sentiment from the new Bold Birthday Sentiment Strips.
Instead of using the stencil traditionally, I used it as a stamp. I began prepping a 4.25″ x 5.5″ panel of white cardstock which placed onto a cushioned surface (I like to use the back of my Misti for this, protected by a piece of scrap paper), then I set this aside. Next, I placed the stencil onto another piece of scrap cardstock and used foam blending tools to tamp Wild Honey, Carved Pumpkin, and Picked Raspberry Distress Oxide inks onto the stencil. I misted some clean clear water onto the stencil from about a foot away and then placed it wet-side-down onto the panel of white cardstock which I’d prepped earlier. I placed another piece of scrap paper over the stencil and rubbed over the paper to make sure that the stencil made complete contact with the cardstock below it. I carefully removed the scrap paper and cardstock to reveal the “stamped” image.
I trimmed the panel down and glued it to a larger piece of Sunshine cardstock. Then I used the We R Memory Keeper Layer Guides to trim the Sunshine cardstock, using the 1/16″ guide to create a perfect fine frame (these layer guides are so handy, no more worrying about cutting two perfectly sized pieces of cardstock to layer together!). To finish, I used foam tape to adhere a sentiment and to adhere the panel to an A2-sized card base.

You’re On My Heart
My second card features the You’re On My Heart die and Delicate Floral Mandala background stamp.
For this card, I used alcohol inks to create a background on Yupo paper and then used Wow! Embossing Pad and Wow! Gold Pearl Embossing Powder to heat emboss the background stamp onto the panel. I was cautious with the heat to minimize warping, taking sure not to linger in one spot for any longer than needed to melt the embossing powder.
Next, I used the die to cut the sentiment from white cardstock. I rubbed the embossing ink pad directly onto the die cut and then dipped it into the same embossing powder. I melted the powder and then repeated the process to add another layer.
To finish, I trimmed the background down to about 4″ x 5.25″ and then glued the sentiment to the background. Then I used foam tape to adhere the card front to a card base.

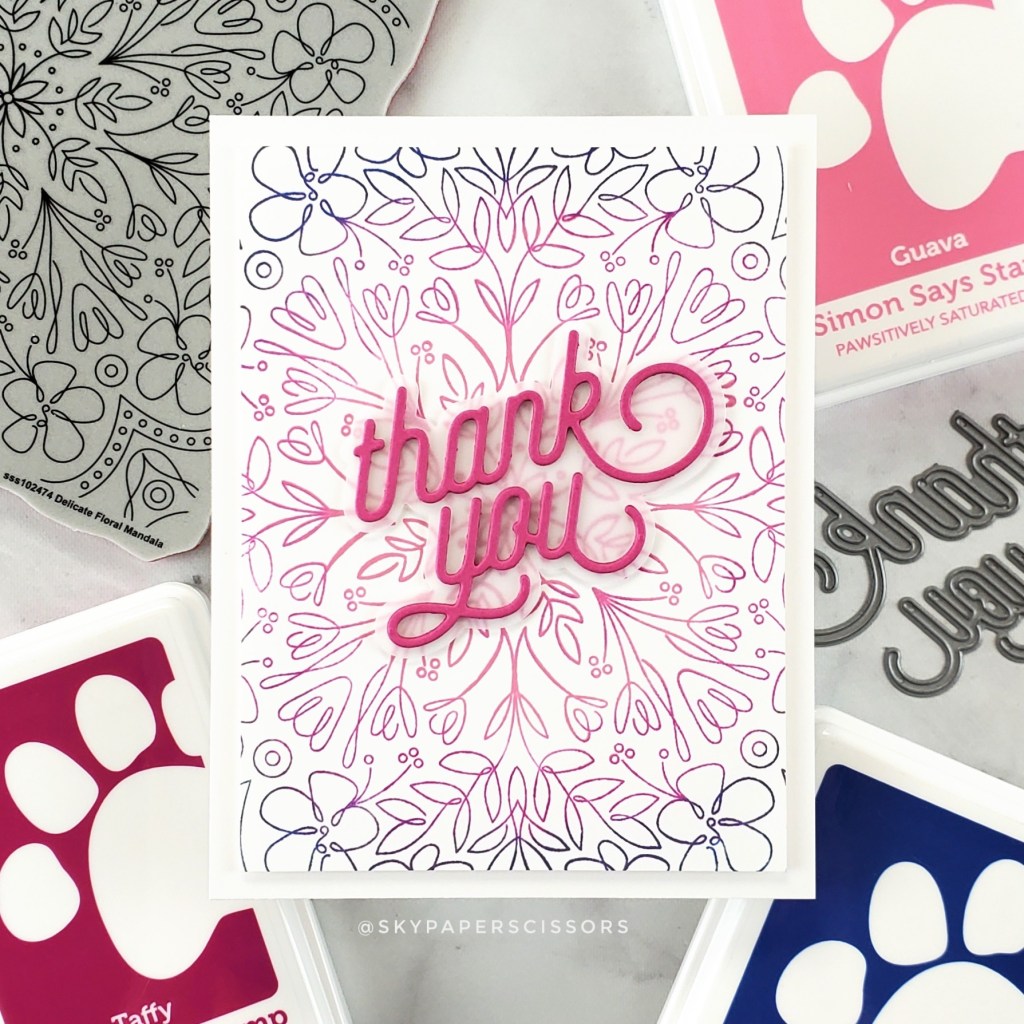
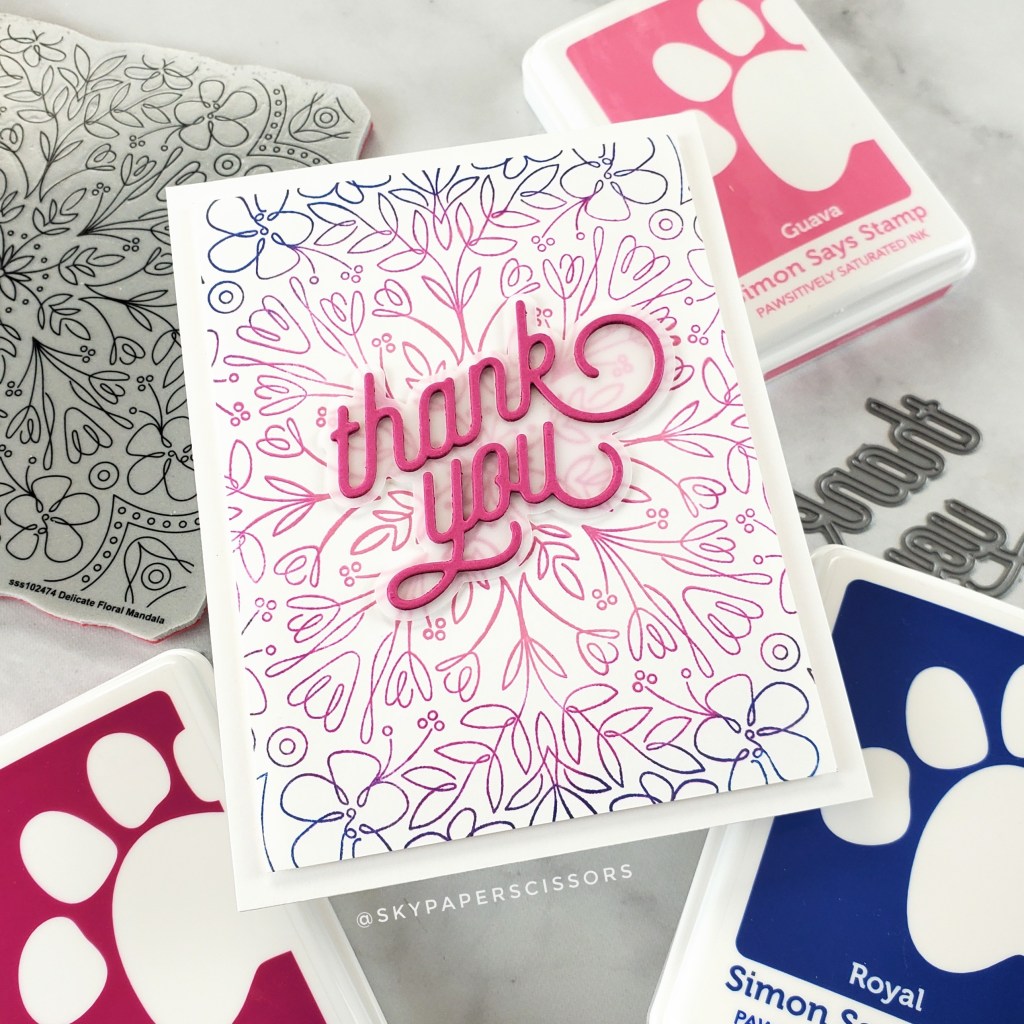
Thank You
My last card features the same Delicate Floral Mandala background stamp along with the Swoopy Thank You die which is from a previous release.
For this quick and easy card, I ombre stamped the background in Guava, Taffy, and Royal Simon Says Stamp Pawsitively Saturated inks. I trimmed the panel and then added the die cut sentiment which I cut from Doll Pink cardstock and adhered to the shadow layer which I cut from vellum. To finish, I used foam tape to adhere the card front to a card base.
Thank you so much for visiting! I’m the last stop in the hop today, so if you want to start from the top, head over to the Simon Says Stamp Blog! Please scroll down for giveaway information and the full blog hop list.
Giveaway
Simon Says Stamp is giving away a $25 coupon to every stop on the hop from the blog comments section. Winners will be chosen and posted on the Simon Says Stamp blog on Wednesday, March 30th. The winner can email Simon Says Stamp to claim their prize.

The way you create your backgrounds unsurpassed from others!!!
LikeLiked by 1 person
What a wonderful technique. I have never tried that with stencils. Beautiful cards!
LikeLiked by 1 person
Gorgeous backgrounds! I LOVE the sentiments!
LikeLiked by 1 person
Beautiful job. I love the cards and I really like that daisy stencil… tyfs 🙂
LikeLiked by 1 person
Wonderful sentiments and luv the use of vellum.
Melissa
“Sunshine HoneyBee”
LikeLiked by 1 person
Hi, Seeka – These are all lovely! I have never thought of using the stencil as a stamp. I’ve used die cuts as stencils but you get the creativity prize today for using the stencil as a stamp. I love the last card for that background stamp w/ the flowers flowing from the center. So pretty. And your alcohol ink card (middle of three) is a stunner – love it!!
Lori S in PA
LikeLiked by 1 person
I luv these POP of colors! The background stencils are vibrant !
Awesome sentiments
LikeLiked by 1 person
Great to learn a new technique. I’ll have to try it! Thanks for sharing
LikeLiked by 1 person
The graduated colors look really nice. Great idea..
LikeLiked by 1 person
This technique was perfect to create these beautiful cards!
LikeLiked by 1 person
Thank you for sharing your technique of using the stencil as a stamp.
LikeLiked by 1 person
Gorgeous!! Love the technique!
LikeLiked by 1 person
Just gorgeous cards! Thanks for the technique and the beautiful inspiration!
LikeLiked by 1 person
Love Love Love your cards
LikeLiked by 1 person
Love your cards! I was amazed how well that stencil actually printed on the paper with the inks on it! Definitely need to try this with some of my stencils!
LikeLiked by 1 person
Love your cards using floral mandala stamp – thank you for the inspiration.
LikeLiked by 1 person
What a brilliant idea to use stencil as stamp! Can’t wait to try it. Beautiful cards
LikeLiked by 1 person
Love your cards, Seeka! Beautiful colors! Thank you.
LikeLiked by 1 person
Such interesting cards and love how you arrived at the final product. Thank you.
LikeLiked by 1 person
Wonderful cards.
LikeLiked by 1 person
Lovely cards!
LikeLiked by 1 person
Such lovely creations!
LikeLiked by 1 person
Absolutely beautiful cards!!
LikeLiked by 1 person
Beautiful cards. This is such a fantastic release — so many possibilities.
LikeLiked by 1 person
Beautiful cards. Thank you so much.
LikeLiked by 1 person
Lovely cards
LikeLiked by 1 person
Using the stencil as a stamp….what a great idea.
LikeLiked by 1 person
Very pretty and colorful stamps. I was wondering about stamping with my stencils and now that I have seen your card I will definitely be giving it a trying.
LikeLiked by 1 person
Hey I hadn’t thought of using a stencil as a stamp but it’s beautiful!
LikeLiked by 1 person
Gorgeous cards!
LikeLiked by 1 person
I love that daisy stencil. Such a sweet card.
LikeLiked by 1 person
I love these cards. I love there simplicity.
LikeLiked by 1 person
Great technique using the stencil as a stamp.
You have inspired me to give it a try!
Thanks for sharing.
LikeLiked by 1 person
Very pretty cards. I love the daisy stencil and am enjoying different ways to use it. This is the first time I have seen a stencil used as a stamp. Very impressive.
LikeLiked by 1 person
Love that flower stencil and the floral mandala stamp. Very pretty cards.
LikeLiked by 1 person
Thanks for the tips on how to use the daisy stencil as a stamp. Love that card. I’m going to try it myself.
LikeLiked by 1 person
Lovely cards! Love the pretty color combinations with those floral images. Thanks for the inspiration!
LikeLiked by 1 person
Lovely cards with differing ink techniques. I love the sunflowers.
LikeLiked by 1 person
Great use of color on these lovely cards!
LikeLiked by 1 person
Fantastic cards! I really love the background on the last card!
LikeLiked by 1 person
Lovely cards. Great backgrounds.
LikeLiked by 1 person
Your stencil as stamp idea is genius! It opens up a whole new world of card making! Now, every time I get out a stencil to use normally, I’m going to make a stamped image, too to keep in my stash when needed for quick cards.
LikeLiked by 1 person
stunning!
LikeLiked by 1 person
Beautiful.
LikeLiked by 1 person
Gorgeous cards Seeka! I love the stenciling technique, TFS!
LikeLiked by 1 person
All 3 cards are beautiful!
LikeLiked by 1 person
Such incredible cards! I love them all!
LikeLiked by 1 person
Beautiful cards! Love the idea of using the stencil as a stamp!
LikeLiked by 1 person