


Hello, crafty friend, I hope you’re having a nice day!
Today we’re celebrating the release of the Altenew Summer Adventure release! If you arrived from the wonderful Erum Tasneem’s blog, you’re right on track. If you want to hop along from the beginning, visit the Altenew Card Blog. Check the bottom of this post for giveaway information and the full blog hop list.
This release of standalone dies is so fun, I’ll jump right in to the four cards I have to share!
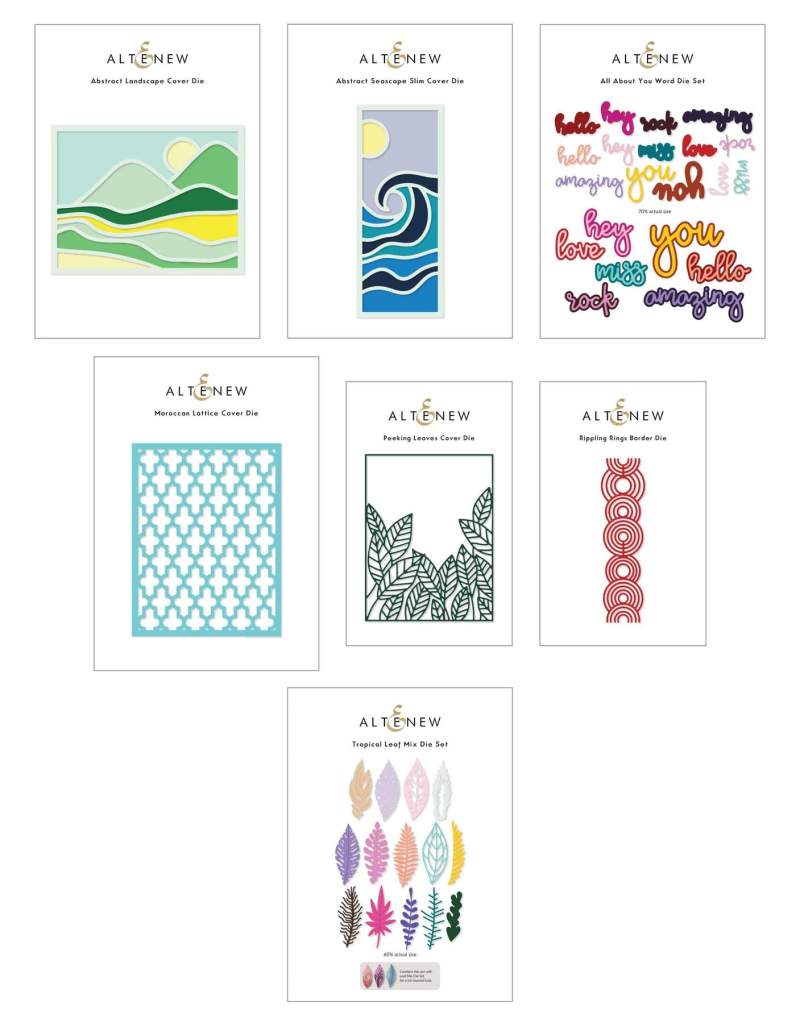
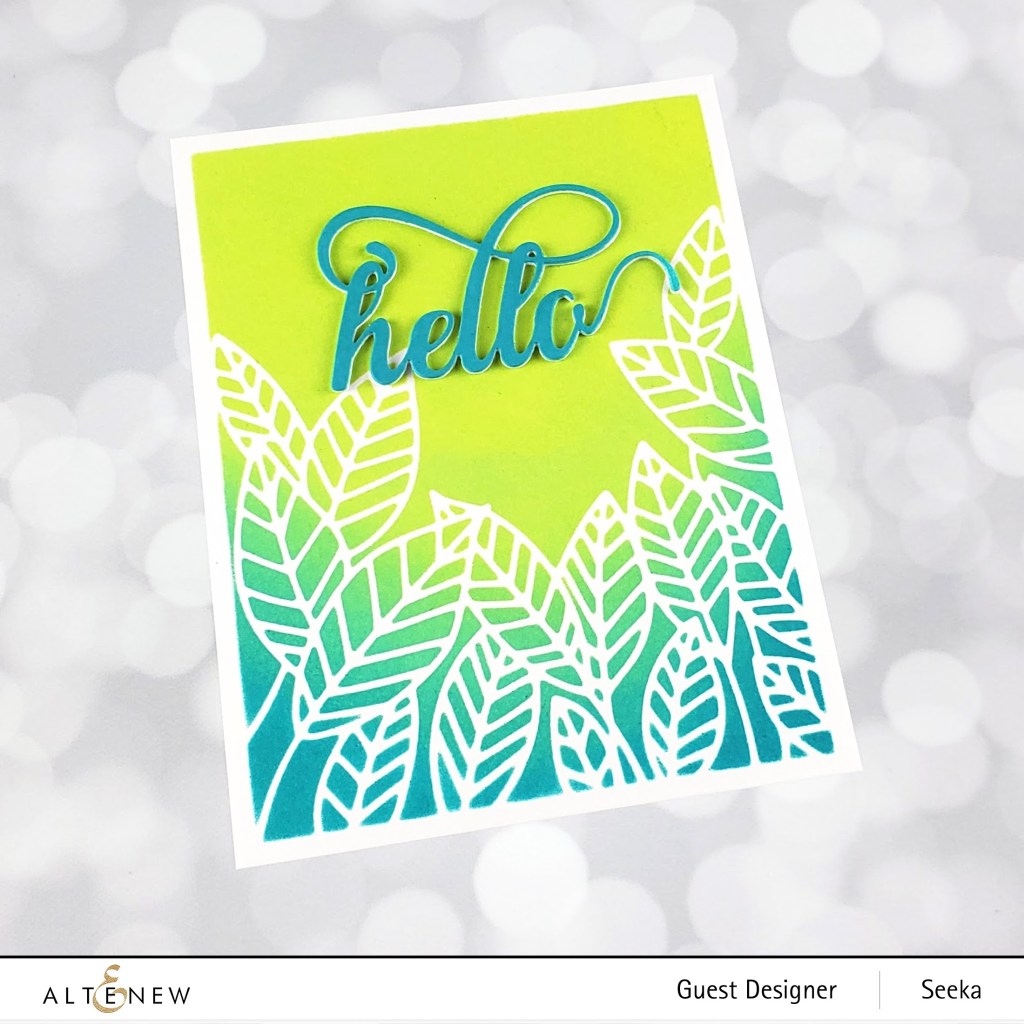
Hello – Peeking Leaves 2-for-1
My first cards are a 2-for-1 featuring the Peeking Leaves Cover Die. This may be my favorite die from the release and I can’t wait to use it for fall and winter cards, too!
To recreate these cards:
- Use the Peeking Leaves Cover Die to cut a piece of Bristol Smooth cardstock
- Use Post-it Tape or another low-tack masking paper/tape to temporarily hold the die cut in place over a 4.25″ x 5.5″ panel of Bristol Smooth. Be sure to adhere over the entire thin border frame (which effectively masks off a border on the panel beneath), leaving as much of the connected leaves and stems exposed as possible.
- Use foam blending tools to tamp on and blend Peacock Feathers, Cracked Pistachio, and Twisted Citron Distress Oxide inks over the die cut, as if it were a stencil. When working over the leaves, a tamping motion works best and Bristol Smooth cardstock, which has a coating that allows ink to sit on the surface of the cardstock longer, gives you lots of time to use tamping motions (instead of swiping motions) to fine-tune the blending of colors.
- Remove the masking tape and separate the die cut from the panel
- Use a 2 in 1 Precision Glue Pen to add glue to the back of the die cut and then adhere it to a panel of light blue cardstock (here I used Hero Arts Artic cardstock)
- Use the Fancy Hello die to cut six sentiments from white cardstock
- Stack and adhere three die cuts together and adhere to to the light blue card, then adhere that card front to a card base to complete the first card
- Use a blending brush to ink one of the remaining die cuts with Peacock feathers; then stack and adhere the two remaining white die cuts together and adhere the inked die cut on top
- Adhere this sentiment to the second card front and finish by adhering the card front to a card base
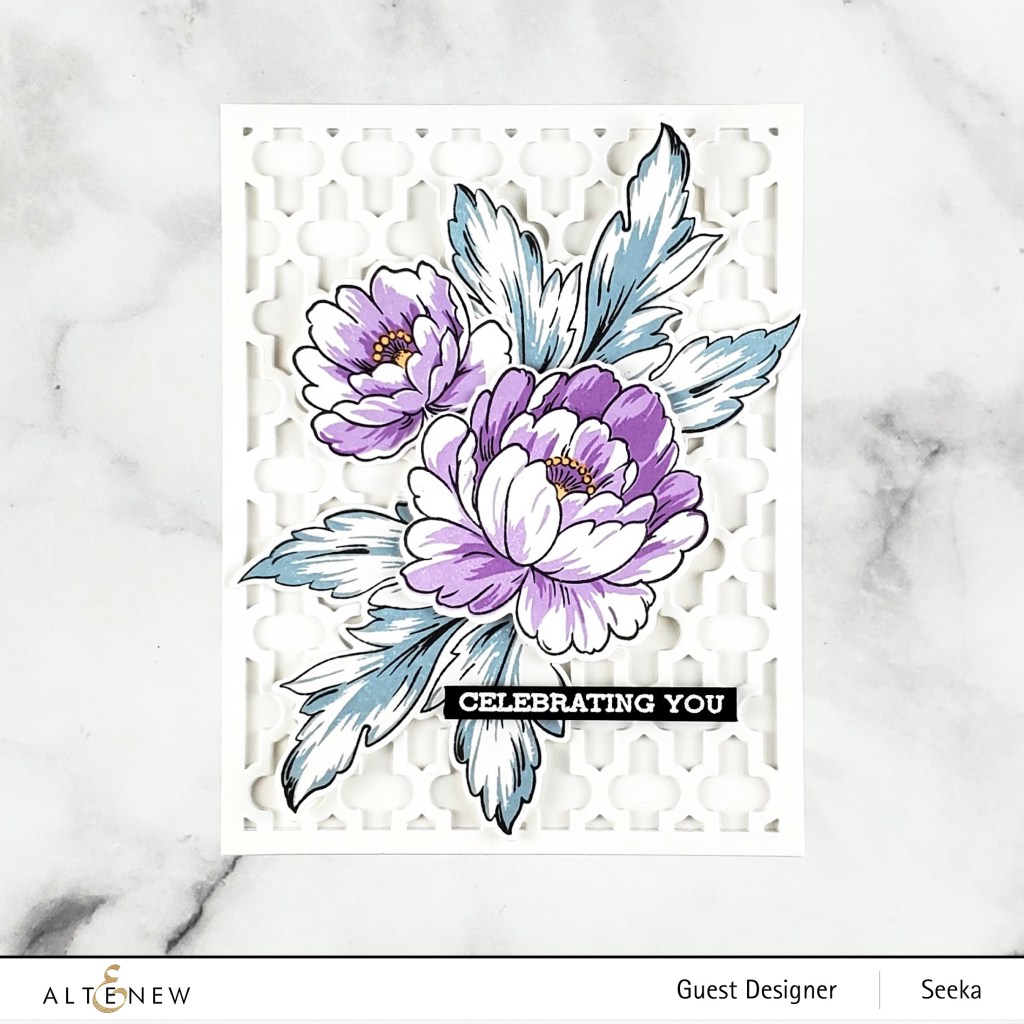
Celebrating You – Moroccan Lattice Cover Die
My second card uses the new Moroccan Lattice Cover Die behind some some blooms and leaves created with the Book Engravings stamp set.
To recreate this card:
- Stamp the flowers in Permanent Black, Lavender Fields, Deep Iris, and Sunkissed Crisp Dye Inks and the leaves in Permanent Black and Cloudy Sky
- Use the coordinating dies (also available with the stamps as a bundle) to cut out the images, then set them aside
- Use the Moroccan Lattice Cover Die to cut three panels of white cardstock; then stack and adhere the layers together
- Adhere the stacked lattice to a card base, then adhere the leaves and blooms
- Use white embossing powder to heat emboss the sentiment (from the Sentiment Strips stamp set) onto black cardstock; trim into strip and adhere to card


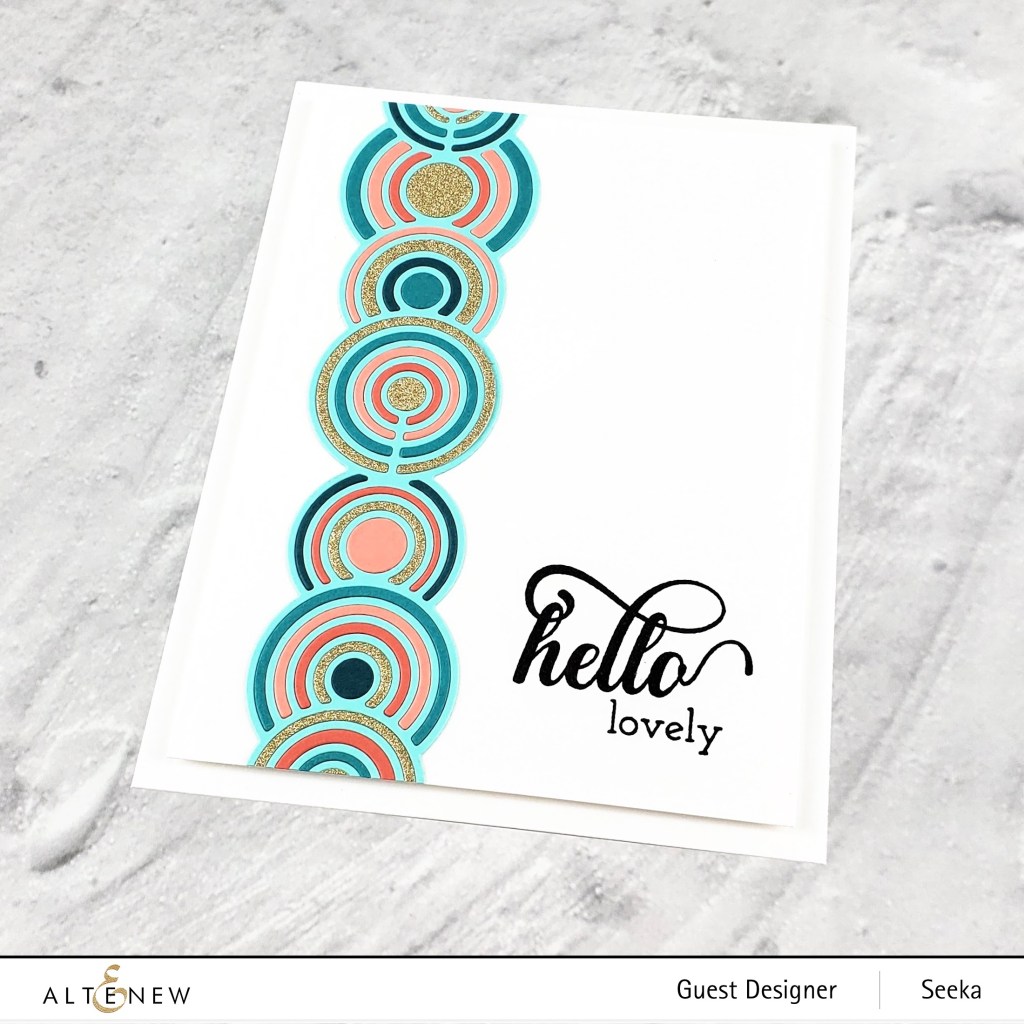
Hello Lovely – Rippling Rings Border Die
My last card features the new Rippling Rings Border Die. This intricate die reminded me of a beaded bracelet I saw once and this card is inspired by that turquoise and coral bracelet.
To recreate this card:
- Use the die to cut six colors of cardstock (here I used Grapefruit, Sorbet, Aqua Sky, Oceanside, and Peacock from Concord & 9th, and a gold shimmer cardstock from a local craft store); make sure to save all of the fall out pieces
- Adhere the light turquoise die cut to a 4.25″ x 5.5″ panel of white cardstock
- Use a 2 in 1 Precision Glue Pen to add glue into one of the openings and then piece in a fallout piece of a different color
- Repeat step three until all of the negative spaces in the turquoise die cut are filled with different colors
- Trim 3/8″ off the length and the width of the panel
- Stamp the sentiment, from the Fancy Greetings stamp set, in black pigment ink
- Use foam tape to adhere the panel to an A2-sized card base
That finishes up my cards for today, thank you so much for stopping by! Your next stop is the lovely Nicole Watt. Be sure to check below for information about the Giveaway and for the full blog hop list.
Giveaway
$300 in total prizes! To celebrate this release, Altenew is giving away a $50 gift certificate to 2 lucky winners and a $25 gift certificate to 8 winners! Please leave a comment on the Altenew Card Blog and/or each designer’s blog post on the blog hop list below by 6/23/2021 for a chance to win.
Altenew will draw 10 random winners from the comments left on each stop of this blog hop and announce the winners on the Altenew Winners Page on 6/25/2021.
Blog Hop List
- Altenew Blog
- Jennifer McGuire
- Vicky Papaioannou
- Norine Borys
- Jenny Colacicco
- Erum Tasneem
- Seeka <– You are here
- Nicole Watt
- Simon Hurley
- Therese Calvird
- Amanda Baldwin
- Tania Ahmed
- Verity Biddlecombe
- Emily Midgett
- Bridget Casey
- Virginia Lu
- Victoria Calvin
- Tenia Nelson
- Colleen Balija
- Nathalie DeSousa
- LauraJane
- Maryam Perez
- Karen Brown
- Michelle Short
- Agnieszka Małyszek
- Patricia Roebuck
- Carol Hintermeier
- Zinia Redo
- Sandhya Iyer
- Terri Koszler
- Kelly Griglione
- Mindy Eggen
- Natasha Davies
- Joylita Dsouza
- Anna Mahtani
- Keren Baker
- Laura Bassen
- Sande Woodson
- Raquel Bowman

Great dies. Beautiful cards!!
LikeLiked by 1 person
Your cards are beautiful!!
LikeLiked by 1 person
Love the ink-blended peeking leaves die cut. Two for ones are so much fun.
LikeLiked by 1 person
Love your Moroccan Lattice Cover Die card. It is so beautiful and elegant.
LikeLiked by 2 people
Love what you did with the Book engraving stamp!
LikeLiked by 2 people
Beautiful cards – love your color combos! Thanks for sharing your talent with us!
LikeLiked by 2 people
Such pretty cards! Thanks for sharing.
LikeLiked by 2 people