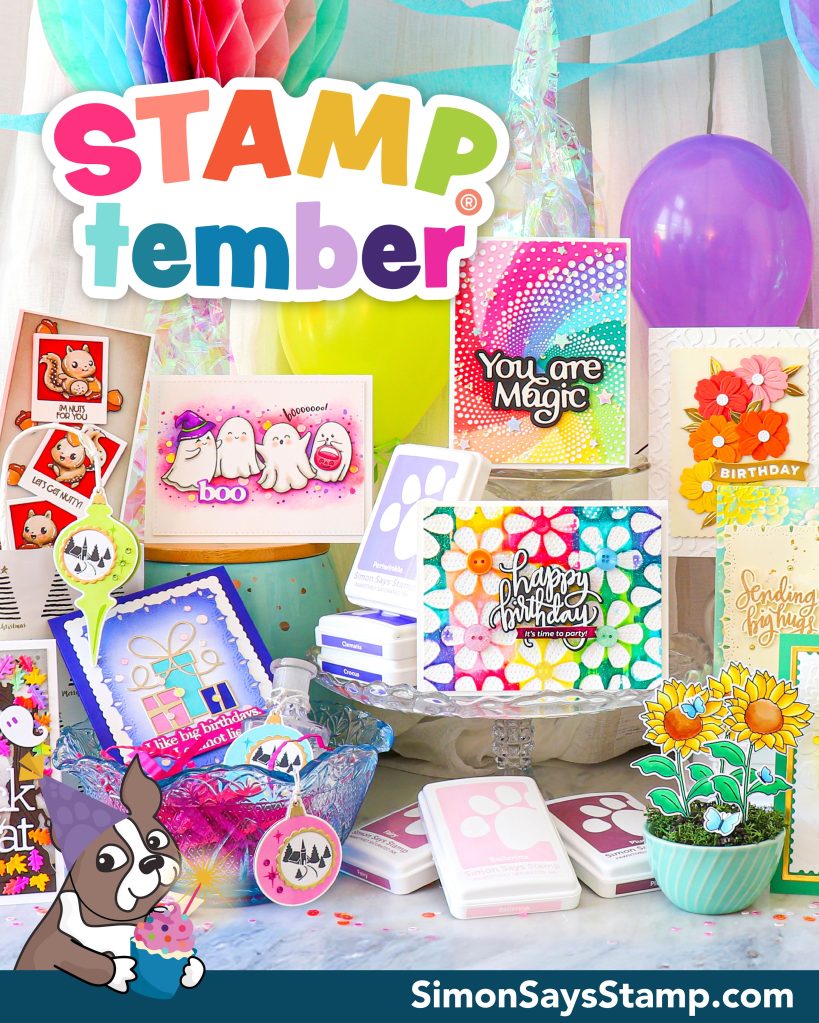
Hello and happy STAMPtember! If we haven’t met before, welcome! You can always find me here on my blog or over on Instagram.
The Simon Says Stamp STAMPtember release is live and today we’re celebrating with a blog party! Visit the Simon Says Stamp blog to see all of the participants, and be sure to take note of this special promo code for an awesome gift with purchase. There are different promo codes across the party so be sure to visit as many posts as you can!
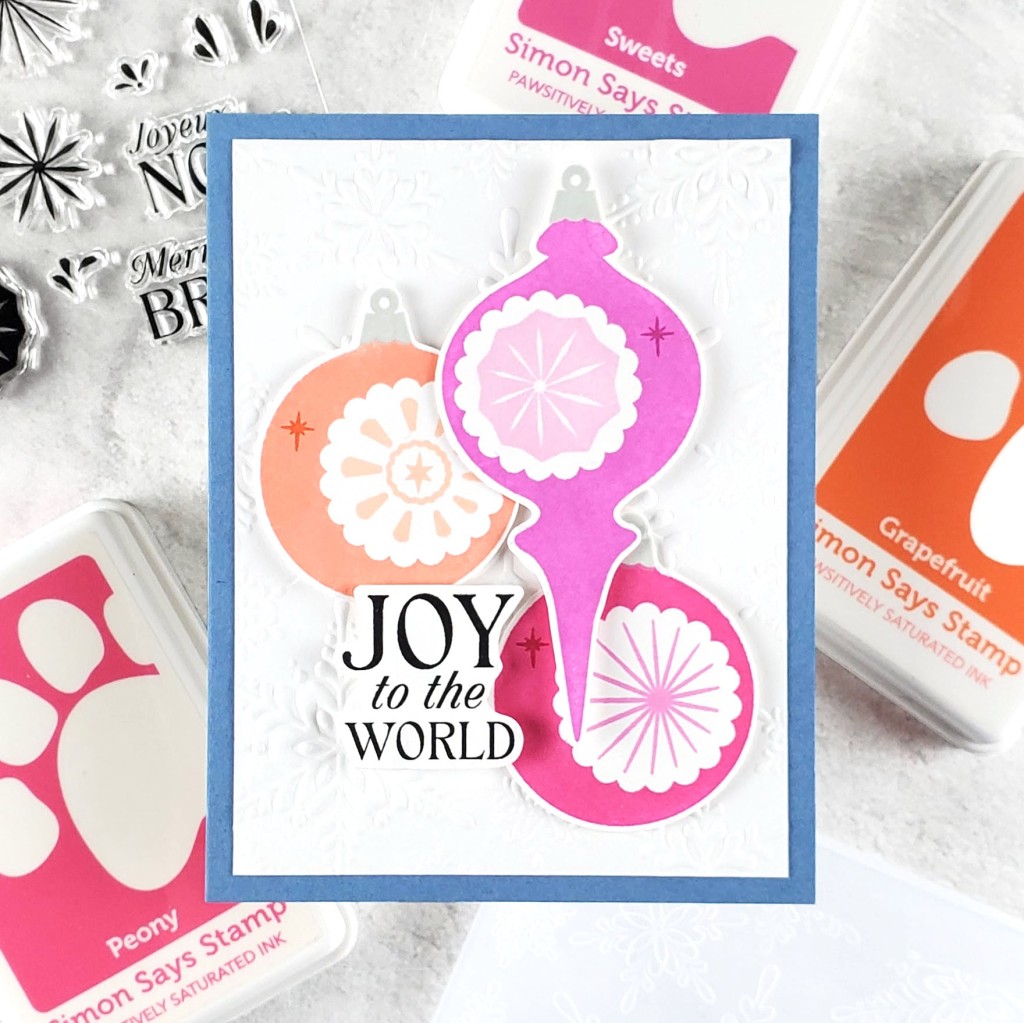
My card today features the new Shiny Baubles stamps. Coordinating dies are also available separately or as a bundle with the stamps.
I used three trios of Pawsitively Saturated Inks and a gray to stamp the ornaments:
Then I stamped the sentiment in Versafine Clair Nocturne ink. I cut out the images and sentiment and used foam tape to adhere them to a 3 7/8″ x 5 1/8″ panel of white cardstock that I dry embossed using the Glistening Snowflakes embossing folder. To finish, I glued the panel to a 4.25″ x 5.5″ panel of Cornflower cardstock which I then glued to a top-folding A2 card base.
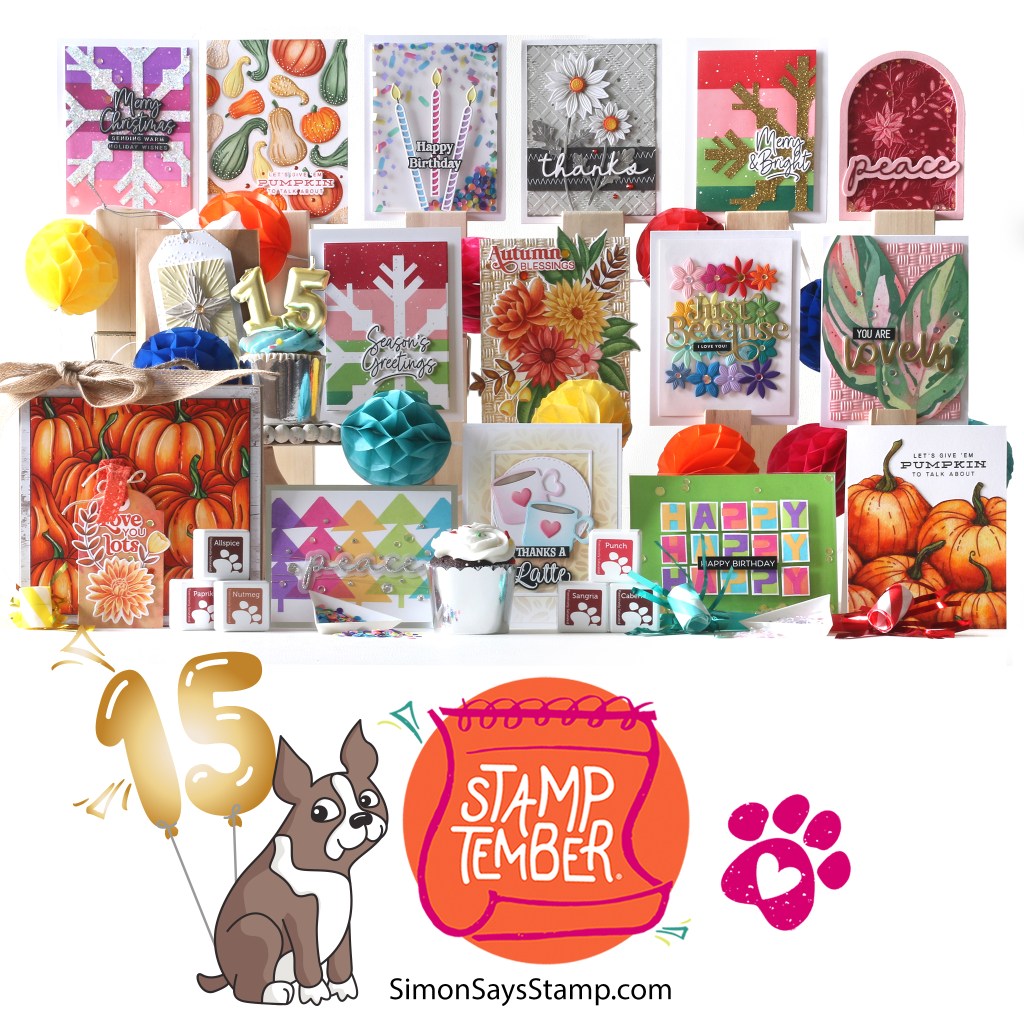
Hello and happy STAMPtember! If we haven’t met before, welcome! You can always find me here on my blog or over on Instagram.
The Simon Says Stamp STAMPtember release is live and today we’re celebrating with a blog party! Visit the Simon Says Stamp blog to see all of the participants, and be sure to take note of this special promo code for an awesome gift with purchase.
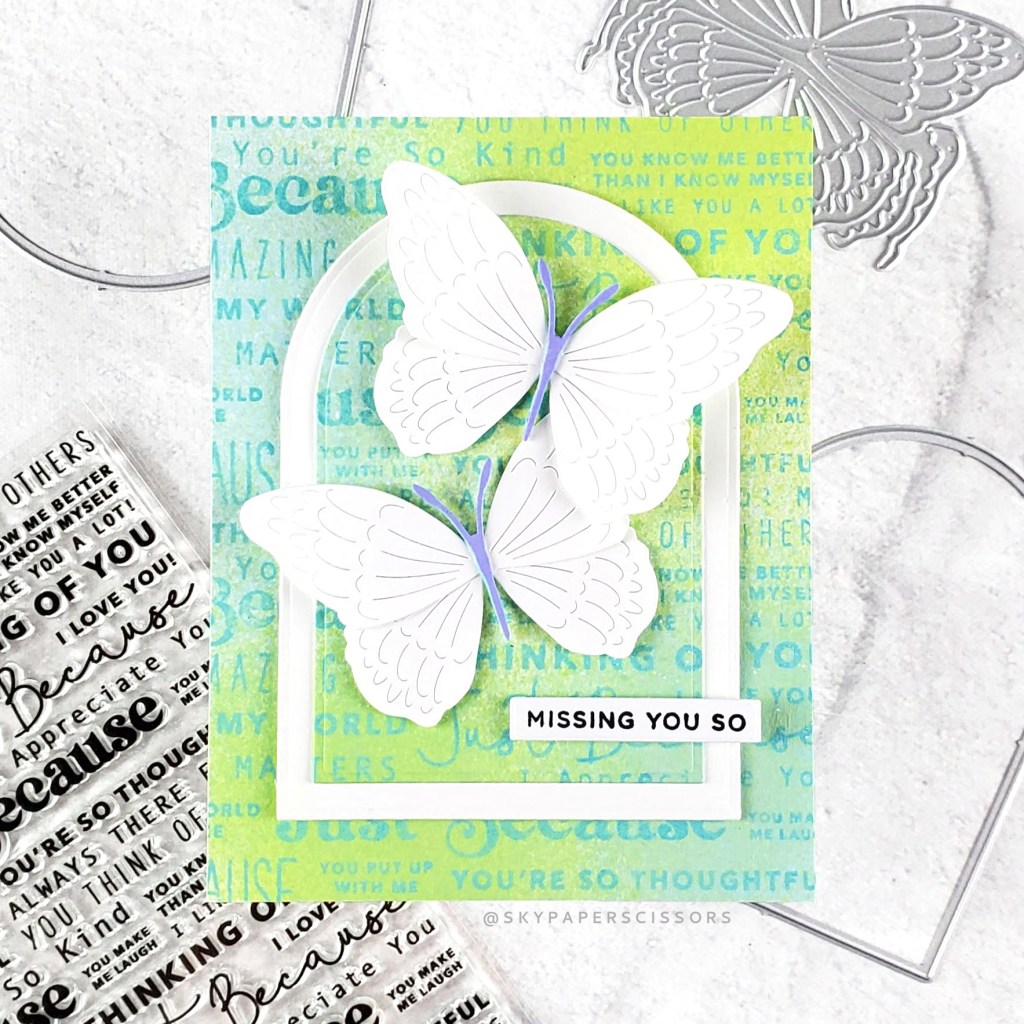
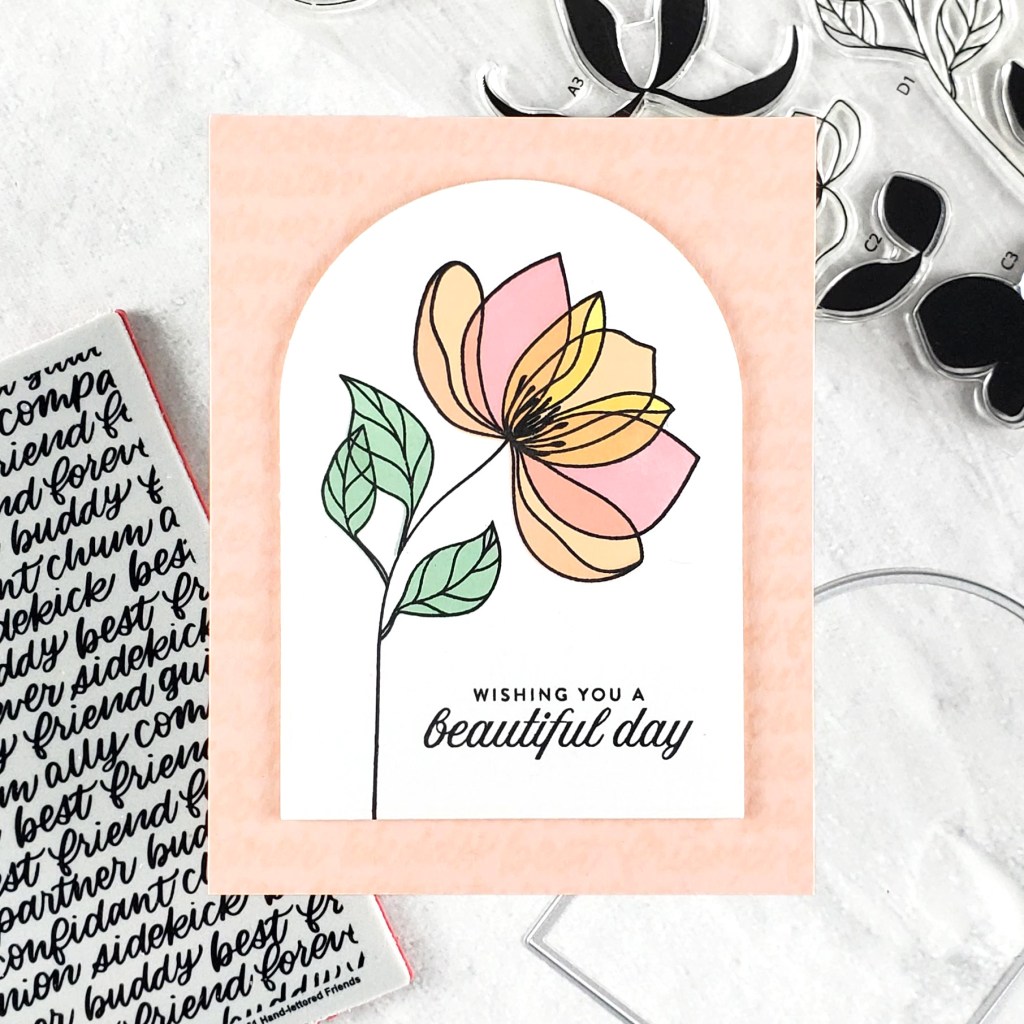
Hello and welcome! Today is day two of the Simon Says Stamp blog hop celebrating the Be Bold release and I’m very glad you’re here! If you’ve arrived from Lea Lawson’s blog, you’re right on track. And, if we haven’t met before you can find me here on my blog and also over on Instagram.
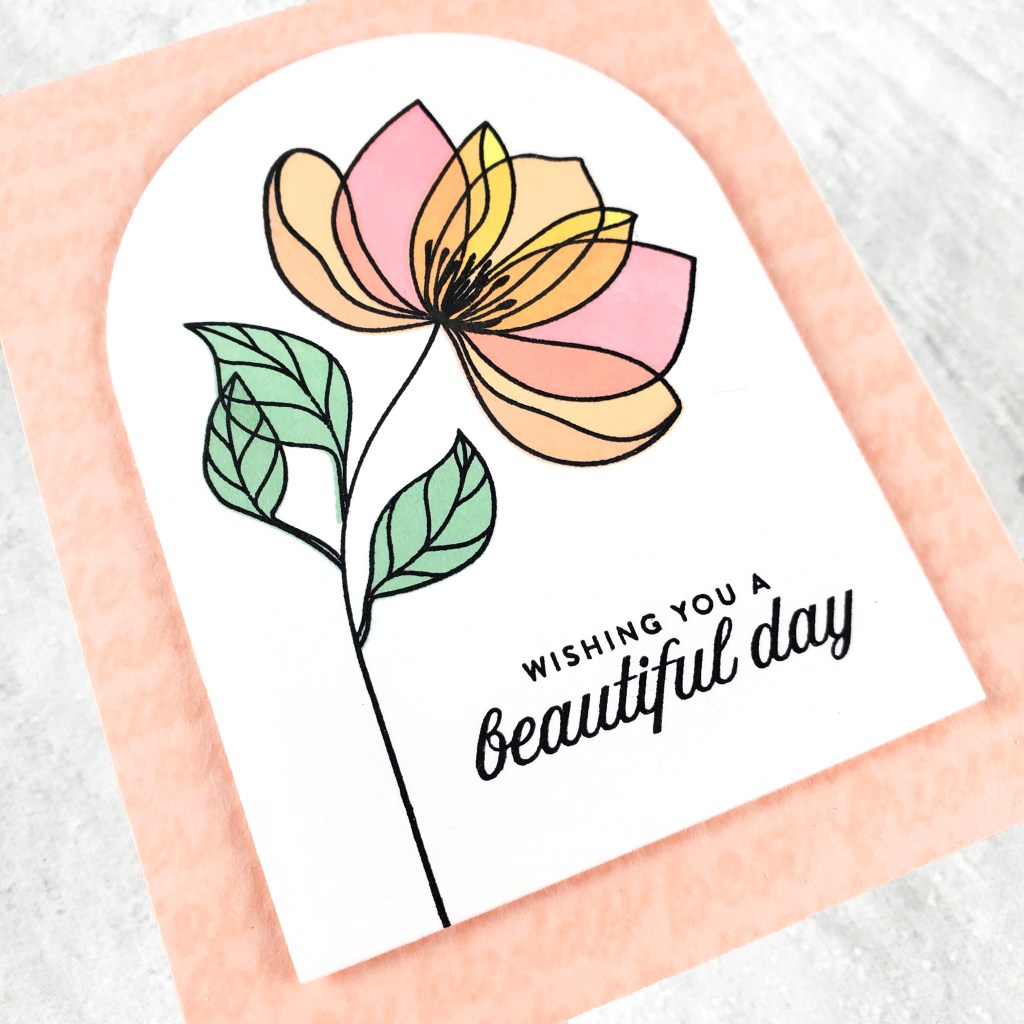
Using a die from the Nested Domed Arches die set, I cut out the flower, framing it within the arch. I stamped the sentiment, from the same stamp set, and then set the arched panel aside.
To assemble the card, I use foam tape to adhere the stamped piece on to the background and then glued the card front to a card base.
Happy Birthday
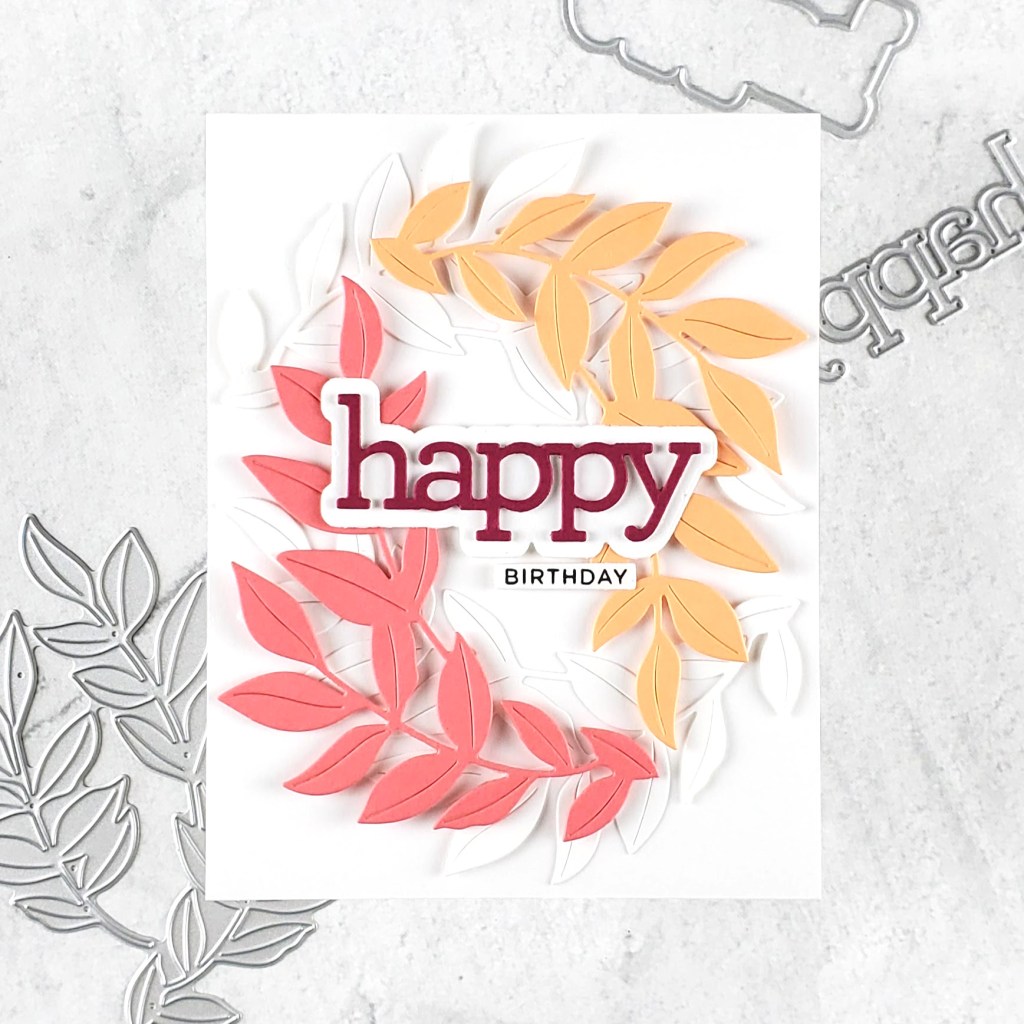
My second card features the new Lush Leaves die and Happy die. I cut the leaves four times, once from a light orange cardstock, once from a pink cardstock, and twice from white cardstock. I arranged them around a panel of white cardstock and used glue and foam dots to adhere them.
Next, I created the sentiment by cutting the detail layer from a dark pink cardstock and the shadow layer from white cardstock. I glued the two pieces together and added them to the panel with foam tape.
Last, I added a small stamped “birthday” sentiment before gluing the card front to a card base.
Thank you so much for visiting! I’m the last stop of the day but be sure to check below for the full blog hop list and information about the giveaway!
Giveaway
Simon Says Stamp is giving away a $25 coupon to every stop on the hop from the blog comments section. Winners will be chosen and posted on the Simon Says Stamp blog on Wednesday the 27th of March, 2024. The winner can email Simon Says Stamp to claim their prize.
I started by cutting the half mandala twice from Pastel Color Blend cardstock, which has a beautiful glossy finish, and twice from heavy white cardstock. I layered and glued each glossy piece over a white piece to create a bit of dimension.
Next, I stamped the You Are background stamp onto a 4.25″ x 5.5″ panel of white cardstock in a light gray ink. Then I used glue to adhere the two mandala pieces; I left the outer edges of the mandala unglued so that they lift away a bit from the background.
For the sentiment, I used the Handwritten Hello die set. I cut the detail layer twice, once from another piece of Pastel Color Blend cardstock and once from white cardstock. Then, I cut the shadow layer three times from white cardstock. I stacked and adhered the layers together and then glued the sentiment to an arched piece of white cardstock that I created using a die from the Nested Domed Arches die set. To finish, I glued the sentiment piece to the mandala and then glued the card front to a card base.