Happy Monday! I hope you had a wonderful weekend!
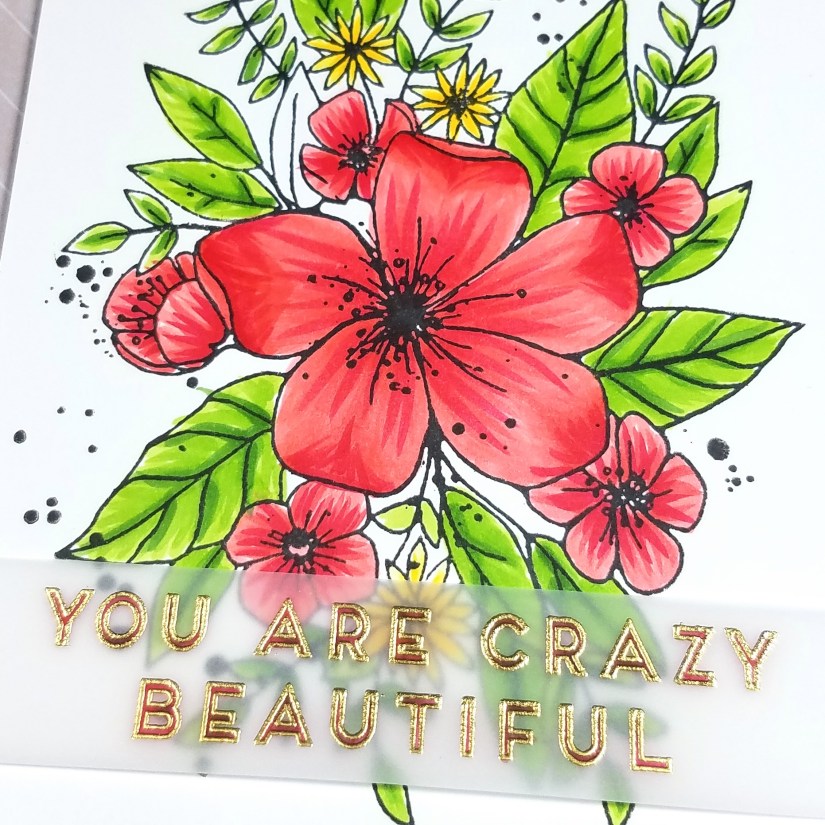
I just received my first order from The Ink Road Stamps and I couldn’t wait to use this sentiment from the Compliments Volume I stamp set. I just love the expression and the simple, open font. Because the font is so uniform, I wanted to pair it with a softer image so I chose this large spray of flowers from Concord and 9th’s Hello Lovely stamp set.
Because this flower stamp is so large, I used my Misti stamping tool so that I would be able to re-stamp the image in the exact same place if I didn’t get a perfect impression the first time. I used Hero Arts Extreme Black ink, which is Copic-friendly, and Neenah Solar White 80# Classic Crest cardstock.
 I chose colors and a coloring technique inspired by (copied from, really) this post by Kay Miller. I’m not great at coloring so I liked that her coloring has distinct strokes and doesn’t require perfect blending. I used three colors from three color group (I don’t own much more than that) but I think I could have gotten away with using just two colors from each group. I started with the lightest colors, then added the middle and then darker colors, and then returned to add more of the lightest colors to do a bit, but not much, blending. The colors I used were YG17, YG25, YG67, RV29, R22, R24, Y11, Y15, and Y19.
I then stamped the sentiment with VersaMark ink onto a strip of vellum. I poured Ranger Super Fine Gold embossing powder over it, tapped of the excess, and hit with a heat gun to melt the embossing powder. Since you can see a lot of the flower image through the vellum, I felt that the sentiment was a bit hard to read so I flipped it over and colored in the letters with R29, another red Copic marker. I colored on the back of the vellum because I’ve read that using Copics directly on heat embossing can damage the markers. I’ve also seen some crafters not heed that warning with no ill effect on their markers. I just prefer to not to risk damaging my markers since they’re already a bit of a splurge.
I finished by laying the vellum strip over the card front and folding the ends of the strip over the back where I adhered them with a bit of tape runner adhesive. Then I glued the entire card front to an A2-sized card base.
Thanks for visiting!