Hello and welcome! It’s release day at Hero Arts and we’re celebrating the February release with a blog hop and a giveaway. If you’ve arrived from visiting Mindy Eggen, you’re right on track!
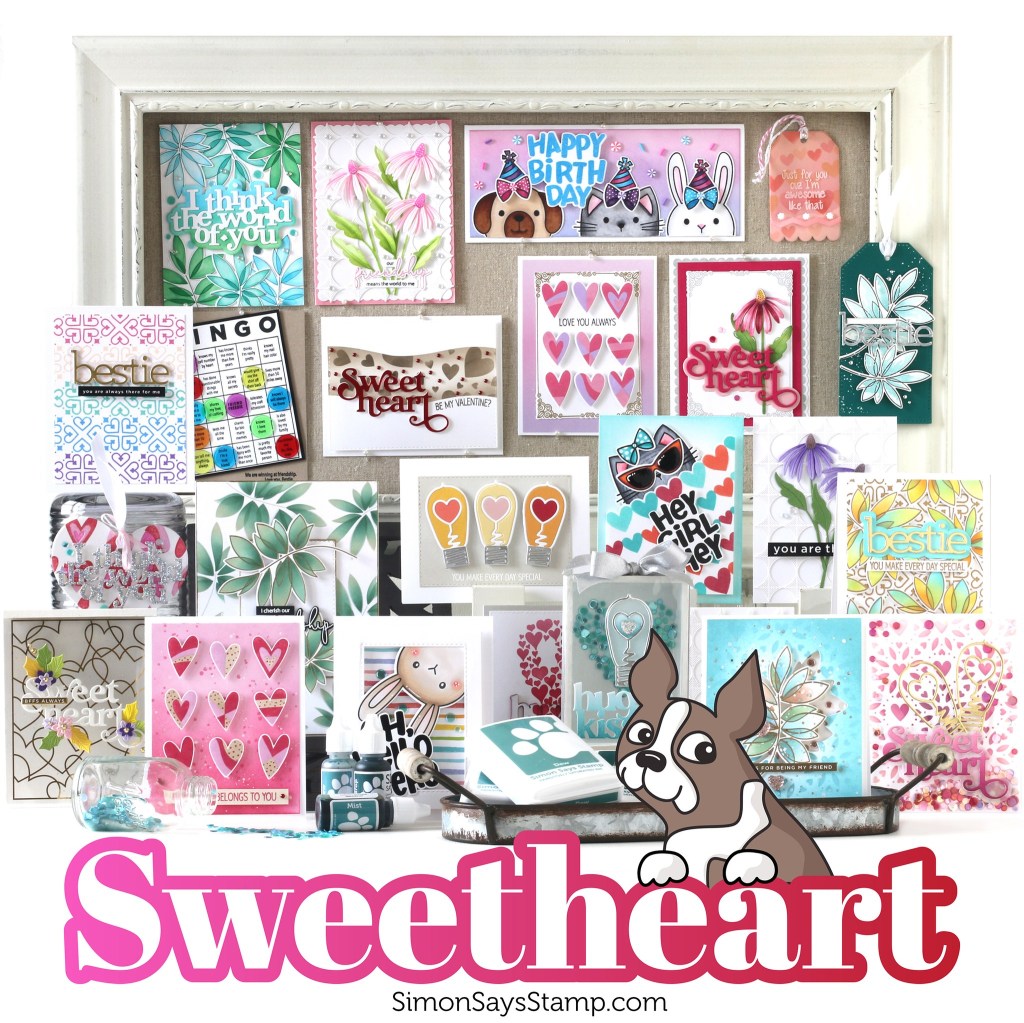
The February My Monthly Hero Kit is about peace and friendship reminding us that we all share the same sky, the same hopes and dreams. This kit features a 6″ x 8″ clear stamp set filled with beautiful, serene floral images and sentiments that will expand your creative horizons. Also included are a bountiful 17 coordinating dies and 4 tag fancy dies. The kit is rounded out with twine, an ink cube, and a generous amount of white cardstock.
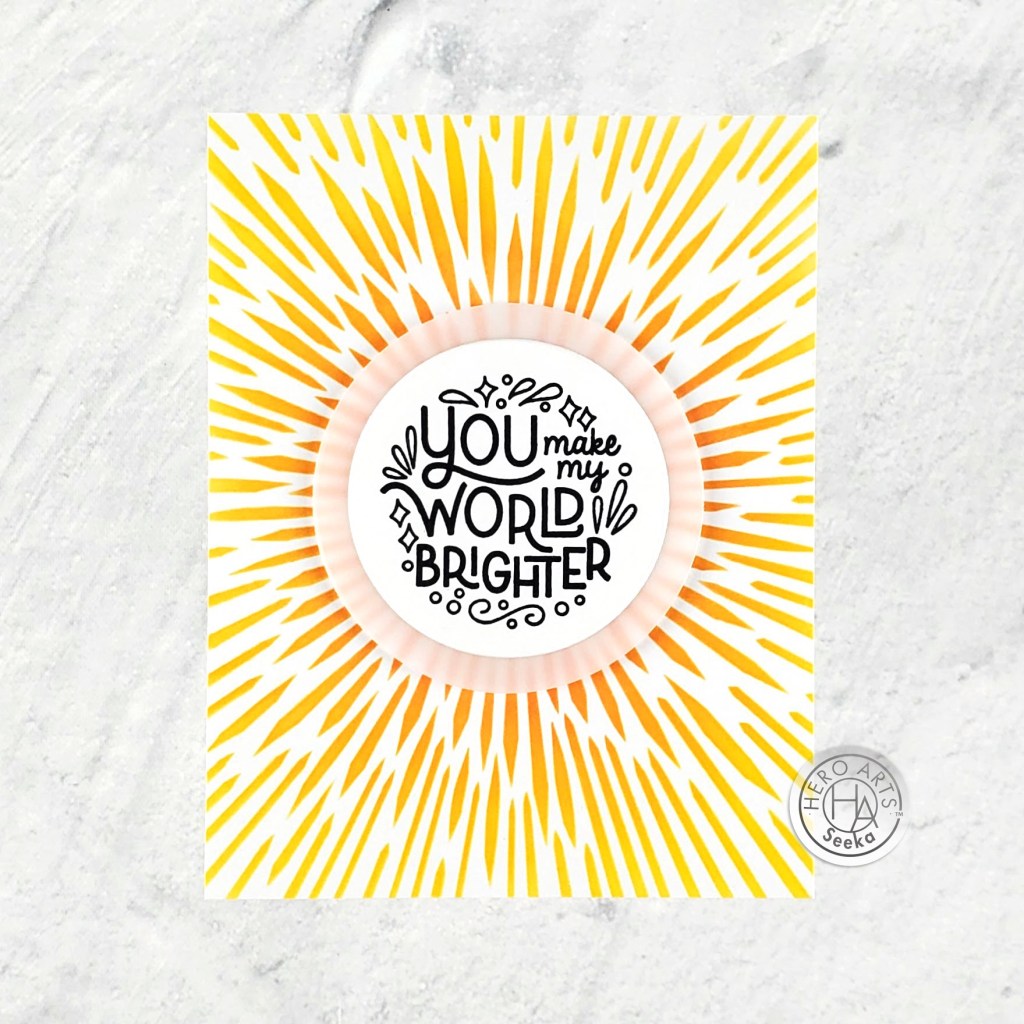
The Premium Kit includes additional elements to extend the potential for more cards and projects – even more Creativity in the Box! In addition to all the Classic Kit components, the highlight of the Premium kit includes a Radiant Sun Stencil and a whopping 48 pieces of ephemera, featuring colorful flowers, hearts, butterflies, and words. Also included is a 3″ x 4″ clear stamp filled with positive messages, word fancy dies, and embossing powder.

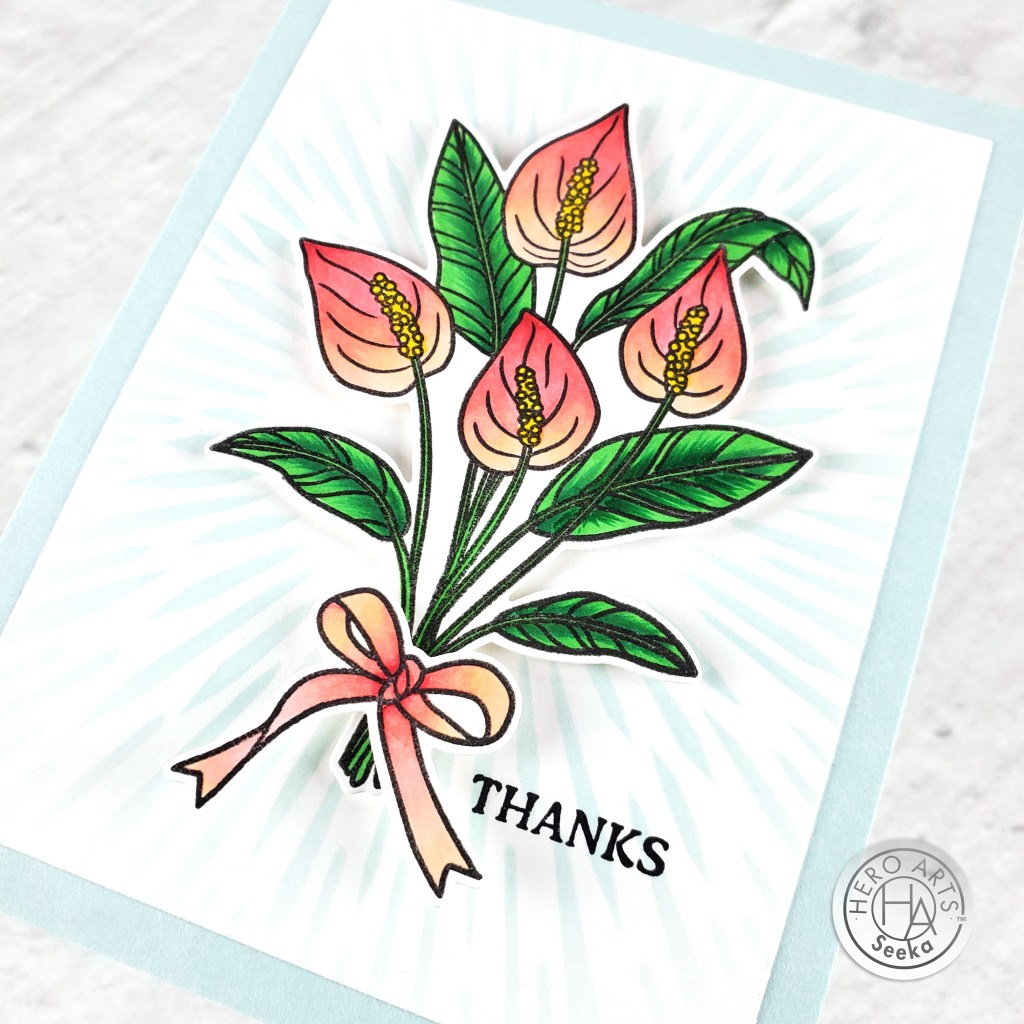
My first card features a stamped and die cut image from the kit against a background made with the stencil that is included in the Premium version of the kit. I stamped and colored the bouquet and ribbon with Copic markers and then used foam tape to adhere the image to a background panel made with the stencil. I stamped a small sentiment (also from the kit) and then glued the panel to a 4.25″ x 5.5″ panel of Arctic cardstock. To finish, I glued the card front to a card base.
Supplies:
- February My Monthly Hero Premium Kit
- Intens-ified Black Ink to stamp the bouquet and ribbon
- Copic markers
- Onyx pigment ink to stamp the sentiment
- Mist ink for stencilled background
- Blending brush
- Arctic cardstock
- Dove White cardstock

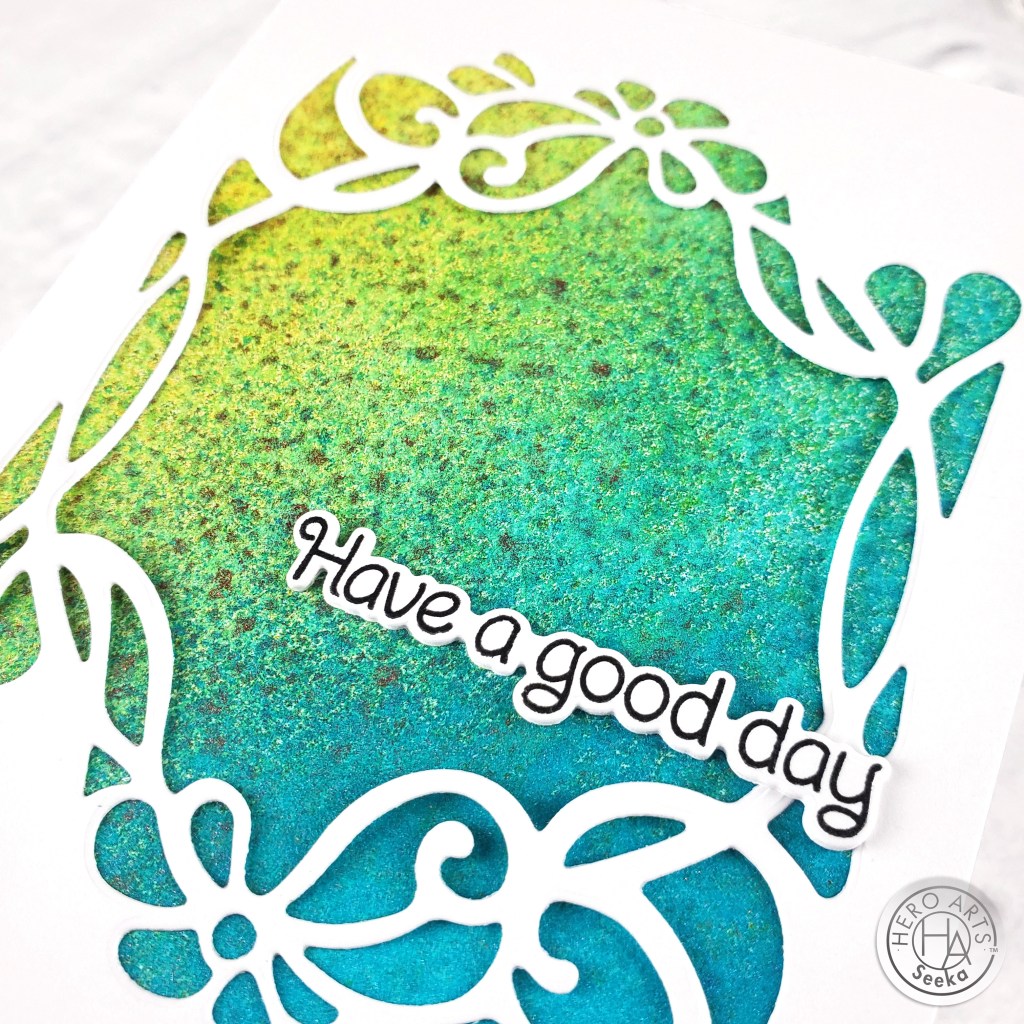
Have A Good Day
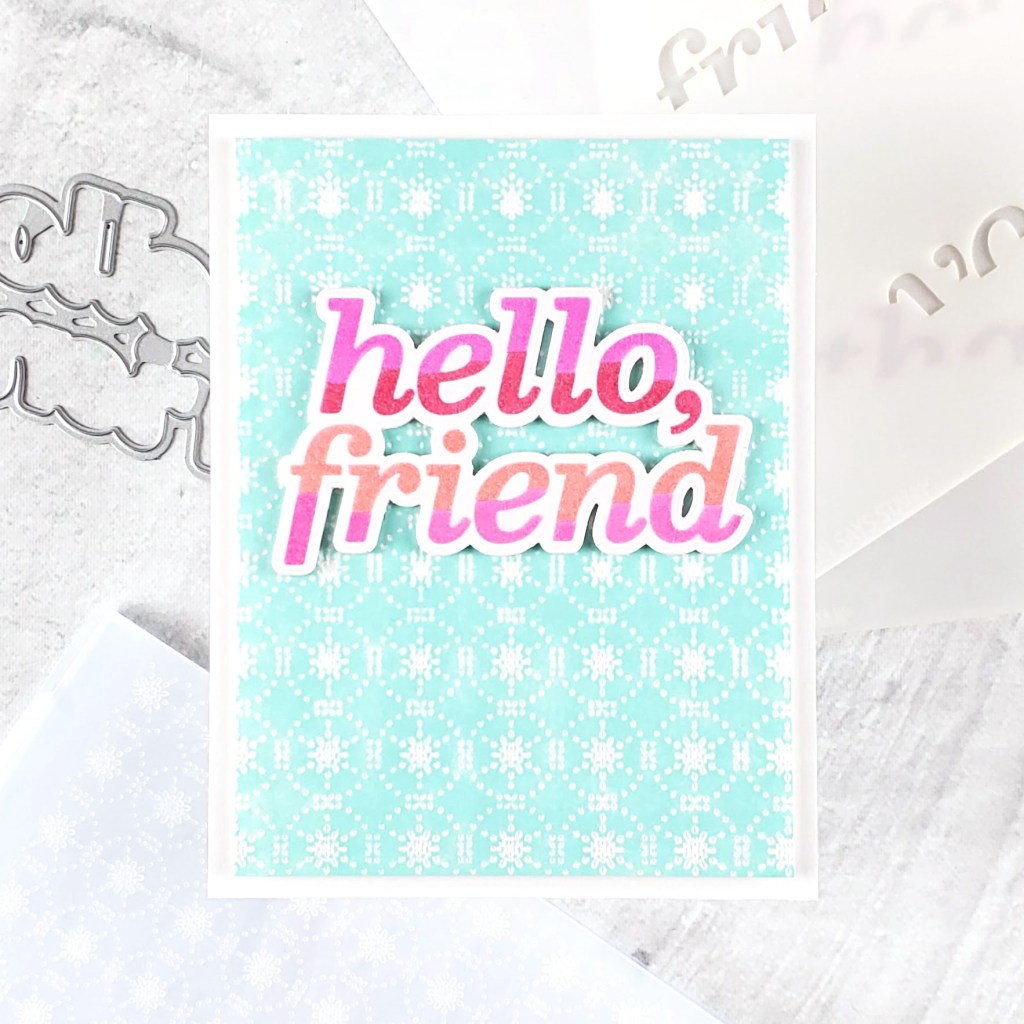
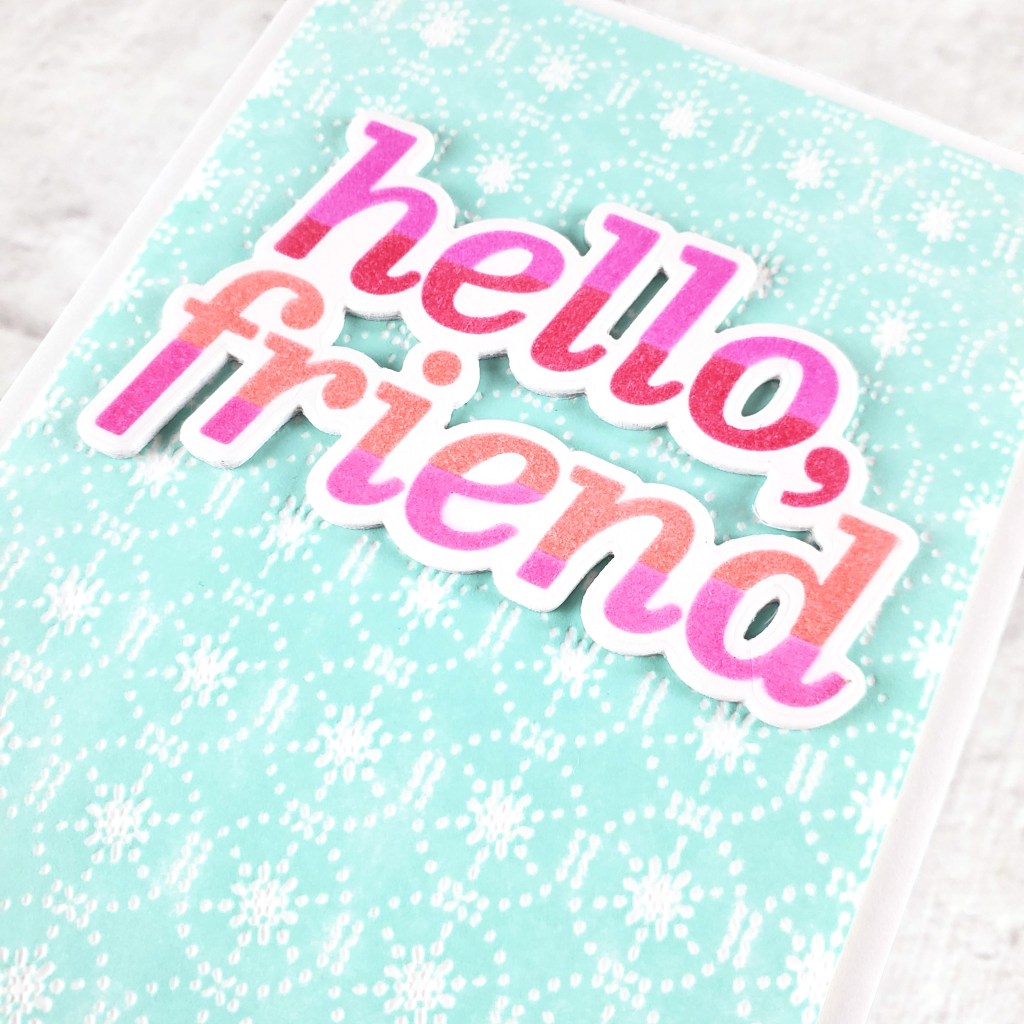
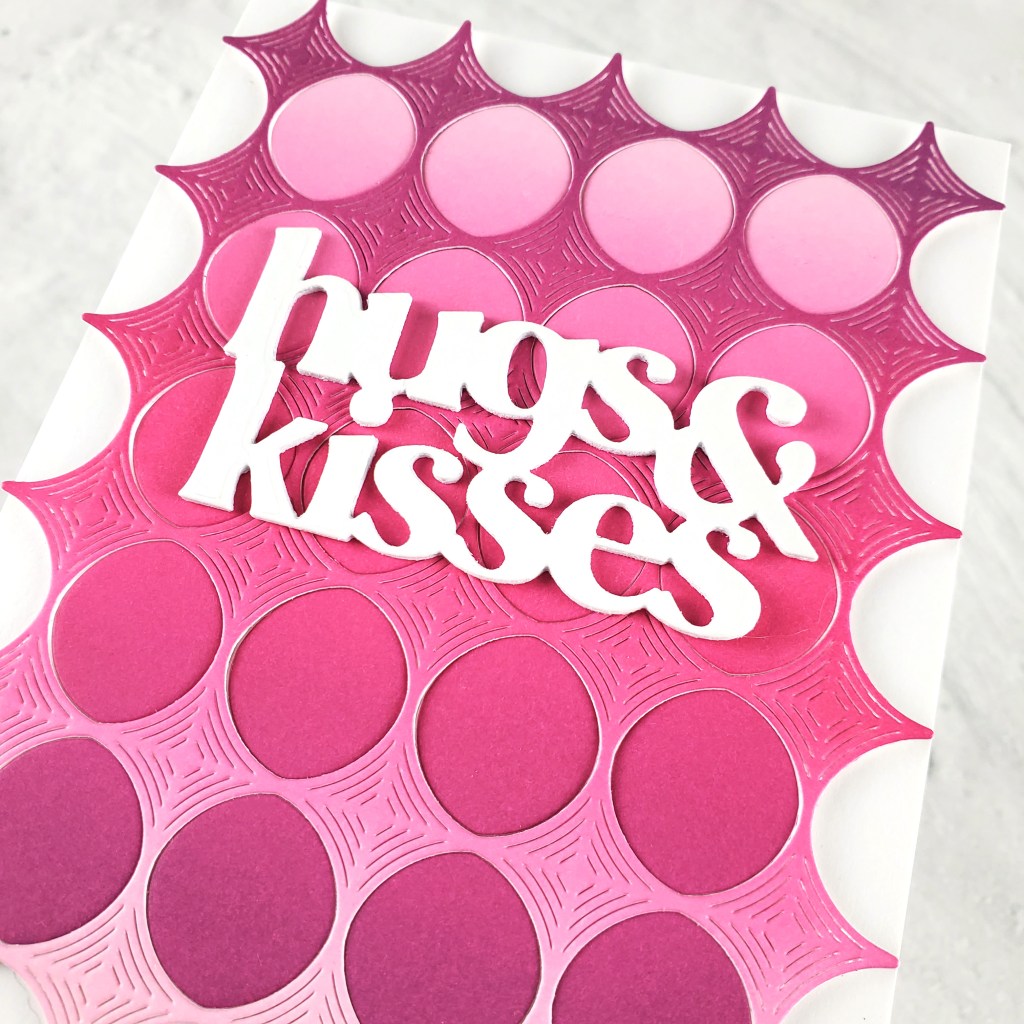
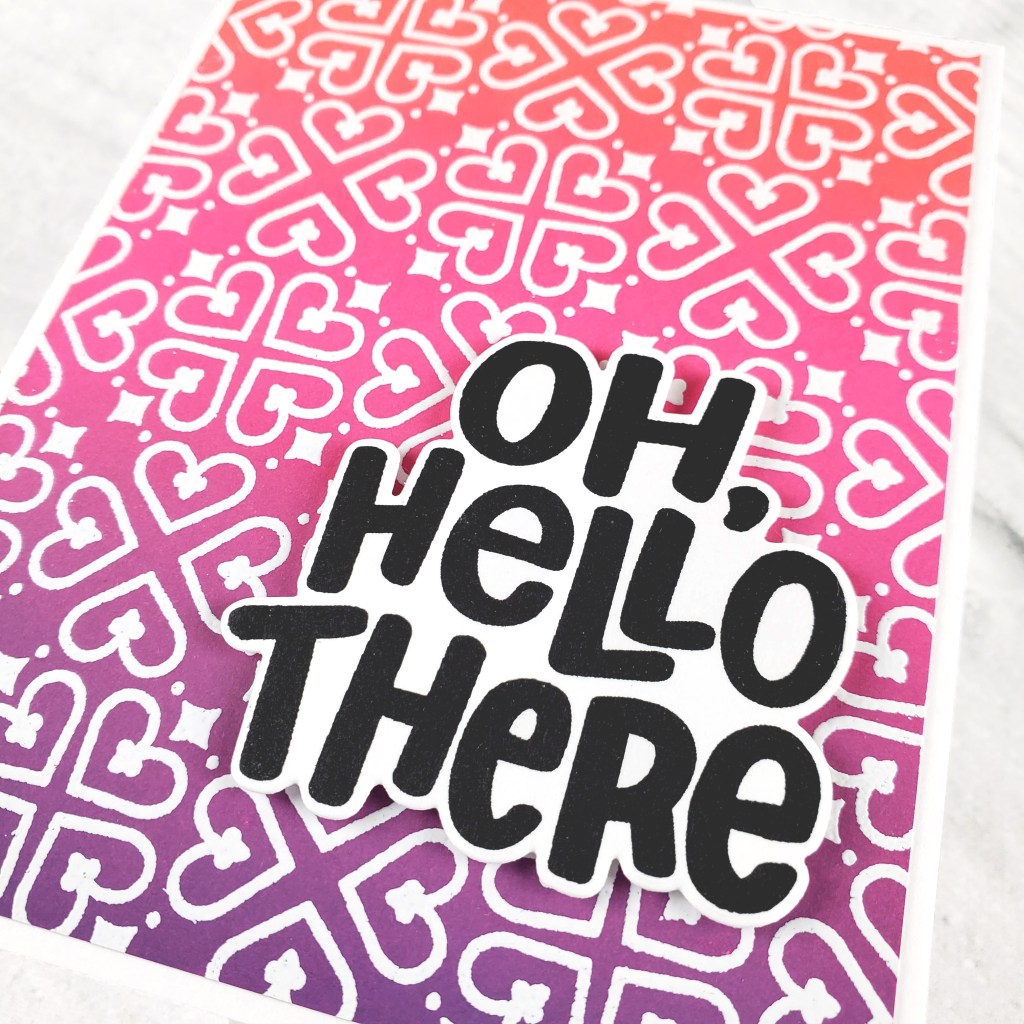
My second card features the Groovy Window Fancy Die, one of this month’s add-ons. For this quick and easy card I simply sprayed a 4.25″ x 5″ panel of white cardstock with two Hero Arts Two-Tone Metallic Sprays and then used the Groovy Window die to create a beautiful window in a panel of white cardstock. I glued the two panels together and then added a sentiment made with a stamp and die from the Cosmos and Lavender Bundle. To finish, I glued the card front to a card base.
Supplies:
- Groovy Window Fancy Die
- Cosmos and Lavender Bundle
- Bright Yellow + Copper Two-Tone Metallic Spray
- Ocean Blue + Gold Two-Tone Metallic Spray
- Dove White cardstock
- Onyx pigment ink to stamp the sentiment
Thank you so much for visiting! Your next stop is Heather Ruwe. Be sure to read below for giveaway details!
Giveaway
Hero Arts will give away a $50 gift card, drawn from the comments left across the hop. Enter by Sunday, February 11th at 11:59pm PT, and the winner will be announced on the Hero Arts blog the following week.
Blog Hop List
- Hero Arts
- Lydia Fiedler
- Jeannie Lieu
- Pocono Pam
- Natasha Polite
- Rachel Kleinman
- Mindy Eggen
- Seeka <– You are here
- Heather Ruwe
- KarenBrown
- Charlene Madrid
- Channin Pelletier
- Rosie Lopez
- Dana Joy
- Kailash Naidoo
- Natasha Vacca
- Michelle Short
- Jennifer Kotas
- Ilina Crouse
- Special Guests:
- Emily Midgett
- Nichol Spohr
- Kelly Taylor
- Essie